Basically, the goal here is to make the topic practical, clear, and easy to use on a real project.
Basically, the order of work is the project. A beautiful cottage renovation can become unnecessarily expensive when one trade has to remove or damage another trade’s fresh work. In Muskoka, where weather windows and seasonal access can already squeeze a schedule, a coordinated sequence is one of the easiest ways to keep a renovation calmer.

Here’s the practical part: use the next section as a checklist, not a rulebook. Every home and project has its own little plot twist.
Begin with the building’s problems, not its wish list
Start by separating “needs attention” items from “would look great” items. Roof leaks, drainage issues, rotten trim, damaged wall areas, unsafe steps and failing sealants belong in the first list. New colours, modern grooves, decorative panels, lighting and landscape upgrades belong in the second. The two lists can absolutely become one project, but the problem list should drive the sequence.
A walkthrough is more useful when you photograph every elevation and make notes. Look up at roof edges, under soffits, around windows and down at grade. Check where snow piles up, where water splashes, where decks meet walls and where a downspout empties. The goal is to understand why the existing exterior aged the way it did.
Phase 1: roof, flashing and water management
My honest opinion? If the roof is questionable, settle that conversation early. Exterior walls sit below the roof, and the wall details should coordinate with flashing, drip edges, eaves and penetrations. On projects that include both roofing and wall work, handling roof and critical flashing first helps the lower work finish cleanly into completed roof edges.
Drainage belongs in the same conversation. Eavestroughs and downspouts are not decorative accessories. Decide where they will terminate before a new patio or planting bed blocks the route. On sloped or waterfront lots, make sure water is moving away from the building and not simply being relocated to a worse spot.
Phase 2: soffit, fascia and the roof-to-wall transition
Soffit and fascia can change the appearance of a house more than people expect. Old vented panels, mismatched fascia colours and awkward transitions make even a good wall finish look unfinished. If these elements are being replaced, coordinate their colour with windows, gutters, doors and any dark architectural accents.
It is also a good time to review exterior lighting, cameras, receptacles and vents. Moving a fixture after a finished stucco system is complete is possible, but it is more efficient to decide locations while access is open and patching can be integrated cleanly.
Phase 3: wall preparation and insulation
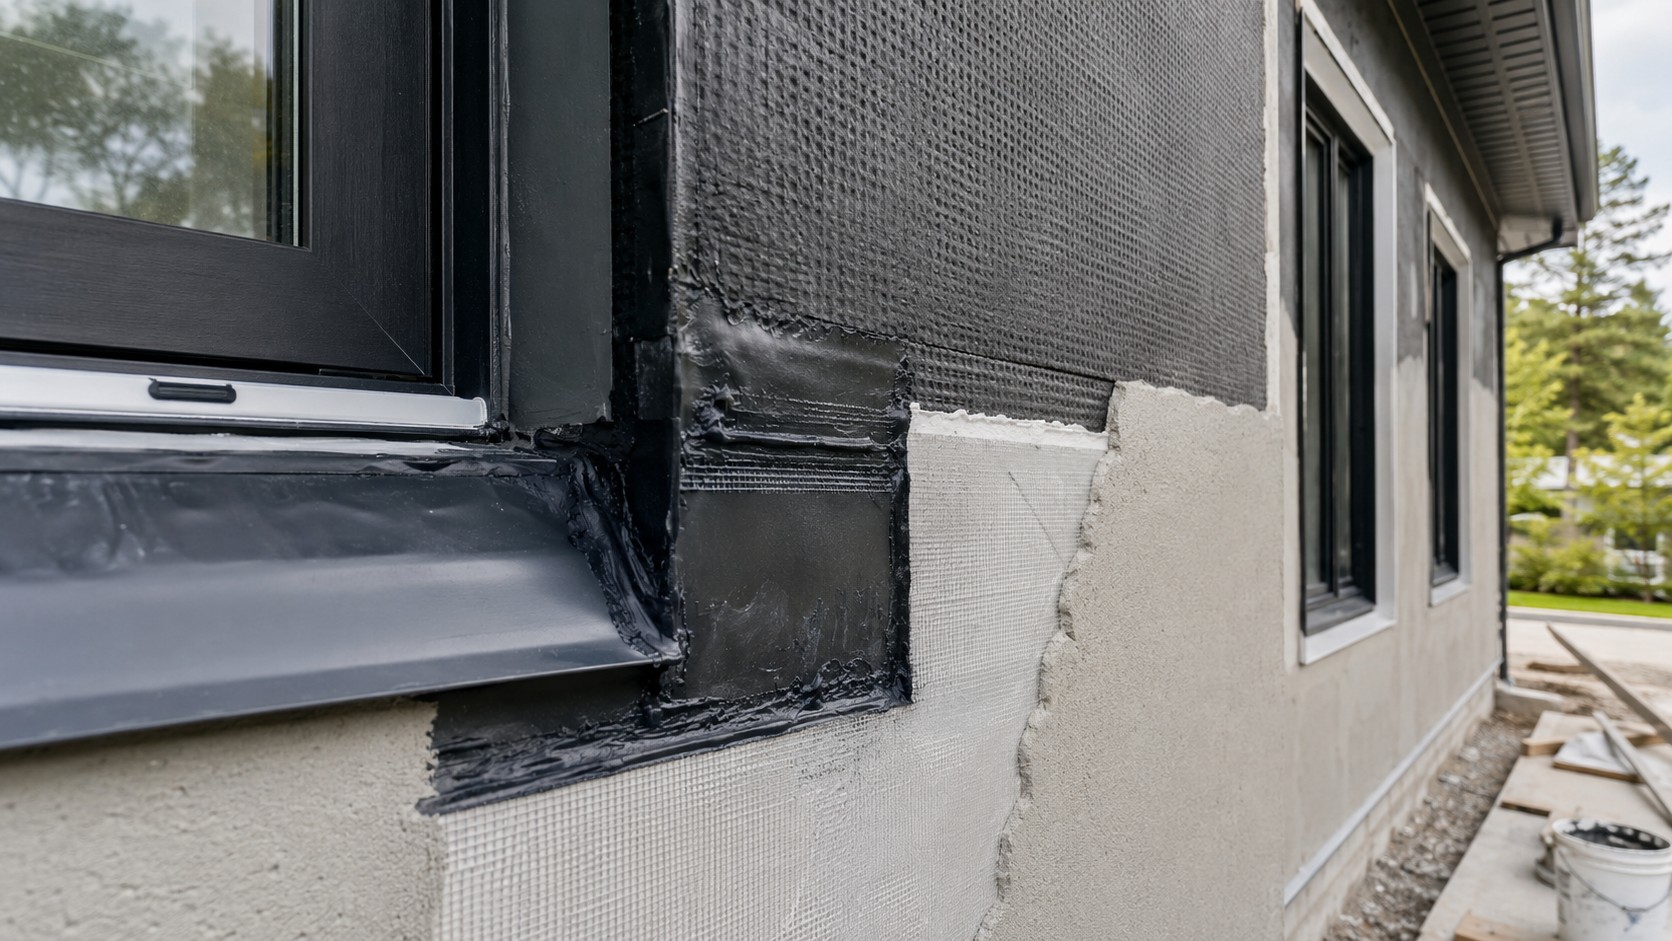
If the project includes EIFS or another insulated exterior strategy, substrate condition and attachment details come before the decorative finish. The insulation layer should be laid out cleanly, corners should be planned, openings should be detailed and reinforcing mesh should be installed where the system requires it. A straight wall starts long before the final texture.
Phase 4: architecture, grooves and finish coat
This is where the design finally becomes visible. Smooth finish areas, groove layouts and panel-look details should reference actual building features. Align horizontal joints with window heads or sills when it improves the composition. Use vertical lines to organize large blank wall areas rather than scattering them randomly.
For cottages with strong views, the best exterior design often feels quieter from the lake. One main finish plus a controlled accent can be more effective than four materials fighting for attention. The same principle works from the driveway: create one clear entry focal point and let the rest of the elevation support it.
Phase 5: porch, patio and final grading
Hardscape should respect the completed wall system. Keep required clearances and avoid burying wall finishes with new grade. Plan drainage around steps and patios, especially in areas where snow melt can refreeze. If a porch roof or column is being rebuilt, coordinate its finish with the main exterior rather than treating it as a separate mini-project.
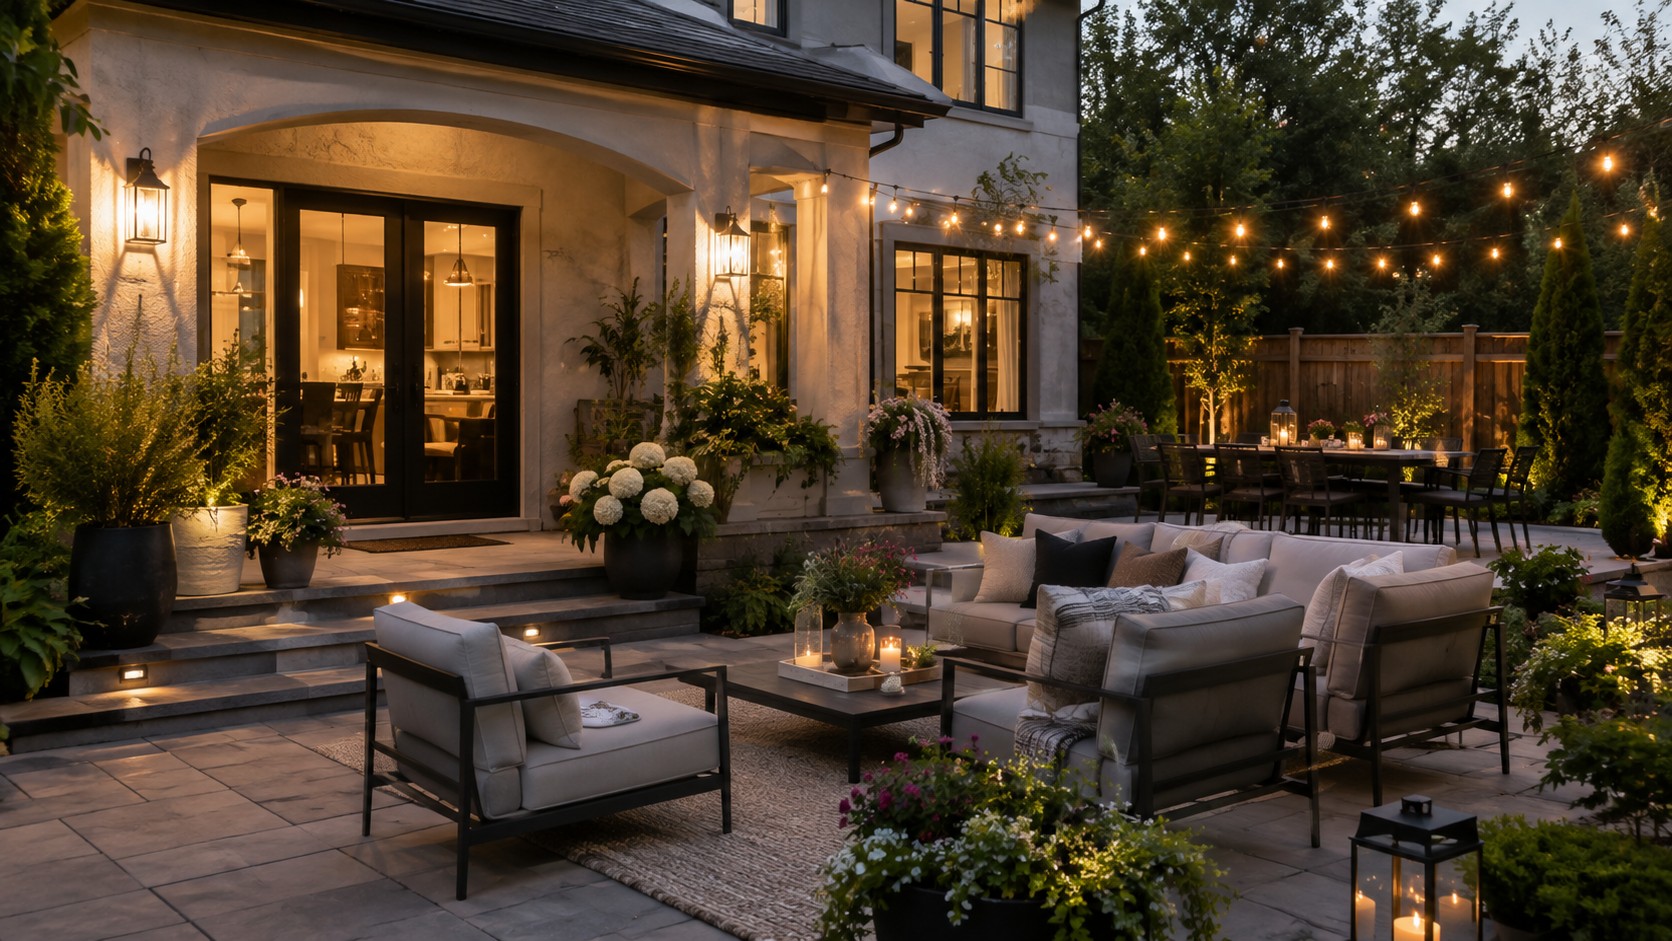
Outdoor lighting is a great final layer because it can emphasize the new architecture after dark. Use it to illuminate steps, entrances and key wall textures, not to turn every tree into a stadium. Warm, controlled lighting usually feels more comfortable around cottages and reflects nicely off light stucco and stone.
How to schedule around Muskoka seasons
Weather-sensitive exterior work needs realistic scheduling. Spring can be wet and unpredictable. Summer is busy and often includes heavy cottage use. Fall can be excellent for projects but daylight shortens and temperatures can change quickly. Build buffer into the schedule instead of assuming every day will be a perfect installation day.
If the cottage is occupied during the project, discuss access, parking, material storage and quiet times before work starts. A renovation is easier when everyone knows which door is usable, where deliveries go and when sections of the property will be temporarily blocked.
Budget decisions that protect the final result
If the quote feels larger than expected, reduce complexity before reducing the quality of critical prep. For example, simplify a decorative groove pattern, reduce the number of accent materials, or phase landscape work. It is usually better to finish a simpler wall system correctly than to keep an elaborate design while cutting corners on preparation.
Ask for alternatives that preserve performance. A contractor may be able to simplify trim profiles, use a standard finish in less prominent areas or postpone a decorative element. Keep the water-management, substrate and transition details intact.
Project communication: boring in the best way
A shared checklist prevents a surprising number of problems. Confirm colours, finish names, light locations, downspout locations, trim widths and any special grooves in writing. Mark uncertain items on photos. If a decision is made on site, add it to the project notes rather than relying on everyone to remember a conversation from Tuesday afternoon.
Take progress photos. They help with future maintenance and make before-and-after documentation much more useful. A photo showing the wall before insulation, after insulation, after mesh/base coat and after finish creates a simple record of the work.
The simple sequence to remember
- Inspect and document existing conditions.
- Resolve roof, flashing and drainage problems.
- Complete soffit, fascia and roof-edge work.
- Prepare the exterior wall and complete insulation/system layers.
- Install architectural details and finish coats.
- Complete porch, patio, grading and landscape interfaces.
- Finish lighting, sealant review and final cleanup.
A Muskoka renovation does not have to feel chaotic. Once the order is clear, each trade has a cleaner starting point and the homeowner can see why each stage matters. That is the real advantage of planning: fewer surprise removals, fewer “we should have done that first” moments, and a finished cottage that looks intentional from roof ridge to patio stone.
Build a decision calendar, not only a construction calendar
A construction schedule tells you when crews arrive. A decision calendar tells you when the homeowner has to choose something so the schedule can keep moving. Roof colour, fascia colour, stucco finish, exterior lights, door hardware, patio stone and railing style all have lead times and dependencies. Put the decision dates ahead of installation dates instead of making selections while a crew is waiting.
This is especially helpful for seasonal properties. If the owner is only at the cottage on weekends, sample reviews and site decisions need to be planned. A shared photo folder with clearly named options can keep things moving without turning every weekday into a chain of urgent texts.
What to photograph during construction
Take photos before walls are covered, after insulation is installed, after reinforcing layers, and before final finish. Photograph flashing transitions, conduit routes, blocking locations and any repaired areas. These images can help years later if you want to add a light, mount a railing, investigate a leak or explain a wall assembly to another contractor.
Label the photos by elevation or room instead of leaving them as a giant camera roll. “North wall before finish” is much more useful than IMG_4872. A little organization now becomes a surprisingly valuable maintenance file later.
Close the project in the same organized way it started
At the end, collect warranties, finish names, product information, paint colours and maintenance notes. Confirm which touch-ups are complete and which items, if any, are seasonal or waiting on another trade. Walk the site with the original scope in hand instead of relying on memory.
A calm closeout is the last benefit of a good sequence. The project should end with a short list, not a scavenger hunt. When the order of work, decisions and documentation are coordinated, the cottage is easier to maintain and the renovation story makes sense long after the contractors leave.
Basically, the final test is simple: every finished layer should make the next layer easier, not harder. When the sequence is planned that way, the project becomes easier to explain, easier to photograph, and much easier to maintain once the cottage is back to being a cottage instead of a construction site.