A simple way to read this guide is to start with the result you want, then work backward through the materials and steps.
If your stucco has one crack, a dent near the garage, or a suspicious stain under a window, the first question is not “how fast can we cover it?” The better question is what caused it. To be honest, a small mark can be nothing serious, or it can be the exterior wall politely asking for attention before winter turns the volume up.
A practical Mississauga stucco repair guide covering cracks, impact damage, stains, loose finish and when a localized repair is enough.
Here’s the practical part: use the next section as a checklist, not a rulebook. Every home and project has its own little plot twist.
Start With the Cause, Not the Colour
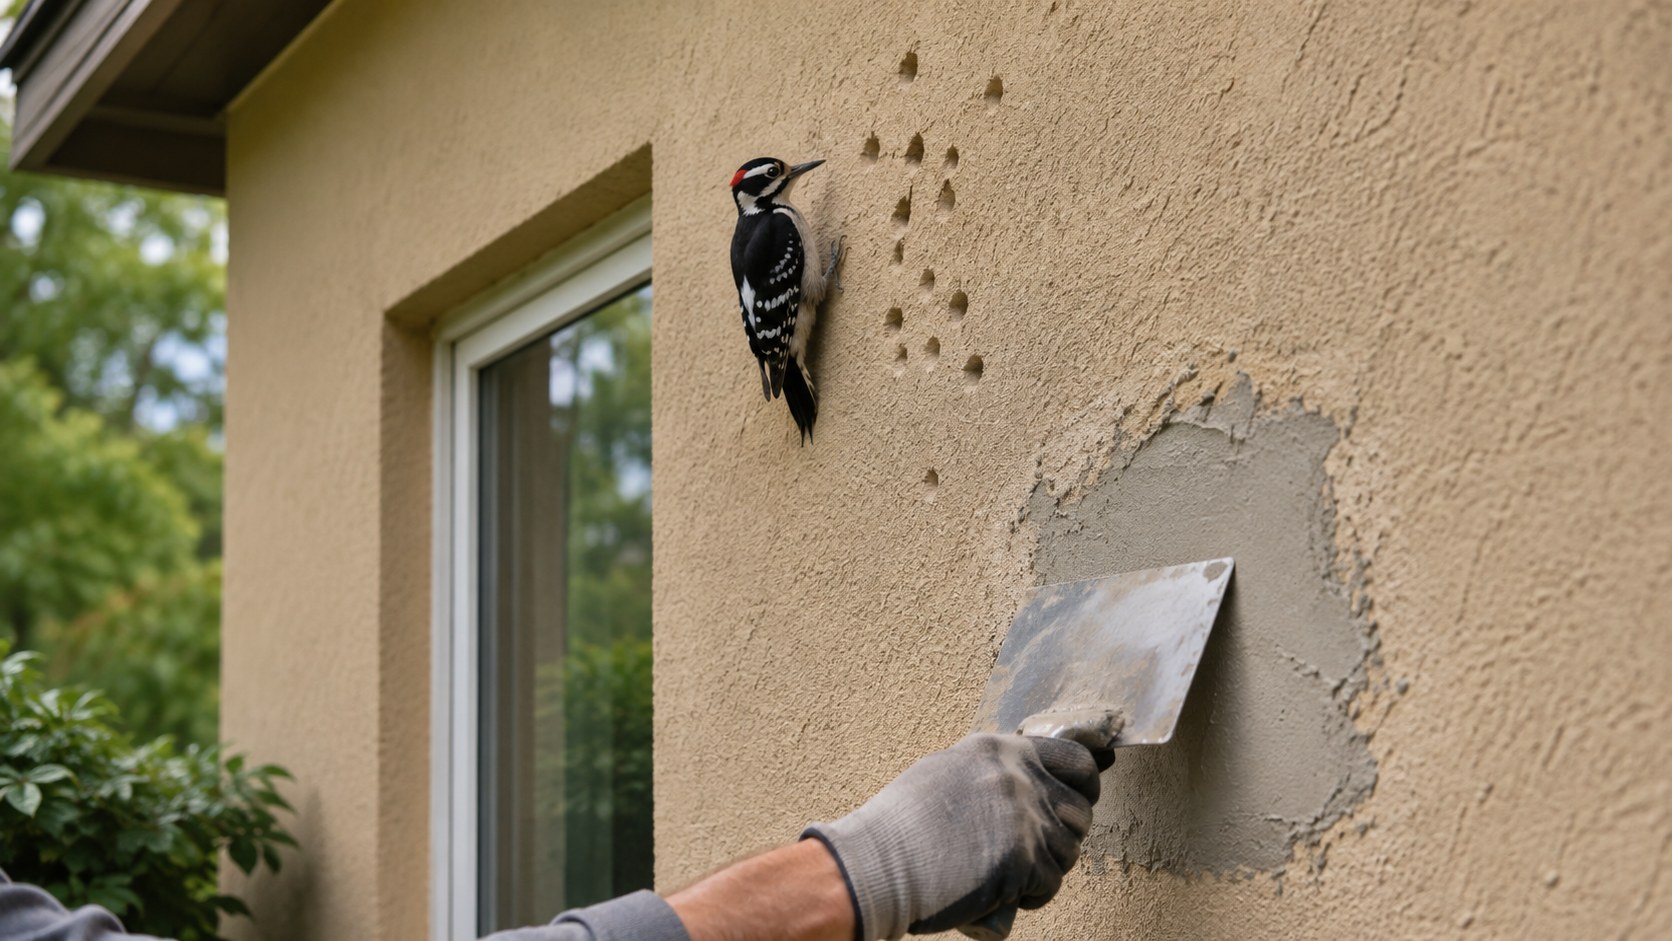
A hairline finish crack is different from impact damage that reaches the reinforcement. Around windows and roof-to-wall transitions, staining may point to flashing, sealant or drainage details. Basically, patching the visible mark without checking the surrounding assembly is the exterior version of putting a sticker over a warning light.
What a Localized Repair Usually Involves
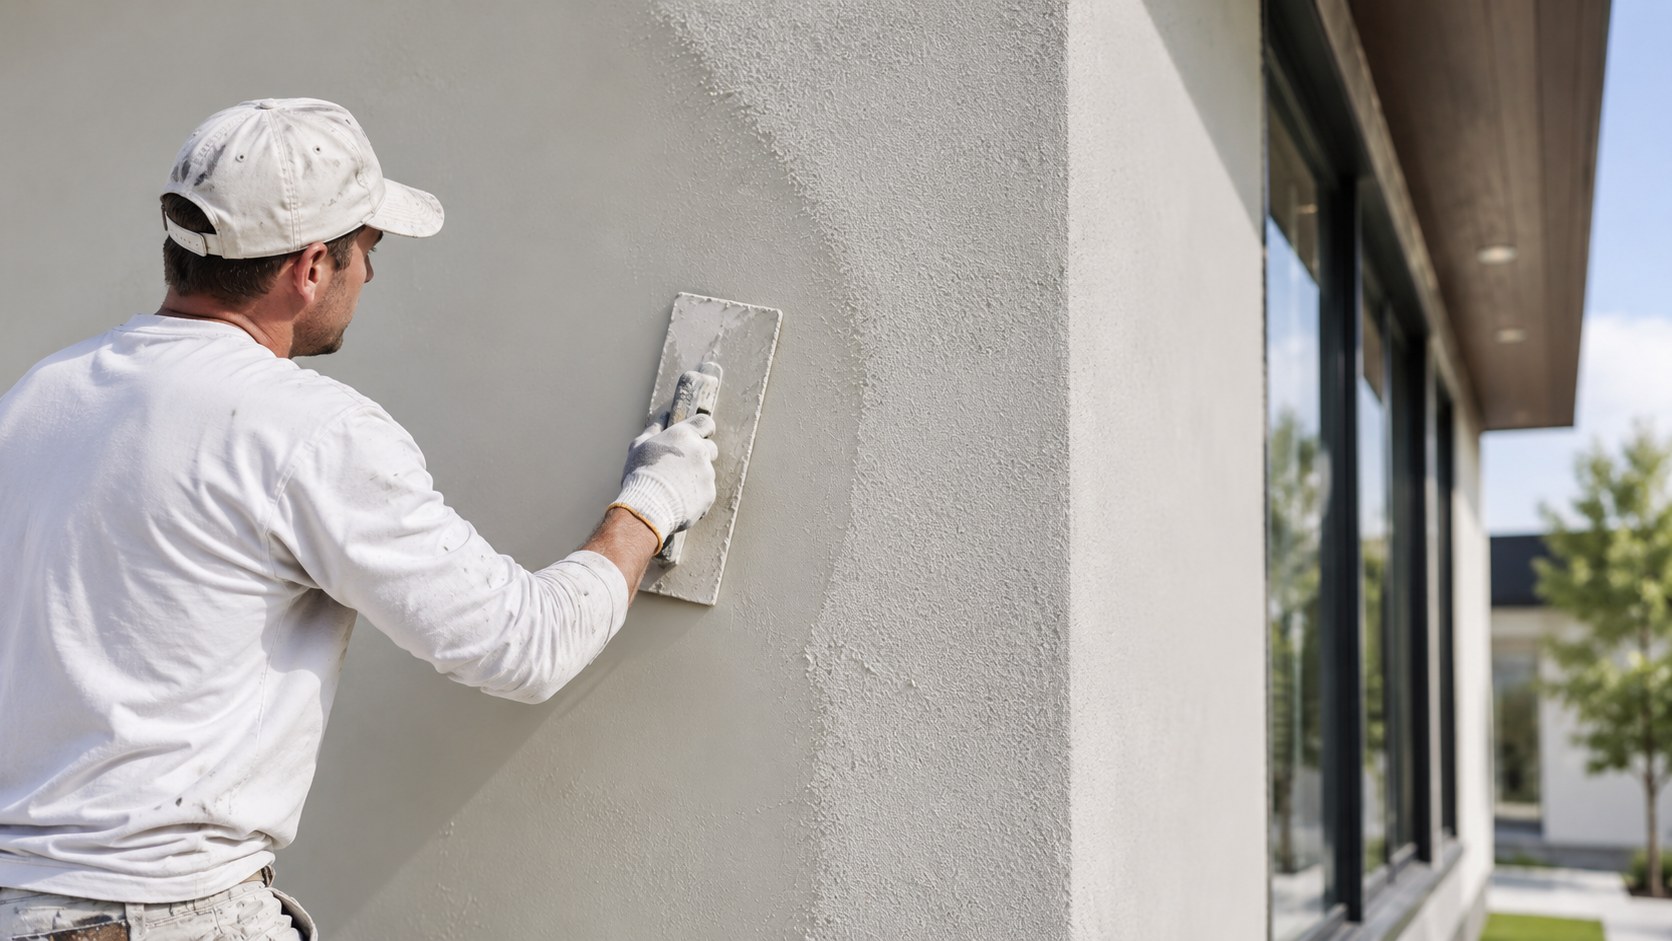
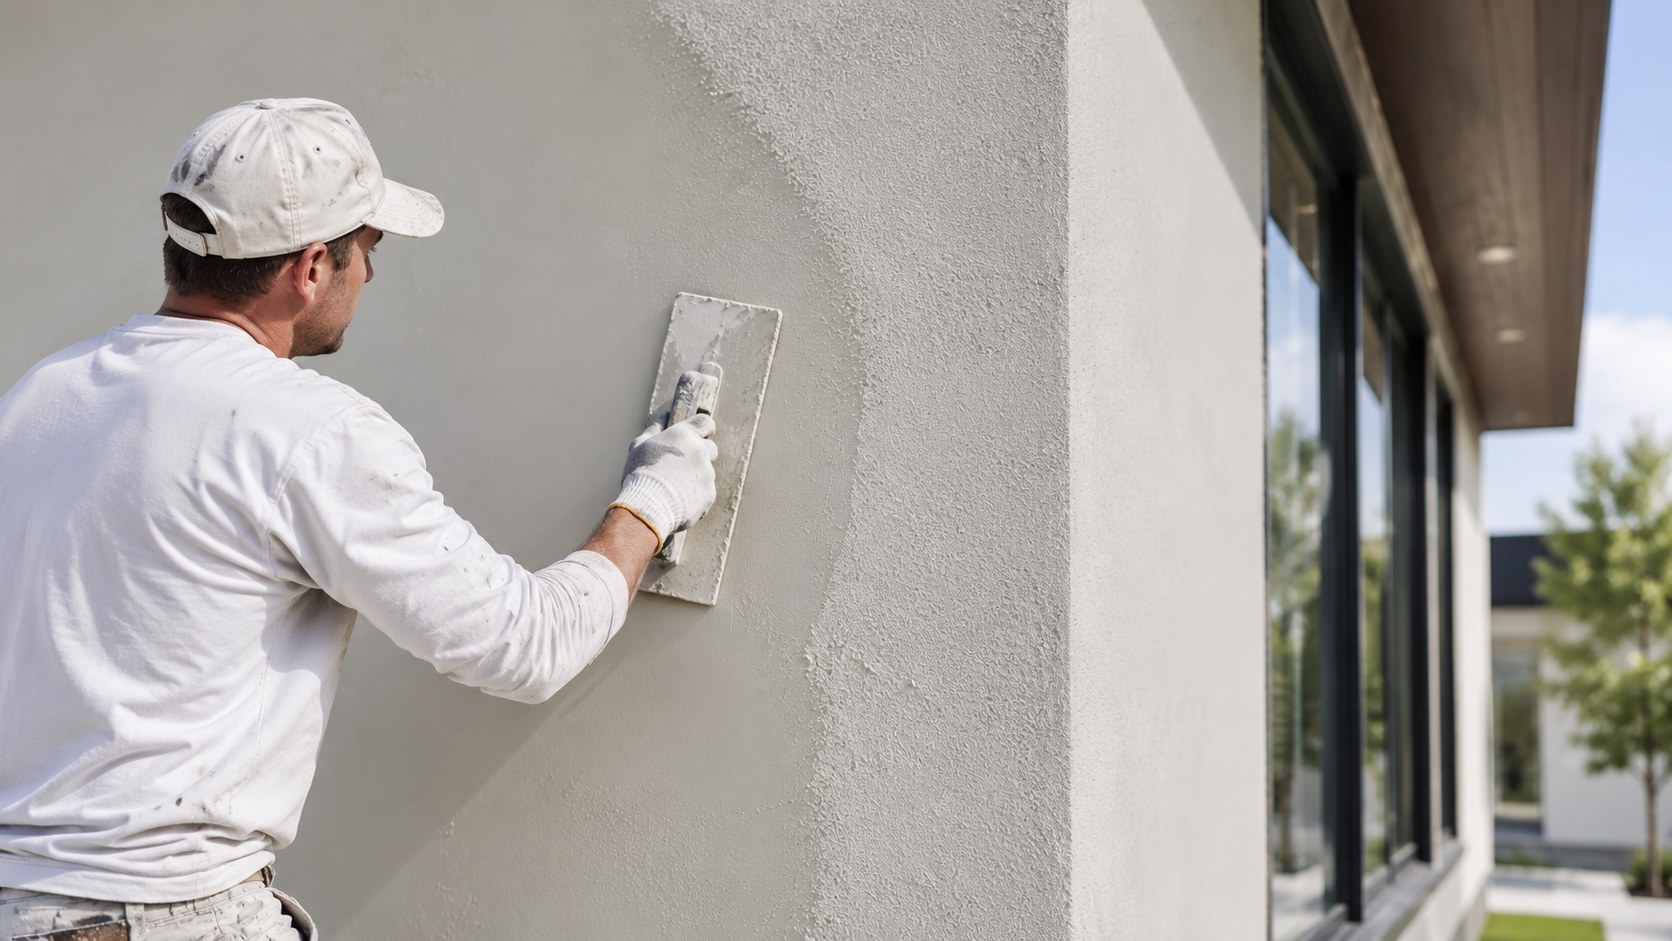
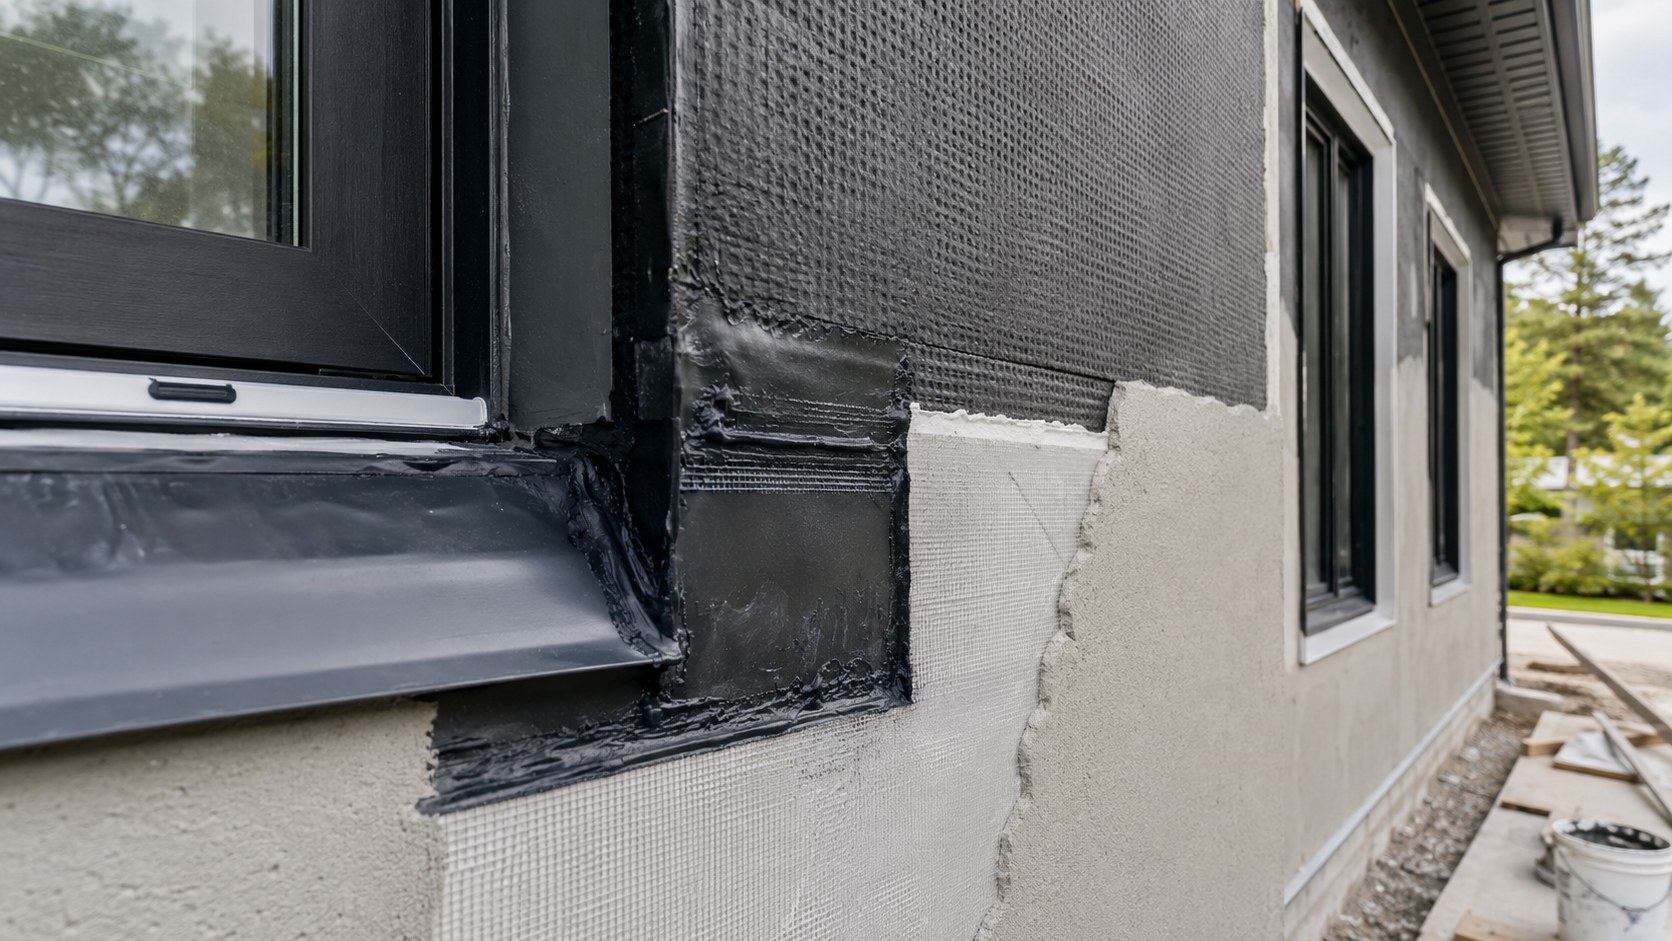
A proper repair can include cutting back loose material, checking insulation or substrate, rebuilding base coat and mesh where needed, and blending a compatible finish. The goal is to restore the wall system in the smallest sensible area and then make the finish transition as clean as practical.
Mississauga Weather Makes Timing Matter
Freeze-thaw cycles, wind-driven rain and hot sunny elevations affect exterior finishes differently. Repairs should be planned around suitable product temperatures and dry conditions. Rushing because the calendar says Saturday is usually worse than waiting for the wall and weather to cooperate.
Repair, Resurface, or Replace?
If the wall is sound and damage is isolated, local repair is often the sensible route. If the finish is weathered across a broad elevation, resurfacing or recoating may create a more uniform result. Full replacement is usually reserved for widespread failure, serious water damage or a major renovation.
Good exterior work is usually less dramatic than social media makes it look. Identify the wall system, fix the cause, use compatible materials and do the prep properly. The decorative finish comes last because it has the easiest job when everything underneath is right.
What We Would Check on a Real Project
| Area | What we look for | Why it matters |
|---|---|---|
| Openings | Sealant, flashing, cracks and transitions | Water tends to find complicated details first. |
| Wall field | Flatness, impact damage, staining and old repairs | Helps separate cosmetic work from deeper repairs. |
| Lower walls | Splashback, grading and physical damage | These areas often see more moisture and impact. |
| Finish | Texture, colour, fading and coating condition | Helps decide between spot work and a broader refresh. |
A Manufacturer Video Worth Watching
Manufacturer material is included as a technical reference. It is a better starting point for system details than somebody confidently guessing in a comment section.
Useful Reference
This is original Sky Stucco Systems editorial content. The external reference lets readers check product and system information at the source.
Related Reading
If this topic overlaps with another part of your project, read this related Sky Stucco guide. Keeping repairs, insulation and finish decisions in one plan usually produces a cleaner result than treating every wall issue as a separate emergency.
Send us a few photos and the rough project size.
We can usually tell you what information is useful before a site visit. And yes, we can stop by too. Photos are just a very good head start.