Basically, the goal here is to make the topic practical, clear, and easy to use on a real project.
Let’s be real: a Muskoka cottage exterior can look simple from the dock, but the building is doing a lot of work. Sun, wind off the lake, freeze-thaw cycles, wet spring weather, shaded walls, pine needles, snow loads and long shoulder seasons all show up on the same property. A good exterior renovation is not just about making the cottage look newer. It is about putting the work in the right order so the new roof, soffit, fascia, wall finish, doors, porch and hardscape all meet cleanly and keep doing their jobs.
Here’s the practical part: use the next section as a checklist, not a rulebook. Every home and project has its own little plot twist.
Start with the roofline, not the colour board
My honest opinion? Homeowners naturally want to choose the exciting finishes first. That makes sense, because a new wall colour or modern panel detail is what everyone will notice. The roofline deserves to be planned first, though, because the roof, flashing, soffit, fascia, eavestroughs and wall cladding all touch each other. If a roof is near the end of its life, it is usually smarter to resolve that work before installing fresh exterior finishes below it.
On a full exterior project, the practical sequence is usually roof and flashing first, then soffit and fascia, then drainage details, then the wall system and trims. Doors, porch details and final hardscape can be coordinated around that sequence. This is not a rigid rule for every house, but it is a useful planning framework because crews are less likely to disturb completed work later.
Decide what the wall needs to do
There is a big difference between refreshing a sound existing wall and rebuilding an exterior assembly. Some cottages only need repairs and a new finish. Others benefit from a more complete insulated exterior system. Before talking about texture, grooves or colour, inspect the substrate, transition points, penetrations, window edges, deck connections and any areas where water has historically collected.
EIFS can be useful when the design calls for continuous exterior insulation and a clean modern finish. The visible finish is only the last layer. Under it, the insulation, reinforced mesh, base coat and properly detailed transitions are what make the wall system function as a system. That is why a renovation should be approached as an assembly rather than as a coat of decorative material.
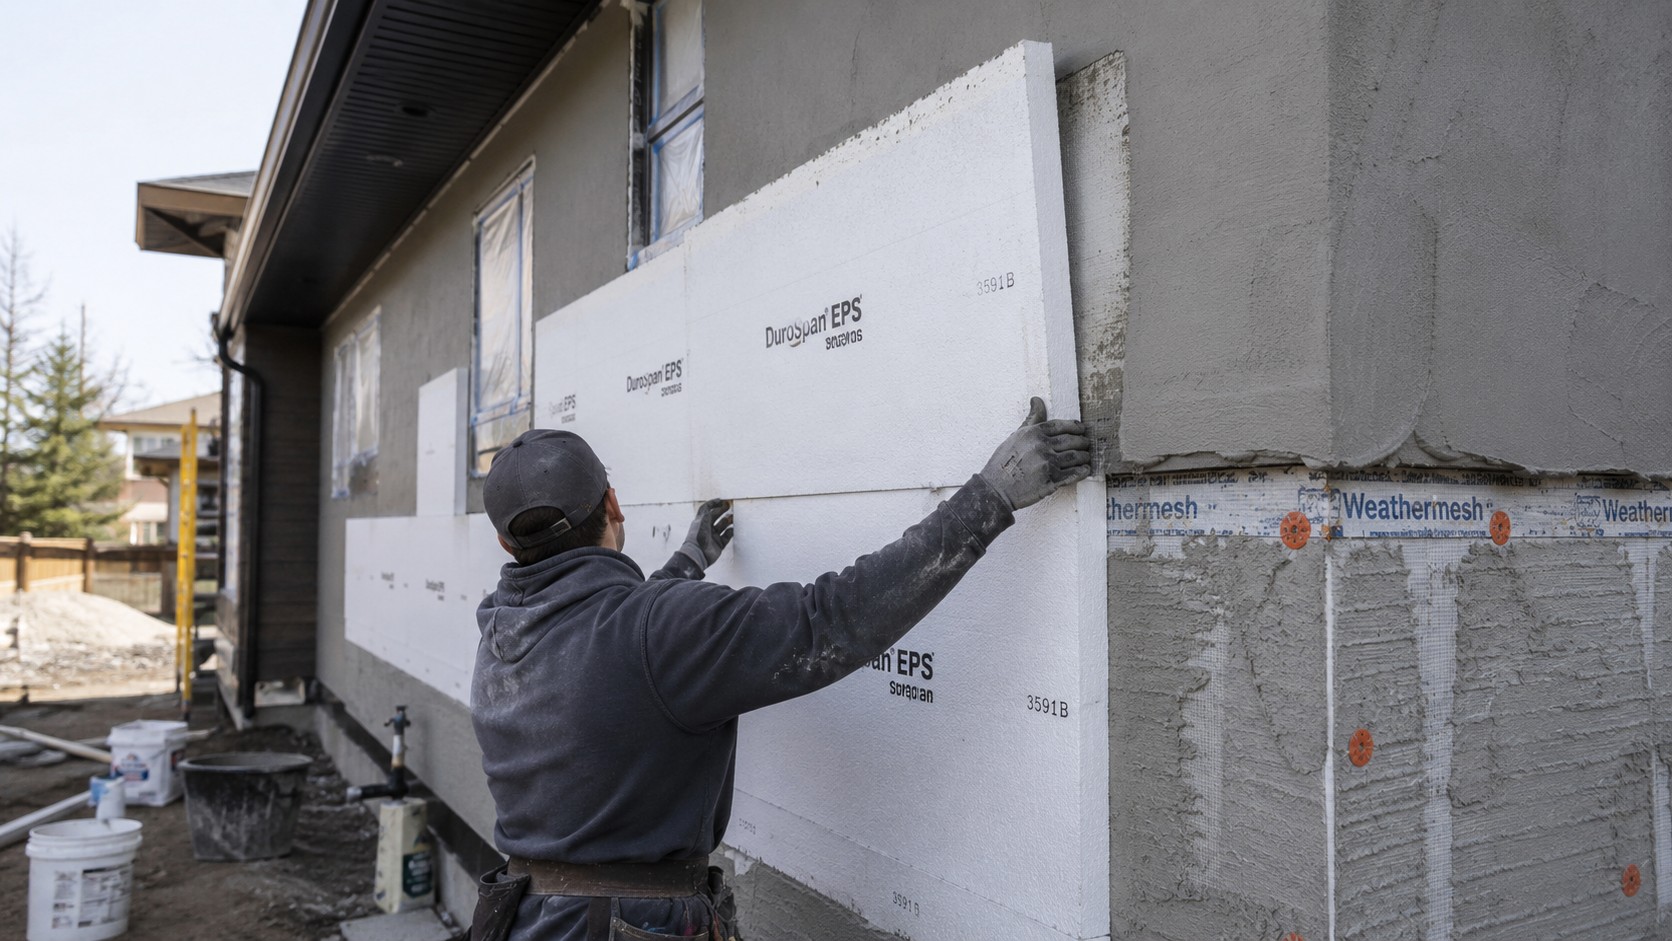
Use architectural details to modernize without over-designing
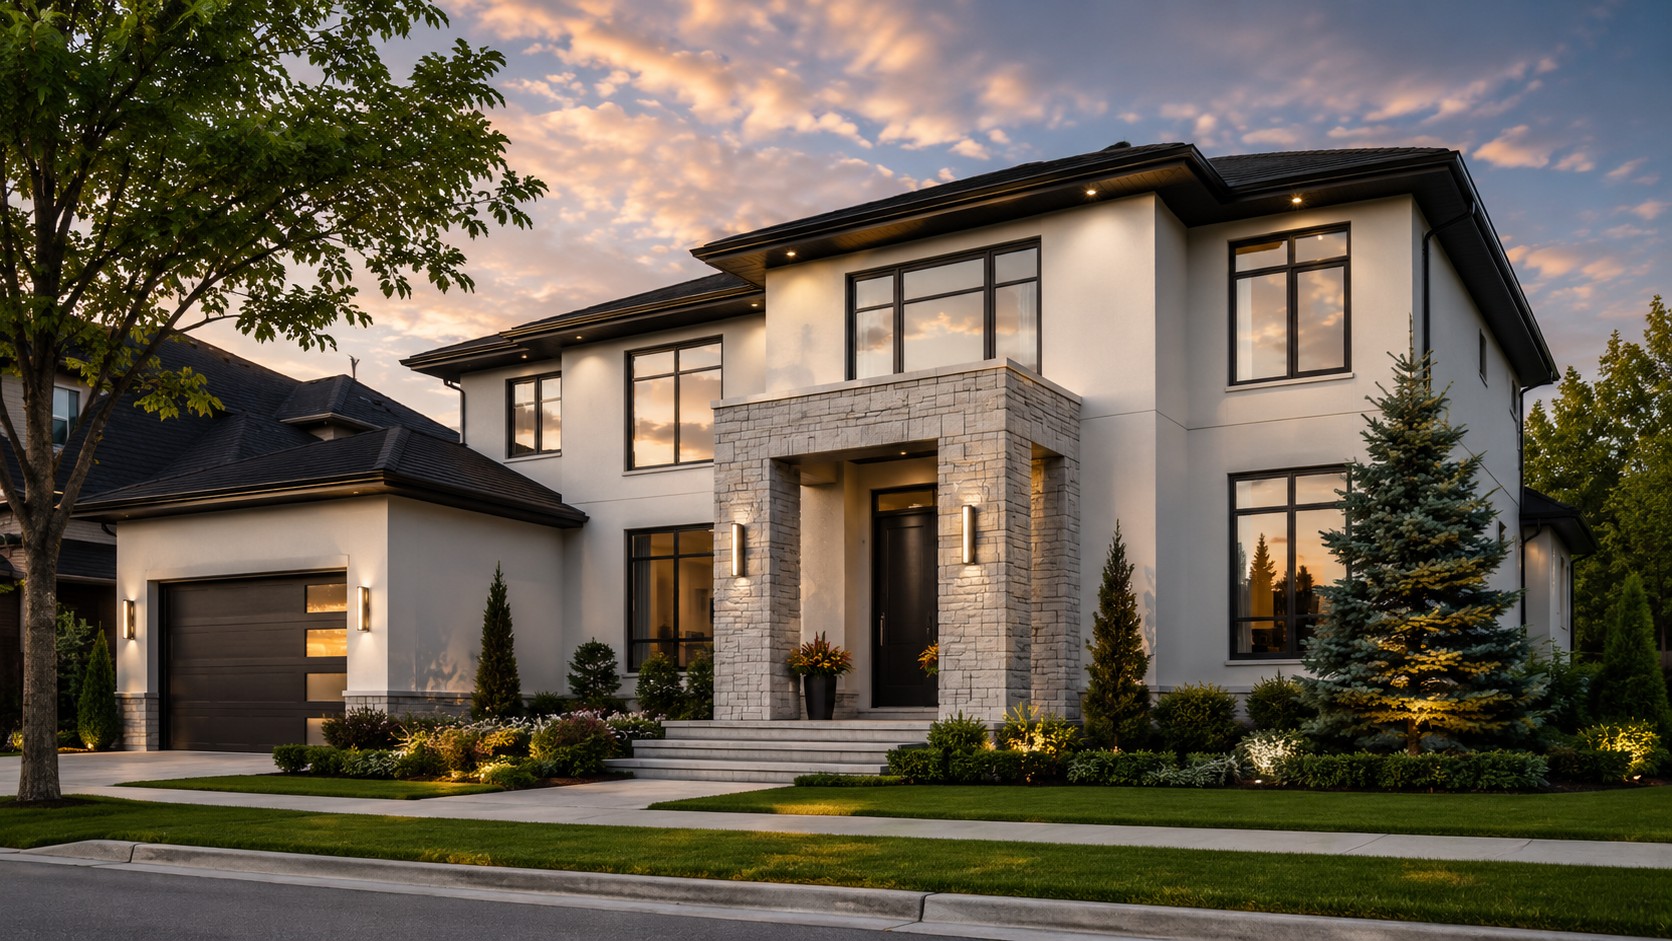
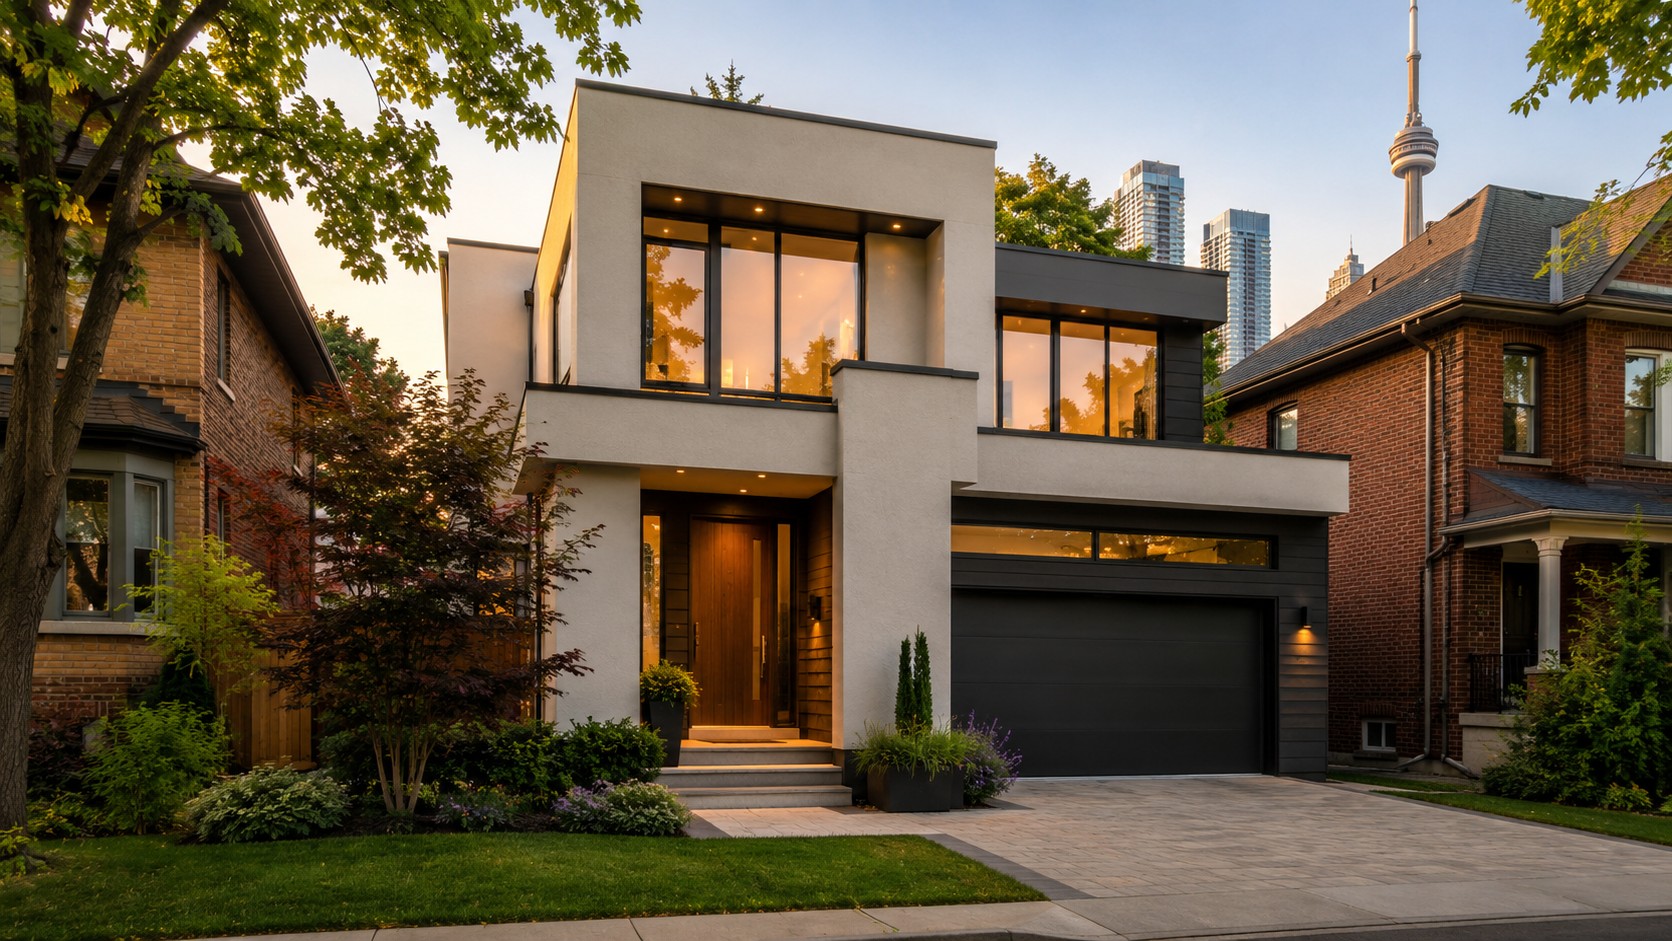
Muskoka homes can handle strong modern details, but a cottage still benefits from visual breathing room. A practical approach is to keep the main wall finish simple and use one or two accent ideas. For example, smooth stucco can be paired with dark trim, a fluted-panel-inspired accent, warm wood at the entrance, stone near grade, or crisp grooves that create the rhythm of larger architectural panels.
Grooved EPS details can create the visual language of panel cladding while remaining part of a stucco assembly. The groove depth, spacing, corner alignment and window relationships matter. Random grooves can make a wall feel busy. A planned grid that follows openings and architectural lines can make a modest cottage feel much more intentional.
Think about lake-facing and shaded elevations differently
A south- or west-facing wall may get strong sun and dramatic temperature swings. A shaded wall under trees may stay damp longer after rain. The lake-facing side can receive wind-driven rain that the road-facing side rarely sees. During planning, walk all four sides and treat the building as four different micro-environments rather than one generic rectangle.
Pay extra attention to deck ledgers, balcony edges, wall-mounted lights, hose bibs, vents, electrical boxes and any penetration through the exterior. These details are not glamorous, but they are the places where a clean renovation either feels professionally resolved or starts to collect little problems.
Coordinate the porch, steps and patio with the exterior
A brand-new exterior next to a tired entrance can make the old part look even older. That does not mean every project needs a giant porch rebuild. Often, the best value comes from correcting proportions: wider steps, a cleaner landing, better lighting, a new handrail, stronger columns, fresh soffit above the porch and a hardscape material that visually connects the driveway or path to the front door.
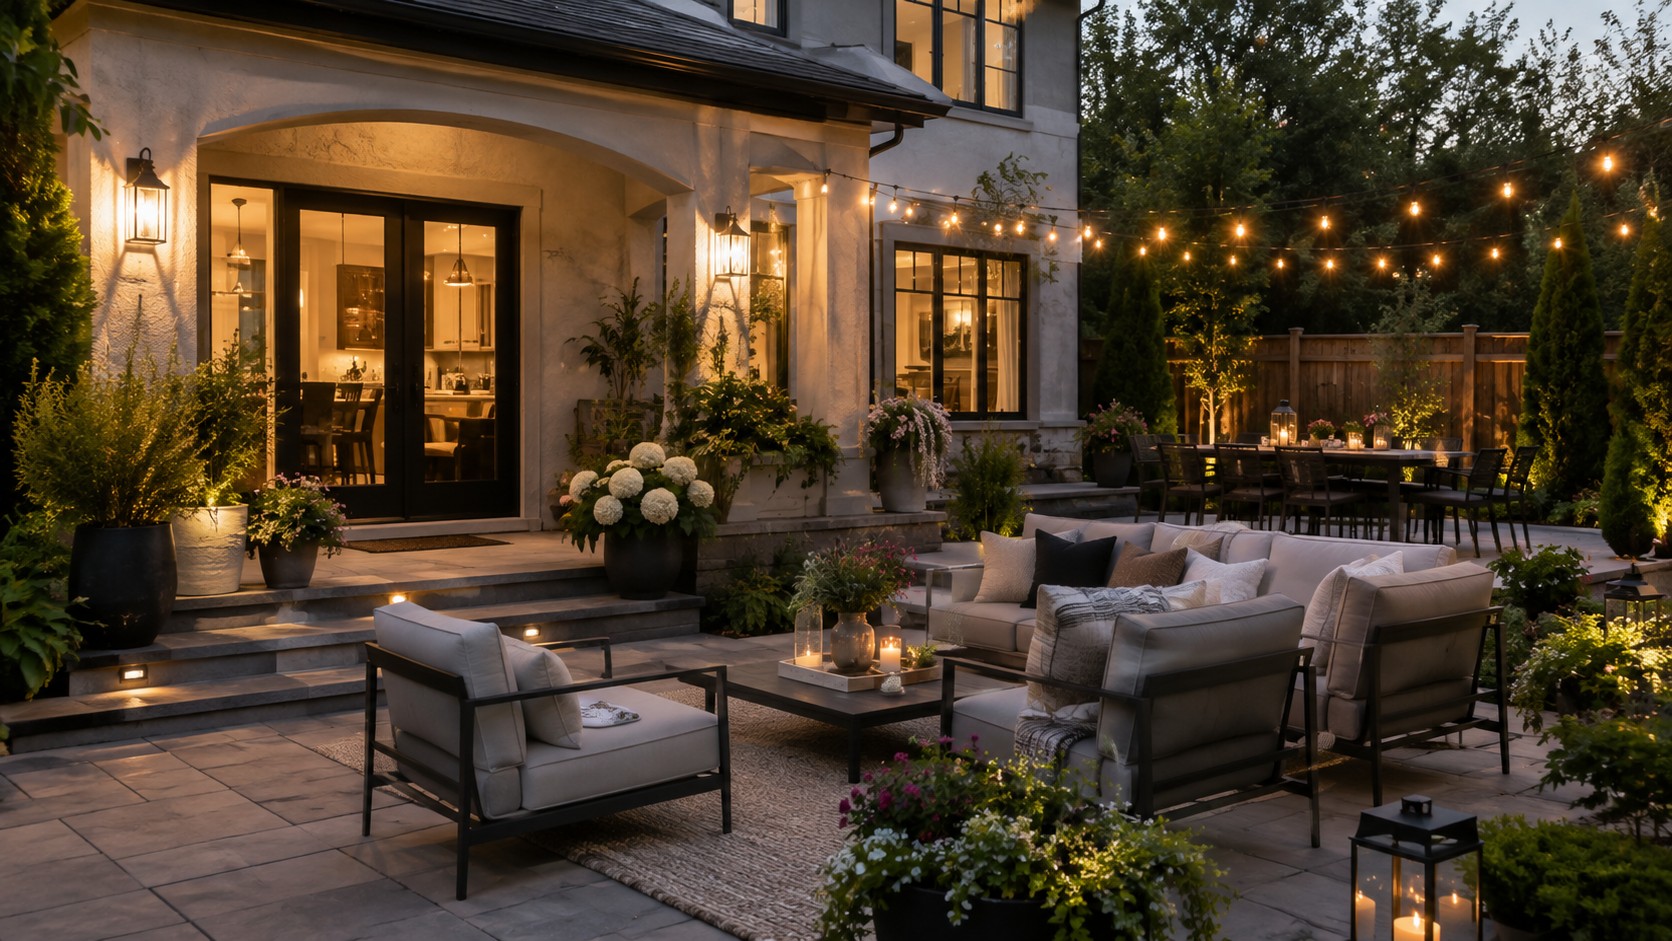
For lake cottages, outdoor circulation matters. Think about how people arrive with bags, coolers, wet shoes and gear. A durable landing, sensible drainage and easy-to-clean surfaces can matter more than a complicated decorative pattern. If the property has a stone patio, make sure the grade directs water away from the building instead of turning the new wall into a dam.
Choose colours with the site, not just a tiny sample
Basically, a colour chip is a liar in the nicest possible way. It looks one way under store lighting and another way next to dark evergreens, granite, lake water and a black roof. Test larger samples outside. Look at them in morning sun, afternoon shade and dusk. A warm off-white can feel almost cream beside cool stone, while a mid-grey can become much darker under a deep roof overhang.
Modern Muskoka palettes often work because they use contrast deliberately: a light main wall, charcoal windows or fascia, a controlled wood accent, and one stone tone. The goal is not to chase a trend. It is to create enough contrast that the building reads clearly from a distance while still feeling natural up close.
Plan the project in phases if the budget needs breathing room
Not every cottage needs to be renovated in one season. If the budget needs phases, prioritize building-envelope and water-management work before decorative upgrades. A common first phase is roof, flashing, drainage corrections and critical wall repairs. A second phase can address insulation, stucco, architectural details and windows. A later phase can handle patios, landscape lighting, railings and decorative elements.
The advantage of a phased plan is that every phase should anticipate the next one. Leave correct clearances for future hardscape. Decide future trim colours before replacing eavestroughs. If an entrance will be widened later, do not build an accent panel layout that assumes the old opening will stay forever.
A practical Muskoka exterior checklist
- Inspect roof age, flashing and roof-wall transitions.
- Check soffit, fascia and eavestrough condition.
- Look for damaged or loose wall finishes and failed sealant joints.
- Review window, door and deck connections.
- Confirm where continuous insulation would provide value.
- Plan accent grooves or panel-look details around real architectural lines.
- Test exterior colours outdoors on the actual property.
- Coordinate porch, steps, grade and drainage before final finishes.
- Photograph hidden conditions during the work for future reference.
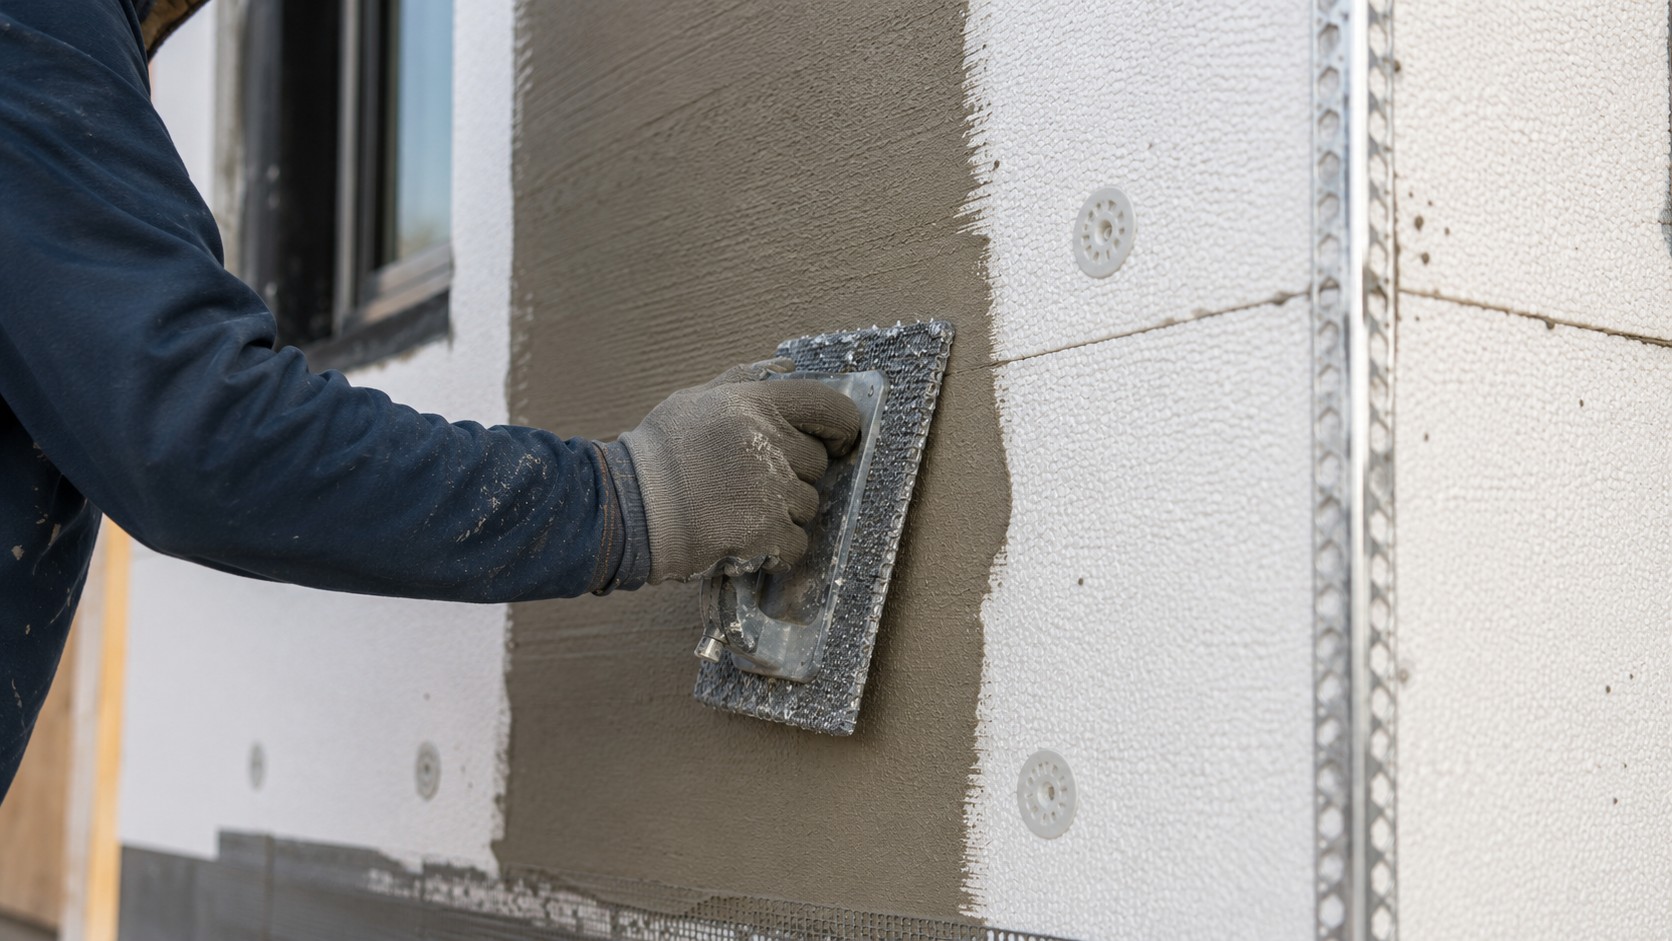
What a finished project should feel like
A successful renovation should not feel like seven contractors each left their favourite detail on the house. It should feel like one building. Roof edges align. Wall reveals make sense. Exterior lights are centered. Downspouts have somewhere sensible to go. The porch feels connected to the facade. From the lake, the cottage reads as a strong simple composition rather than a stack of unrelated materials.
That is the real goal for a 2026 Muskoka cottage exterior renovation: not “more stuff,” but better coordination. When the technical work is planned carefully, the finished home can be cleaner, quieter and more modern without losing the relaxed character that made the property worth renovating in the first place.
Questions worth answering before the first material order
Before the project moves from concept to construction, write down the decisions that affect several trades at once. What colour will the fascia be? Are the windows staying? Will exterior lights move? Is a future deck or patio going to change the finished grade? Is the garage door part of the colour palette or is it being replaced later? These questions sound small, but answering them early prevents a chain of last-minute compromises.
Also decide what “finished” means. Some homeowners expect landscaping restoration, final sealant review, pressure washing of adjacent surfaces and disposal of every leftover material to be part of the closeout. Others plan to handle some of those pieces themselves. A clear finish-line checklist keeps the project from ending with five little jobs that nobody realized were still open.
How to review the work before final handoff
Walk the property in daylight and again near dusk. Daylight makes surface consistency, lines and colour easier to judge. Dusk makes exterior lighting, step visibility and reflections more obvious. Look at the house from the driveway, from the lake side, from the main outdoor seating area and from inside through the largest windows. A detail that disappears from one angle can dominate another.
Check that exterior fixtures feel centered, downspouts have a sensible destination and transitions around doors and windows look deliberate. Ask about maintenance for the specific finish system and keep product information with the house records. If there are leftover colour samples, labels or finish names, store them somewhere future-you can actually find them.
Maintenance after the renovation
A new exterior is easier to maintain when you give it a short annual inspection instead of waiting for something dramatic. In spring, walk around the cottage after the snow is gone. Look for impact damage, blocked drainage, staining, failed sealant, vegetation touching the wall, loose accessories and places where water is repeatedly splashing. Clear debris from roof drainage and keep grade from creeping upward against finished walls.
In fall, repeat the quick walk before winter. Make sure downspouts are still connected, outdoor furniture or firewood is not stacked against the exterior, and lights or cameras are secure. None of this is glamorous, but ten quiet minutes of observation can protect a renovation that took months to plan.