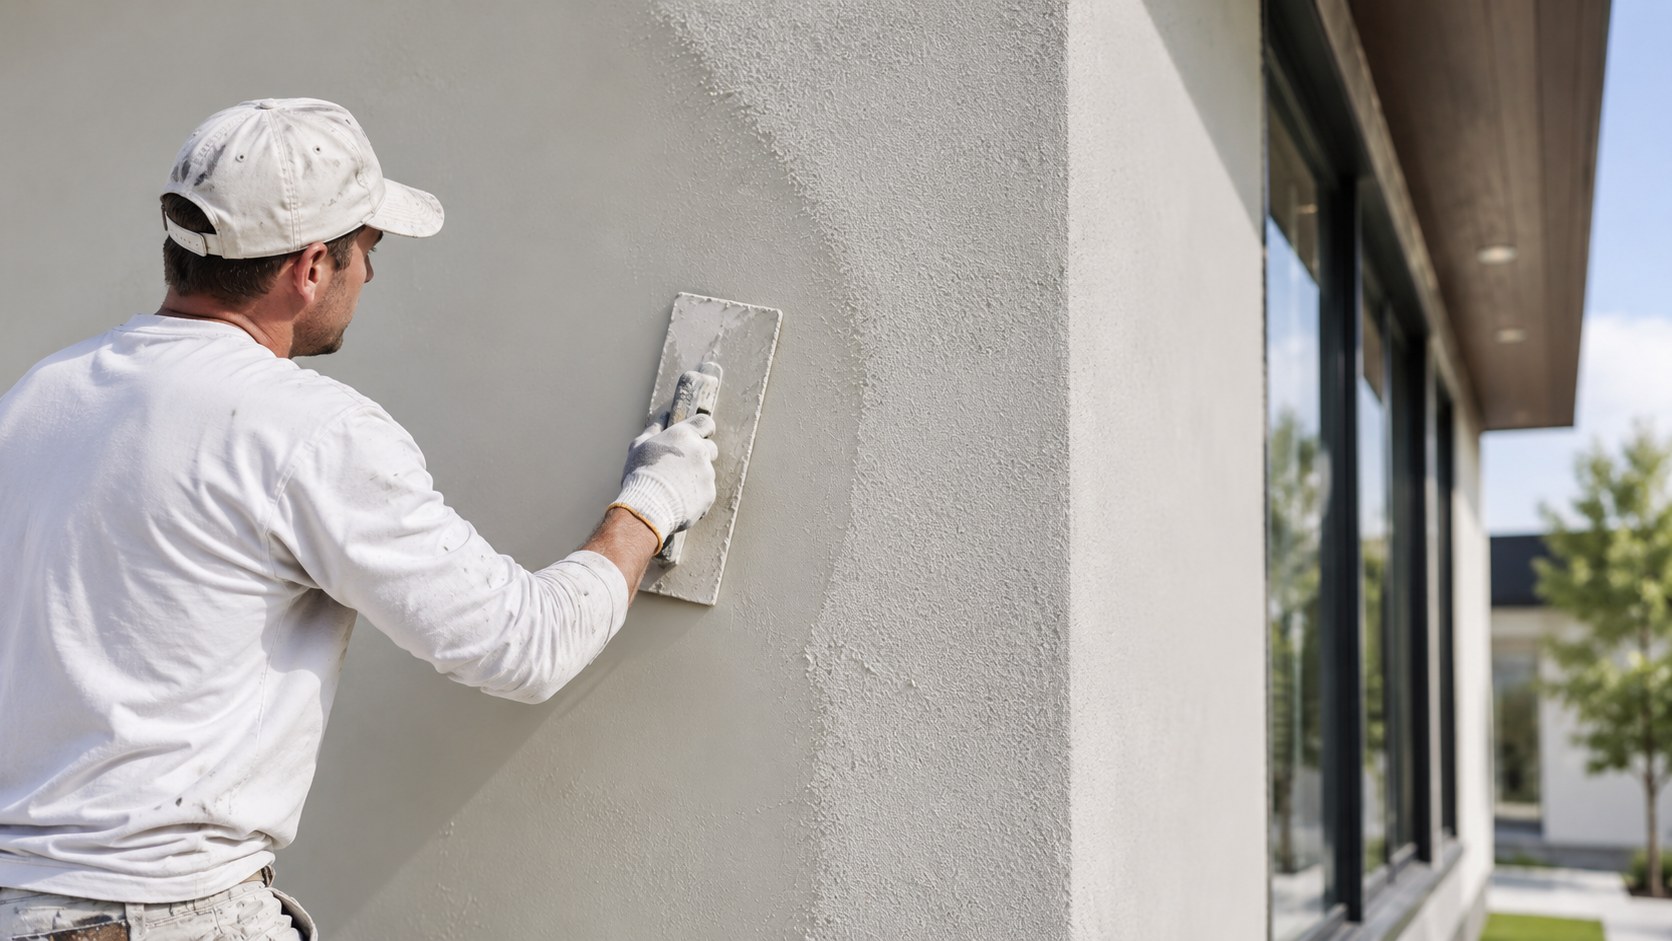
A simple way to read this guide is to start with the result you want, then work backward through the materials and steps.
A stucco installation should feel boring in the best possible way: clear sequence, clean details, no mystery bags of material, and no heroic improvisation at 4:45 p.m. This guide walks through the basic stages so a Mississauga homeowner can understand what is happening behind the scaffolding.
A clear guide to stucco installation in Mississauga, including prep, insulation, reinforcement, finish selection and Ontario weather considerations.
Here’s the practical part: use the next section as a checklist, not a rulebook. Every home and project has its own little plot twist.
Step 1: Evaluate the Existing Exterior
Renovation work begins with the wall you actually have. Brick, sheathing, existing stucco and other substrates can require different preparation. Openings, penetrations, roof intersections and lower terminations deserve special attention because water does not care how nice the rendering looked.
Step 2: Build a Flat Insulation Layer
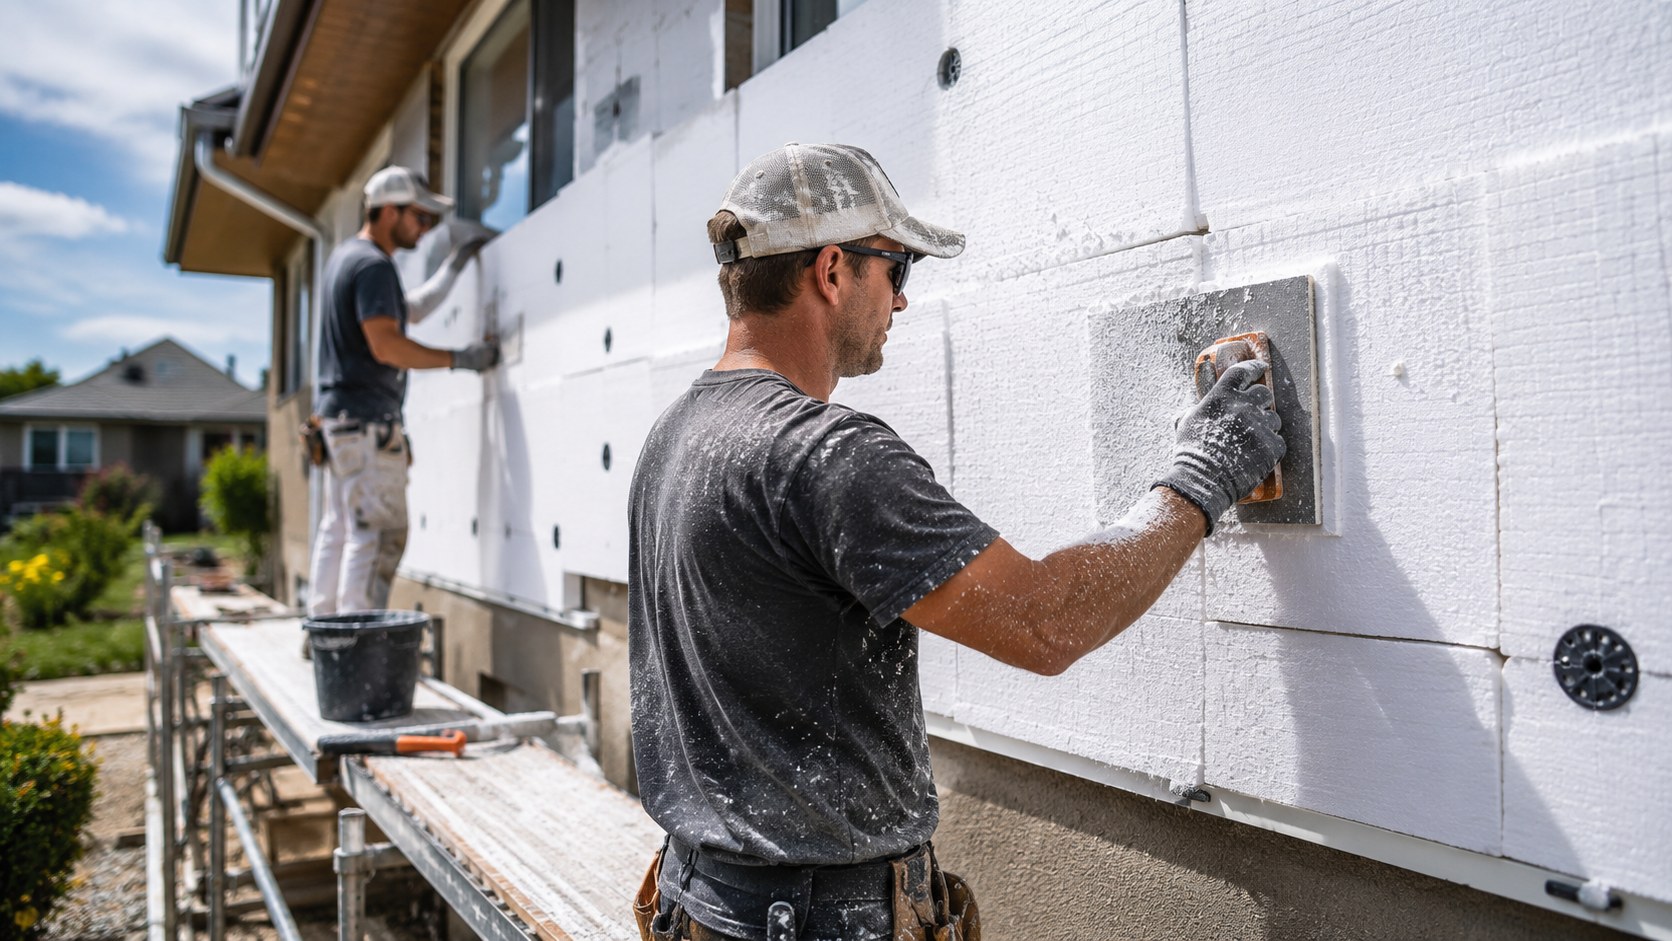
Where an EIFS assembly is used, insulation boards create the exterior thermal layer and the base for the finish system. Joints, adhesive pattern, rasping and edge alignment matter. A few minutes correcting a proud board is cheaper than staring at a shadow line for the next ten years.
Step 3: Reinforce Corners and Field Areas
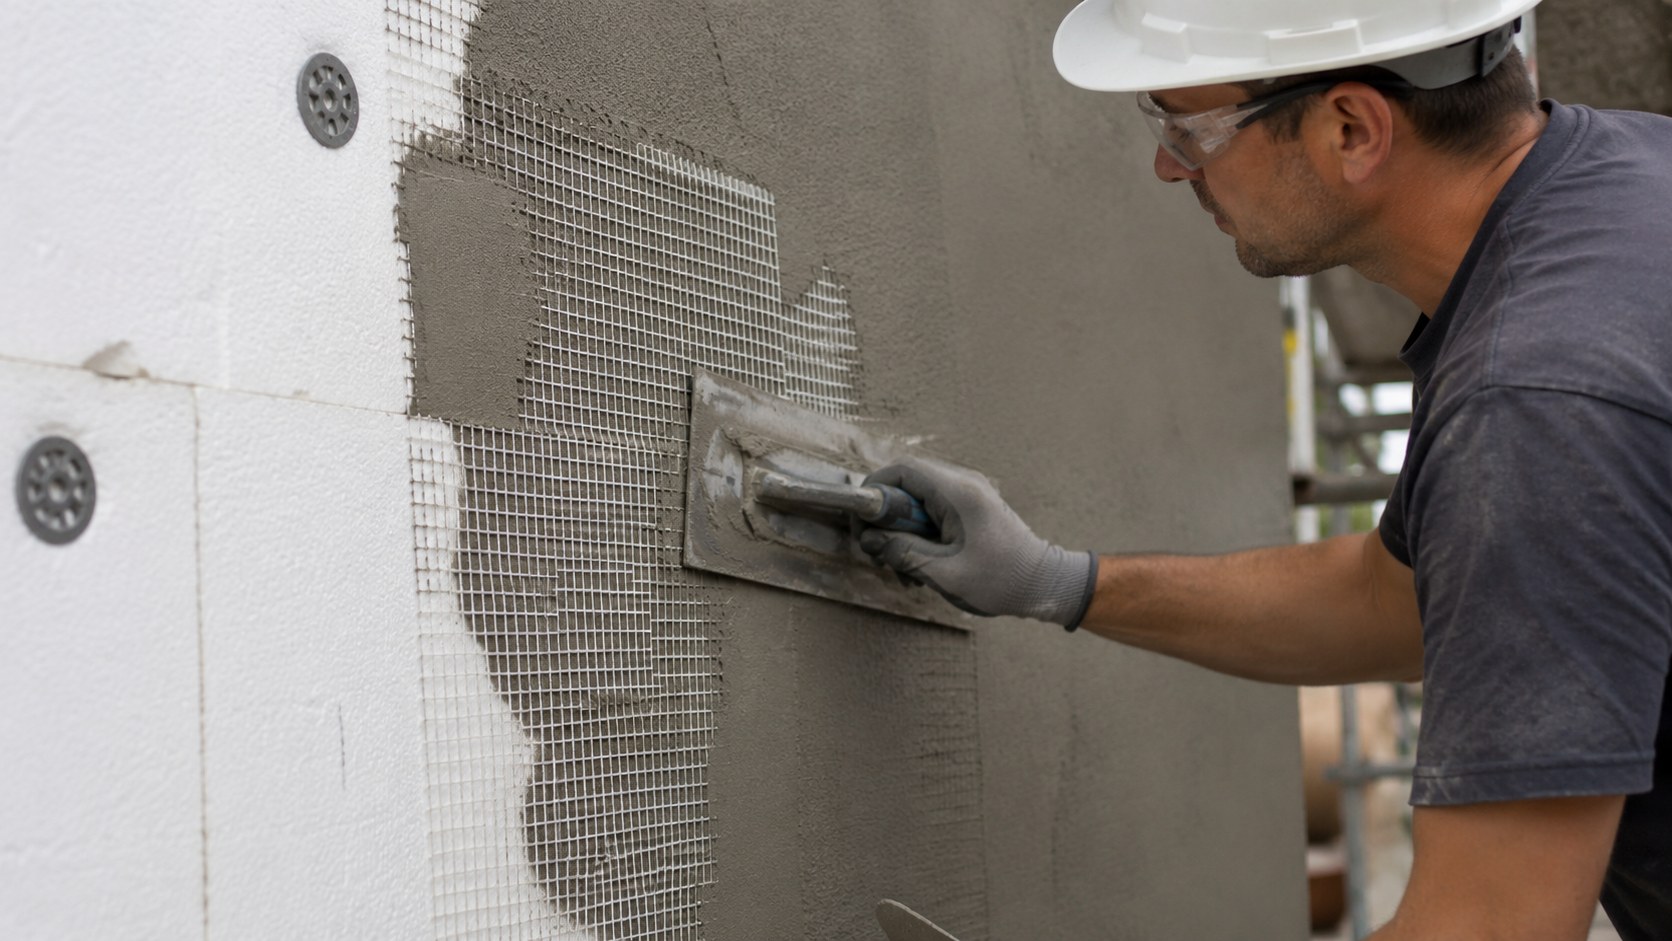
Base coat and reinforcing mesh create a durable reinforced surface over the insulation. Corners, openings and stress points need careful detailing. The surface should be ready for the finish instead of expecting the finish coat to behave like body filler.
Step 4: Choose Texture and Colour With Real Samples
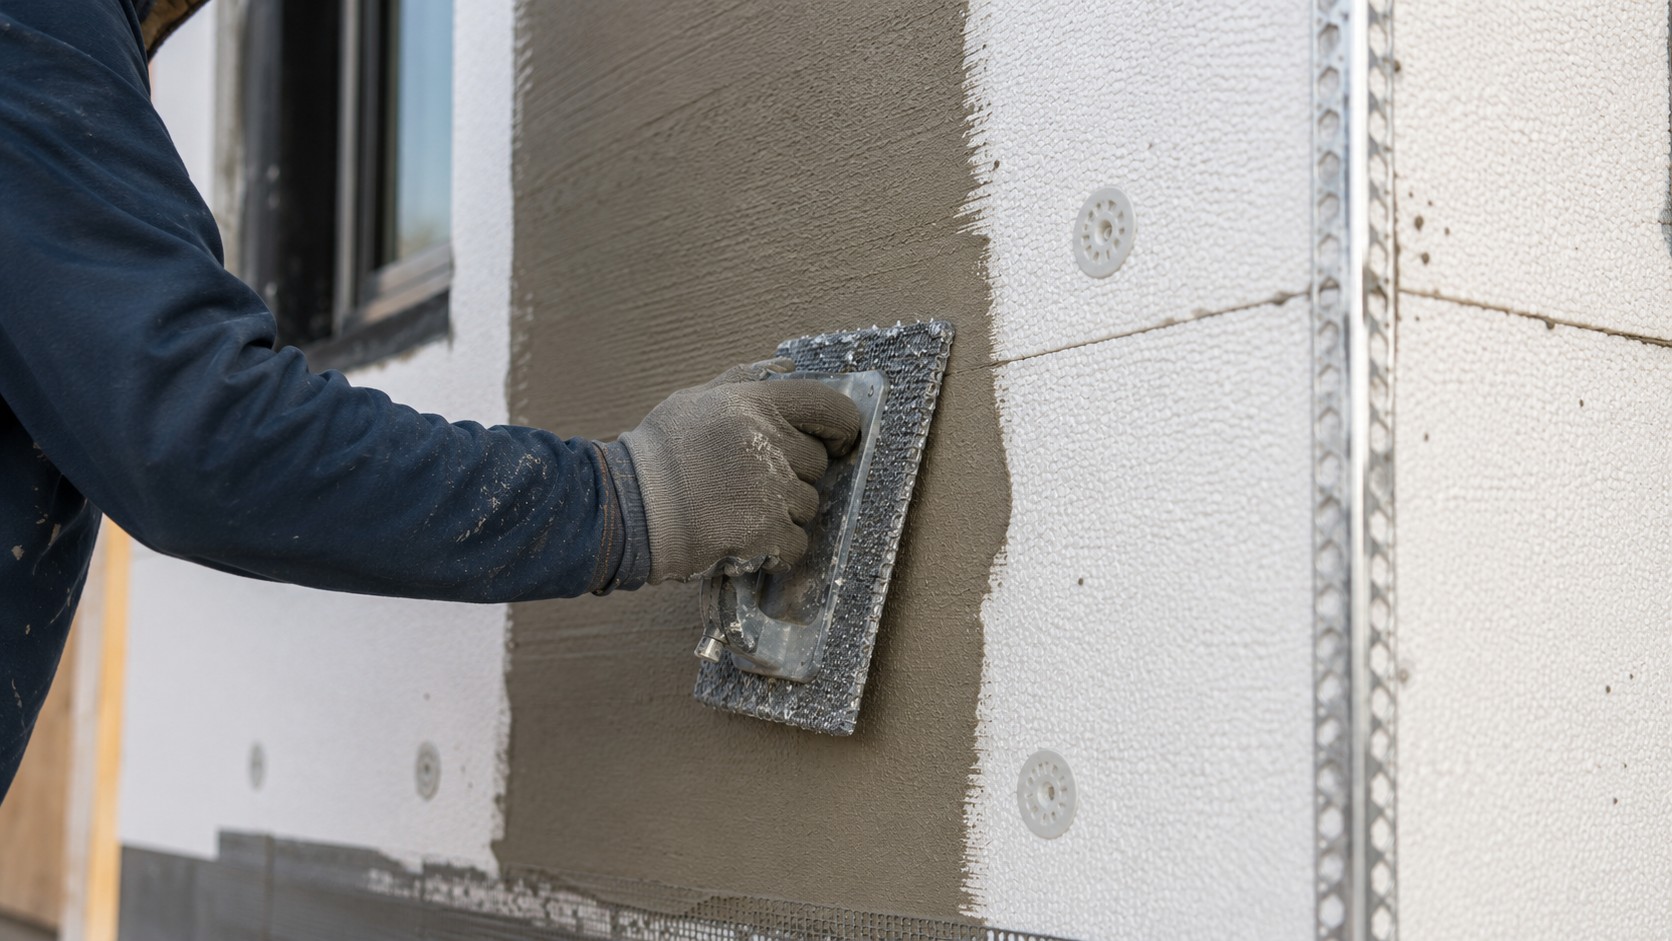
Acrylic finishes can look different depending on texture, wall orientation, lighting and colour. Large on-site samples beat tiny phone screenshots. To be honest, “warm white” has caused more family debates than some kitchen renovations.
Good exterior work is usually less dramatic than social media makes it look. Identify the wall system, fix the cause, use compatible materials and do the prep properly. The decorative finish comes last because it has the easiest job when everything underneath is right.
What We Would Check on a Real Project
| Area | What we look for | Why it matters |
|---|---|---|
| Openings | Sealant, flashing, cracks and transitions | Water tends to find complicated details first. |
| Wall field | Flatness, impact damage, staining and old repairs | Helps separate cosmetic work from deeper repairs. |
| Lower walls | Splashback, grading and physical damage | These areas often see more moisture and impact. |
| Finish | Texture, colour, fading and coating condition | Helps decide between spot work and a broader refresh. |
A Manufacturer Video Worth Watching
Manufacturer material is included as a technical reference. It is a better starting point for system details than somebody confidently guessing in a comment section.
Useful Reference
This is original Sky Stucco Systems editorial content. The external reference lets readers check product and system information at the source.
Related Reading
If this topic overlaps with another part of your project, read this related Sky Stucco guide. Keeping repairs, insulation and finish decisions in one plan usually produces a cleaner result than treating every wall issue as a separate emergency.
Send us a few photos and the rough project size.
We can usually tell you what information is useful before a site visit. And yes, we can stop by too. Photos are just a very good head start.