Here’s the useful part: focus on what applies to your home, your budget, and Ontario conditions.
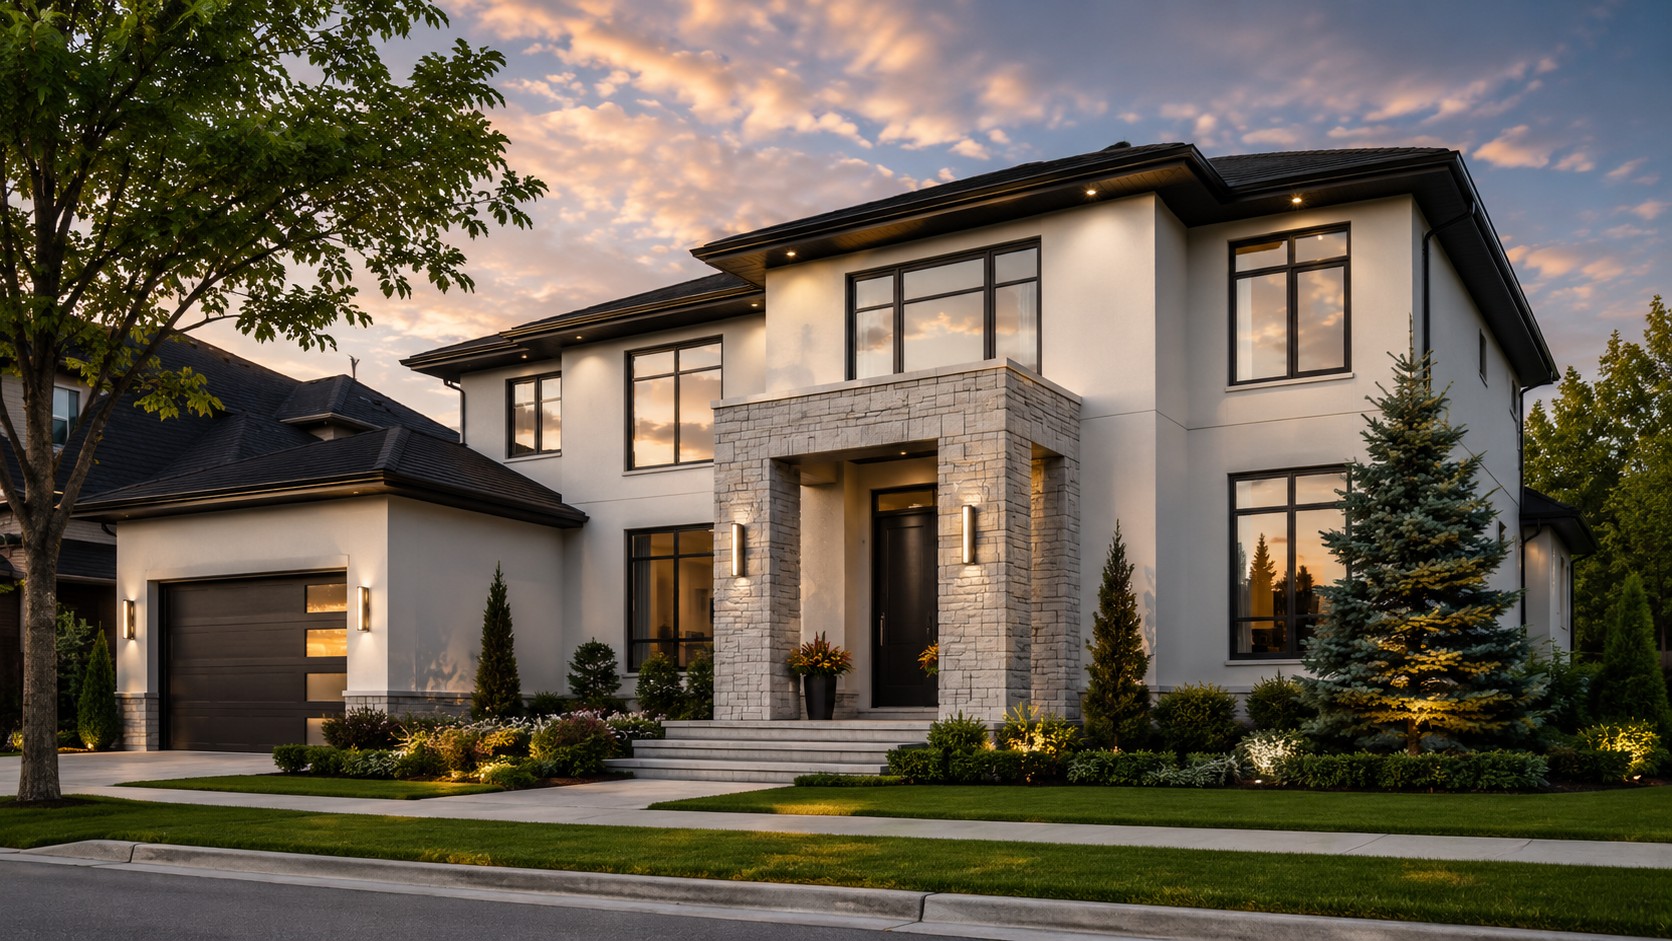
Before and after projects are fun because the difference is obvious. The more interesting story is how the transformation was organized. For this Beautiful Muskoka Lake Cottage 2026 concept, the goal was to take a tired exterior with an older roofline and dated wall appearance and turn it into a clean modern cottage using new roofing, coordinated soffit and fascia, modern stucco, fluted-panel-style accents, a refreshed porch, new stone hardscape and a landscape that finally looked like it belonged to the house.
Here’s the practical part: use the next section as a checklist, not a rulebook. Every home and project has its own little plot twist.
The design brief: modern, but still a cottage
The homeowner wanted a stronger contemporary look without making the property feel like a city house dropped beside a lake. We kept the main exterior simple, used light stucco as the primary finish and added darker architectural accents where they clarified the massing. Warm planting and stone near the entry helped the home stay grounded in the site.
My honest opinion? This is where many renovations get carried away. Adding modern materials does not require adding all the modern materials. The design worked because the palette was controlled.
Step 1: document the existing exterior
Before any demolition, photograph every elevation, roof edge, window, door, deck connection and service penetration. Note existing damage, awkward transitions and areas where water or snow collects. These photos become the project map and a useful record once layers are covered.
The original exterior showed several different visual eras. The roofline, wall finish and entrance did not feel connected. Instead of treating each as a separate repair, the renovation plan tied them together.
Step 2: roof, soffit and fascia first
The roof work was scheduled before the wall finish because the roof edge establishes the top termination of the exterior. New soffit and fascia created a clean dark frame and gave the new stucco something intentional to meet. Eavestrough and downspout locations were coordinated so they did not interrupt the most important facade lines.
This top-down approach also reduced the chance that roofing work would later mark or disturb completed wall finishes. The new roof instantly changed the proportions of the cottage because the edge lines became sharper.
Step 3: prepare and insulate the walls
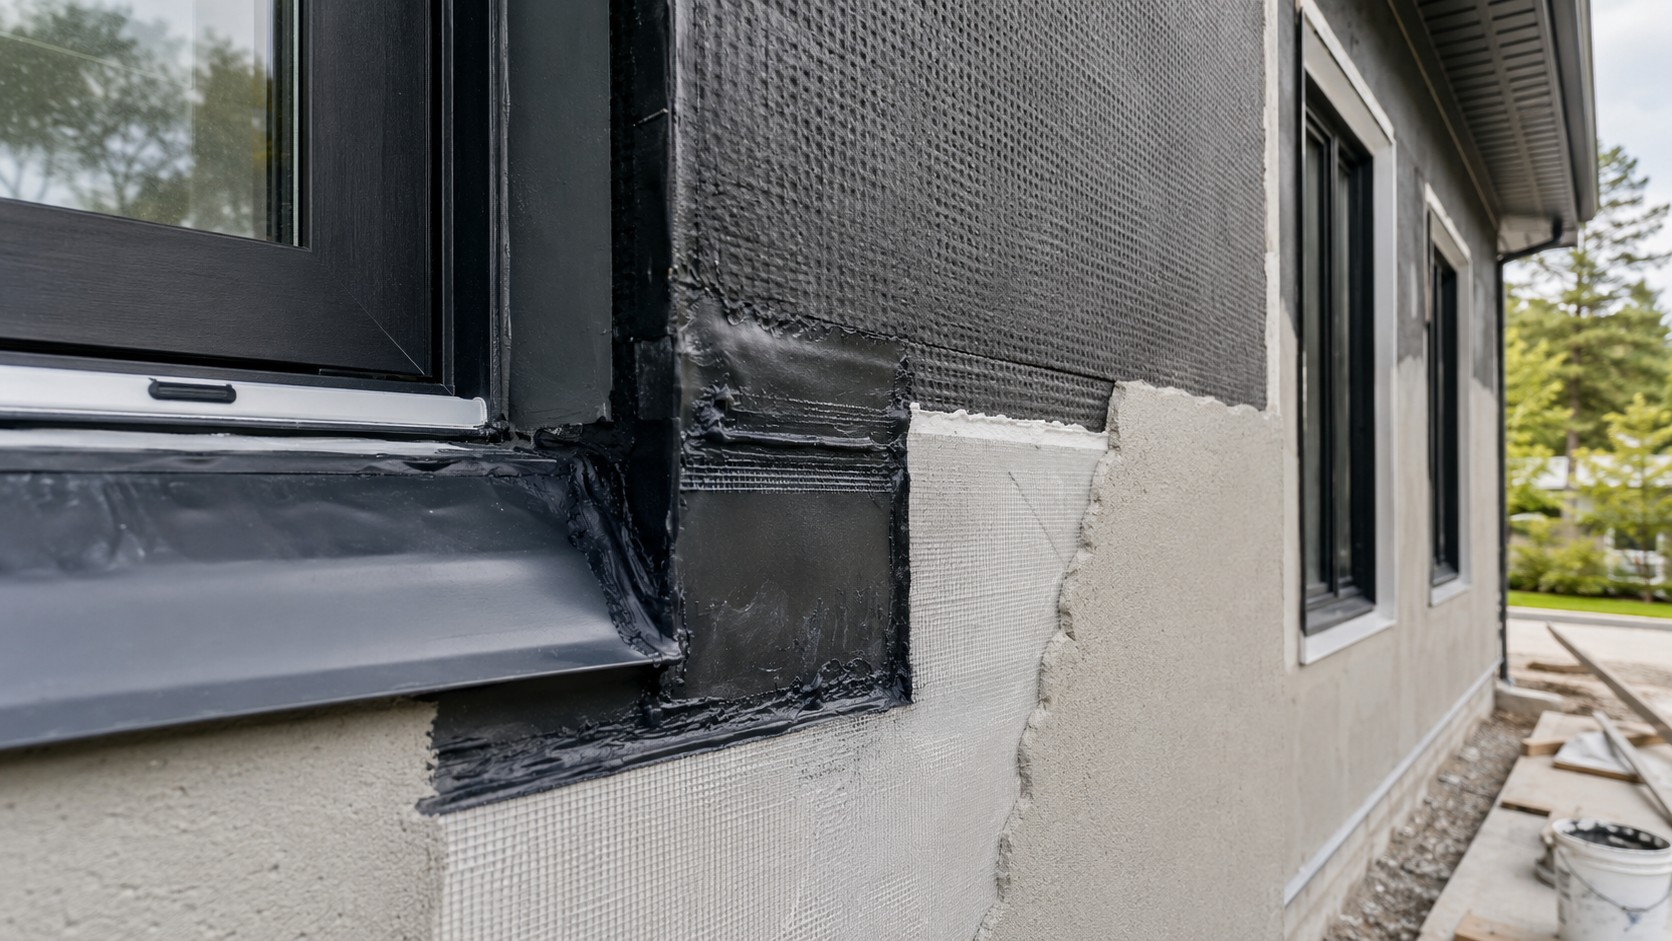
After repairs and substrate preparation, the exterior insulation layout was planned around corners and openings. Straight insulation work is important because any waviness becomes more obvious on a modern smooth finish.
Mesh and base coat created the reinforced surface. Extra attention went to window and door transitions, corners and areas around exterior fixtures. The finish coat was not rushed onto a wall that still needed correction.
Step 4: create the fluted-panel combination
The fluted accent was used as a feature rather than wrapping the entire house. It gave the entrance and selected volumes more depth while the main stucco surfaces stayed calm. A dark accent tone connected visually to the windows, fascia and roof.
Where panel-style lines were created with the stucco system, the layout was coordinated with window edges and major architectural breaks. The goal was the rhythm of panel cladding without random lines wandering across the facade.
Step 5: finish coat and colour balance
A light main finish brightened the cottage and contrasted with dark trim. The selected finish was smooth enough to feel modern but still appropriate for a residential exterior. Samples were reviewed in exterior light because the surrounding trees changed how the colour read throughout the day.
Warm entry lighting softened the black-and-white contrast after sunset. That small detail helped the house feel welcoming rather than stark.
Step 6: rebuild the porch as part of the facade
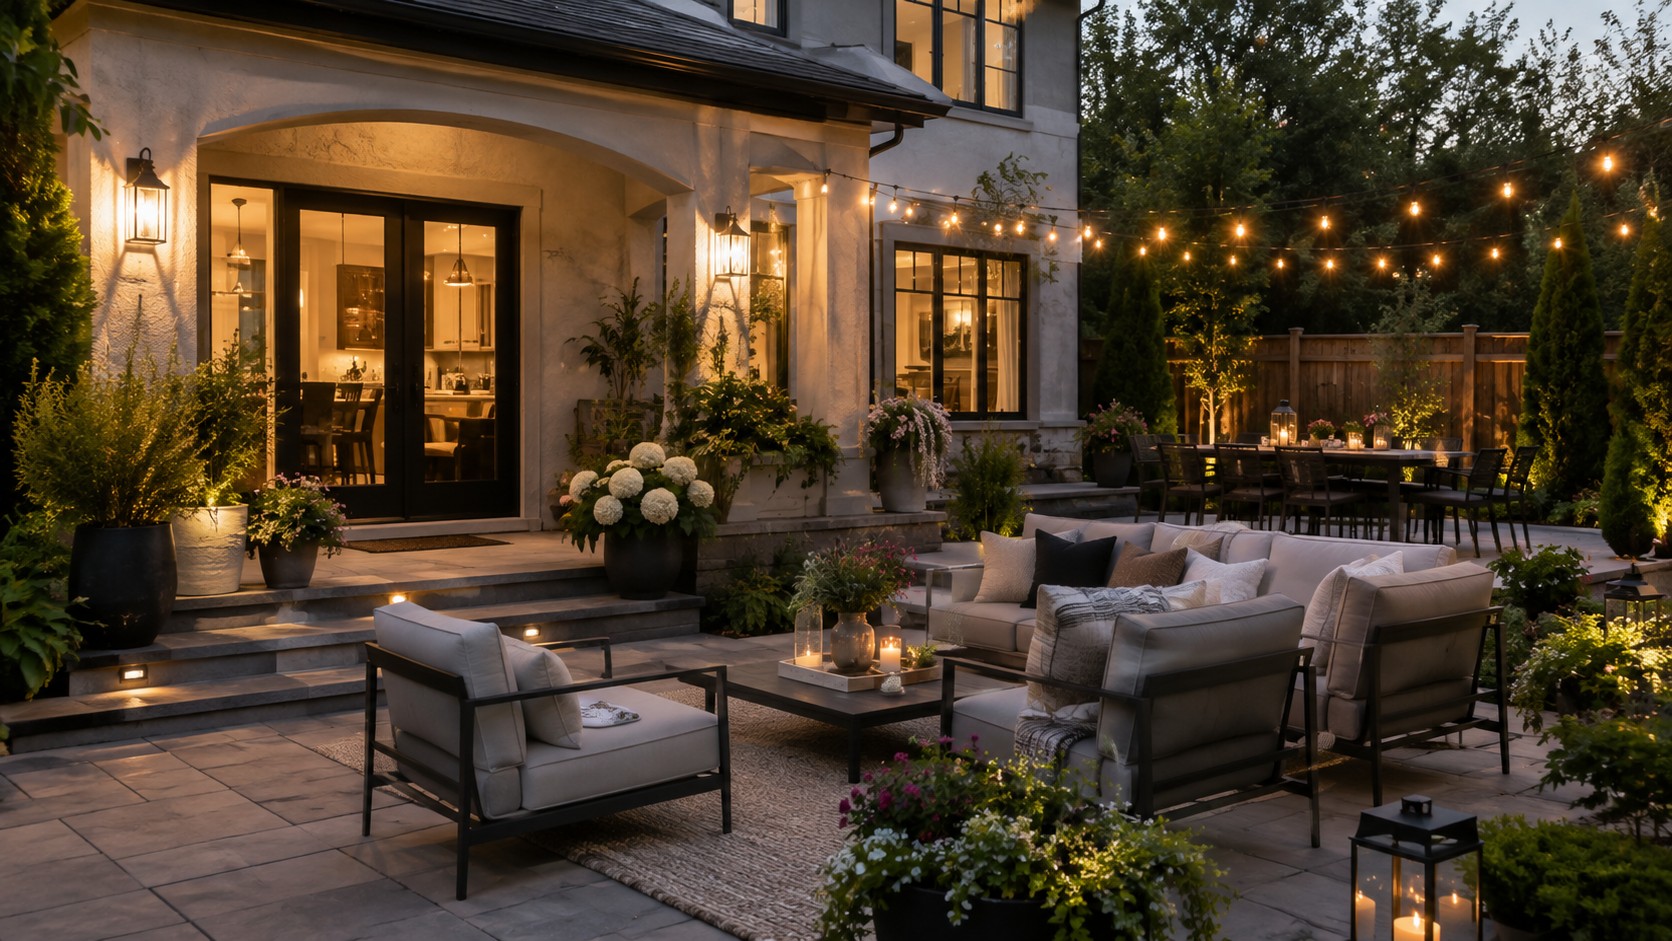
The old entrance felt smaller than the rest of the house. The refreshed porch used cleaner steps, stronger visual framing and a simple dark door. New stone at the landing connected to the hardscape and created a more generous arrival.
The porch ceiling and lighting were coordinated with the new soffit language. Instead of looking like a separate little roof stuck to the house, the entrance became part of the exterior architecture.
Step 7: stone patio, grass and landscape cleanup
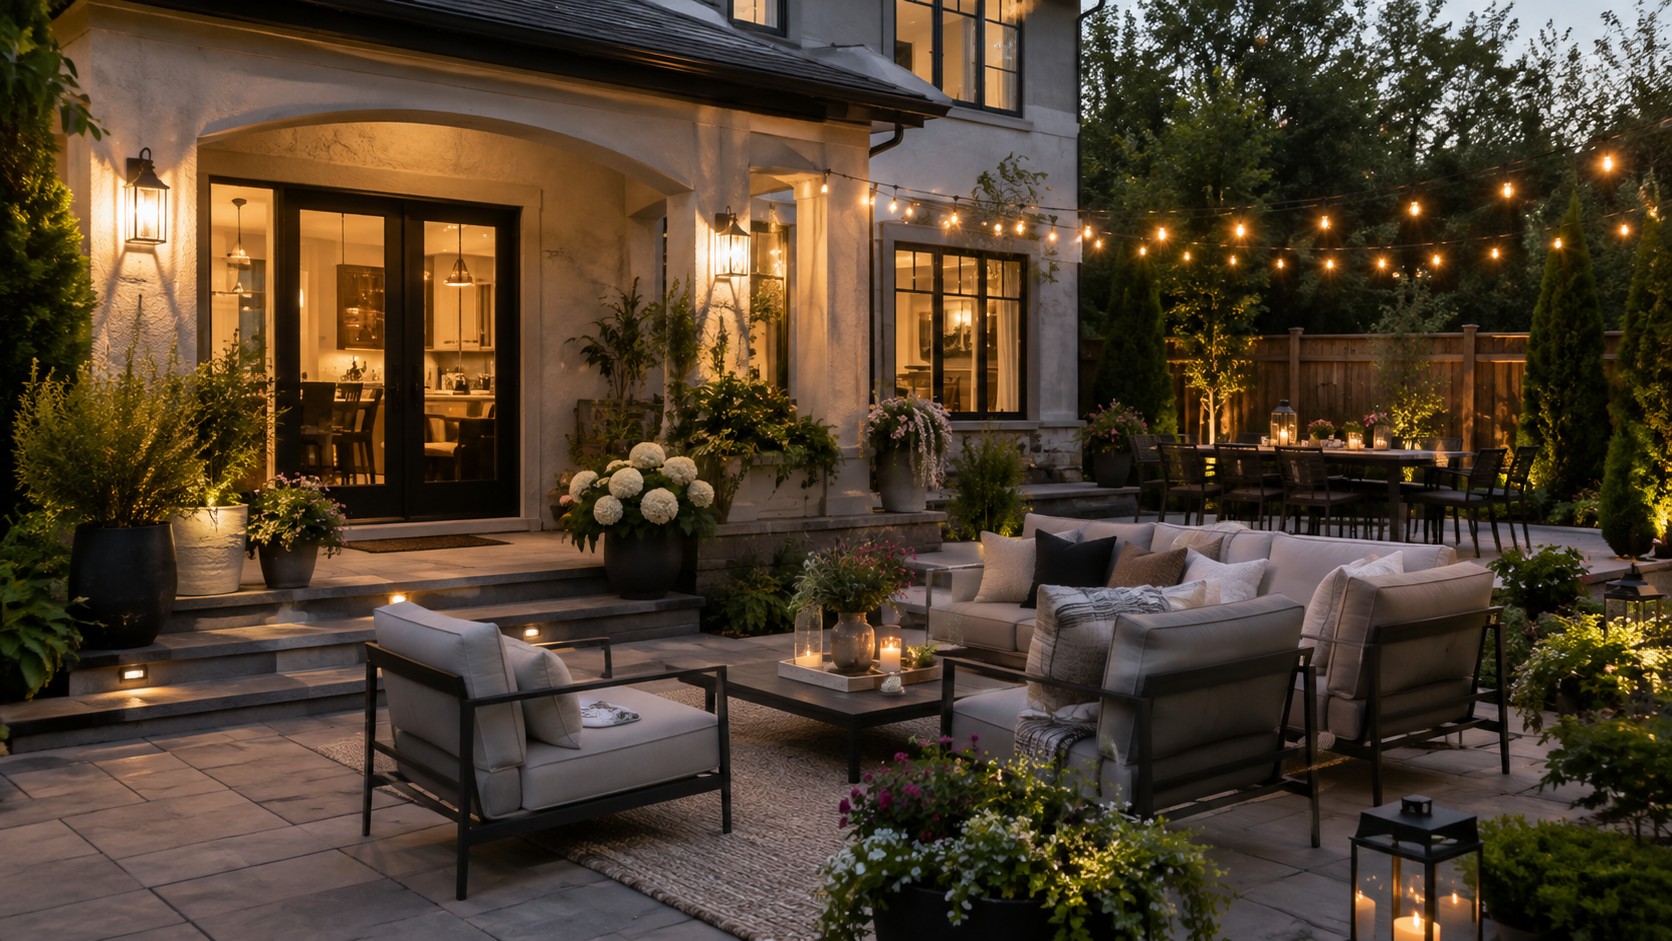
New stone paths and patio areas were set with drainage in mind. Finished grades stayed appropriately below wall terminations. The lawn was repaired and planting beds were simplified so the new facade had room to breathe.
The landscaping did not need to be elaborate. Healthy grass, defined beds, evergreen structure and a few warm lights were enough to make the project feel finished.
What changed visually
- The dark roofline gave the cottage a stronger outline.
- Light stucco made the main mass feel cleaner and brighter.
- Fluted/panel-style accents added depth without overwhelming the facade.
- The porch became a real focal point.
- Stone hardscape connected the entrance to the yard.
- Landscape lighting made the exterior work visible at night.
What changed functionally
The project also improved the building’s everyday experience. Entrance circulation was clearer. Roof and wall transitions were coordinated. Drainage had a planned path. The patio was more usable. Exterior lighting improved safety around steps and made the cottage easier to approach after dark.
Walkthrough: how to plan a similar renovation
- Photograph existing conditions and identify technical problems.
- Choose the overall design direction before ordering roofline materials.
- Complete roof, flashing, soffit and fascia work.
- Repair and prepare exterior walls.
- Install insulation/system layers and pre-plan grooves or accents.
- Complete mesh, base coat and finish coats.
- Install final lights, trims and accessories.
- Complete porch, patio and landscape work with correct drainage.
The biggest lesson from the transformation
Basically, the renovation looks expensive because it is coordinated, not because every surface is covered in an expensive material. The roof, windows, stucco, accents, porch and landscape all repeat the same visual language. Nothing is fighting for attention.
That is the part worth copying from a before-and-after project. Do not copy a colour just because it looks good in one photo. Copy the process: fix the building first, choose a controlled palette, line up the details and finish the ground around the house so the renovation feels complete.
Why the after photo feels larger even though the footprint stayed similar
The new exterior uses stronger horizontal and vertical lines. Dark window frames visually connect openings, while the light stucco reduces the number of competing colour breaks. The entrance volume is easier to read and the landscaping no longer hides the base of the architecture. Those changes make the facade feel more organized and, as a result, visually larger.
The project also avoided undersized details. Exterior lights, planters and entry steps were scaled to the house. Small accessories on a large facade can look accidental, while properly scaled pieces help the architecture feel confident.
How the fluted accent was kept from becoming trendy clutter
Fluted and ribbed surfaces are visually strong. The design used them only where they reinforced the entry and selected architectural volumes. The main walls stayed smooth, giving the eye somewhere to rest. This is an important lesson if you like a current design trend: use it as punctuation, not as every word in the sentence.
The accent colour was tied to the roofline and window palette so it felt integrated. If the feature had introduced a completely unrelated colour, the facade would have become busier.
What the homeowner should monitor after year one
After the first full cycle of seasons, inspect sealants, drainage paths, exterior accessories and areas where snow or vegetation contacts the building. Confirm that new stone has not settled in a way that changes drainage near the wall. Clean gutters and make sure downspouts still discharge where planned.
The first-year review is also a good time to photograph the finished exterior again. Those photos become a baseline for future maintenance and make it easier to notice gradual changes instead of waiting for a problem to become obvious.
Quick homeowner FAQ
Should every part of the renovation happen at once?
No. A phased project can work very well when each phase is planned around the next one. The important thing is to avoid finishing work that you already know must be removed later. Water-management and building-envelope priorities usually deserve the earliest attention.
How early should finishes be selected?
Earlier than most people expect. Roof, fascia, stucco, doors, windows, stone and lighting affect one another visually and sometimes technically. Selecting the main palette before installation starts makes the project feel coordinated instead of assembled one decision at a time.
What should I keep after the project?
Keep product names, finish colours, warranties, maintenance notes, contractor contact information and progress photographs. A small digital folder can save a surprising amount of detective work later when you need a repair, touch-up or future addition.
What is the best way to avoid over-designing a cottage?
Pick one main material, one supporting accent and a simple colour story. Let the view, trees and landscape do some of the visual work. A cottage does not need every trend at once. Strong proportions, clean transitions and useful outdoor spaces tend to age better than a collection of decorative features competing for attention.