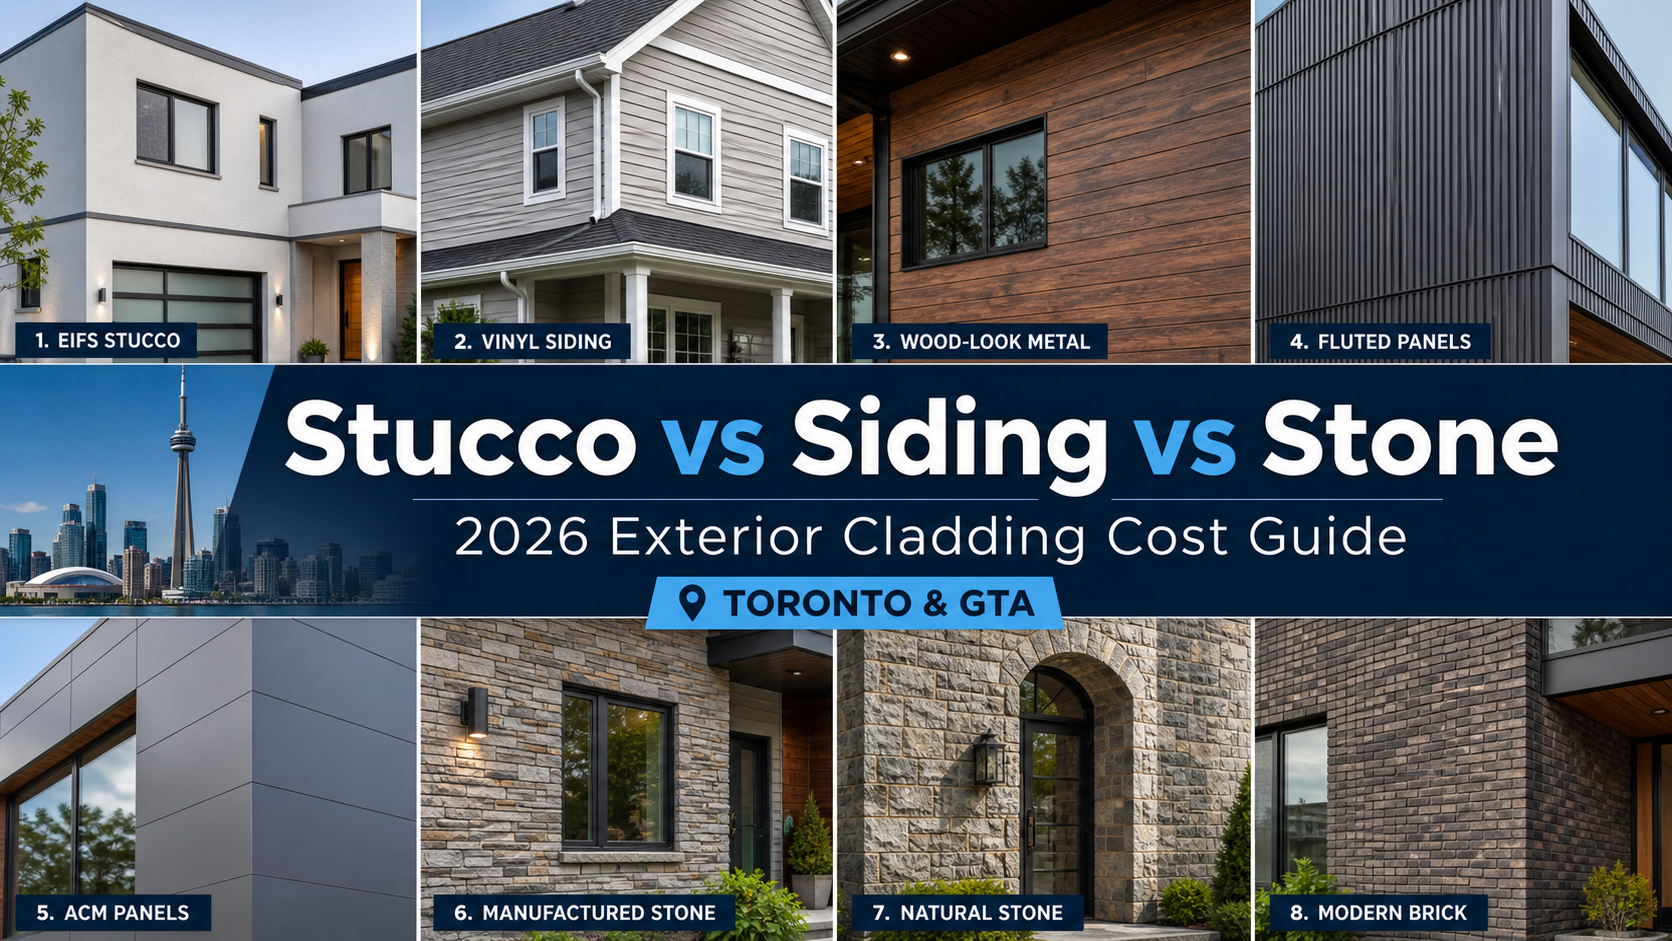

EIFS has been in use since the 1960s in North America, first on masonry buildings, but since the 1990s the majority on wood-framed buildings. There is a history of water infiltration problems causing damage to buildings resulting in costly legal cases, so the recommended systems include a drainage plane to let water drain down and out from behind the cladding. When properly installed you ain’t going to face any big issue. EIFS are typically attached to the outside face of exterior walls with adhesive (cementitious or acrylic-based) or mechanical fasteners. Adhesives are commonly used to attach EIFS to gypsum boards, cement boards, or concrete substrates. Now let’s dive in deeper to find out how to properly install EIFS stucco.
Necessary things to do before you start install EIFS stucco.
Coming up with these activities before starting the whole process can really speed things up for installation.
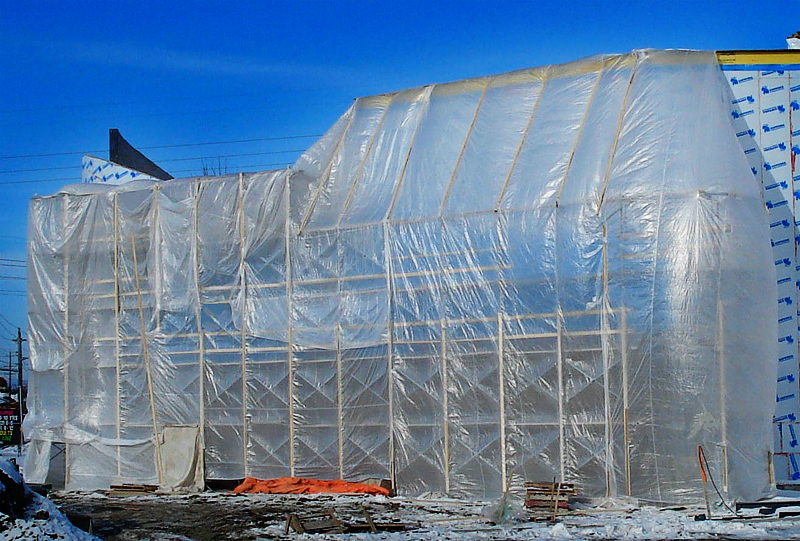
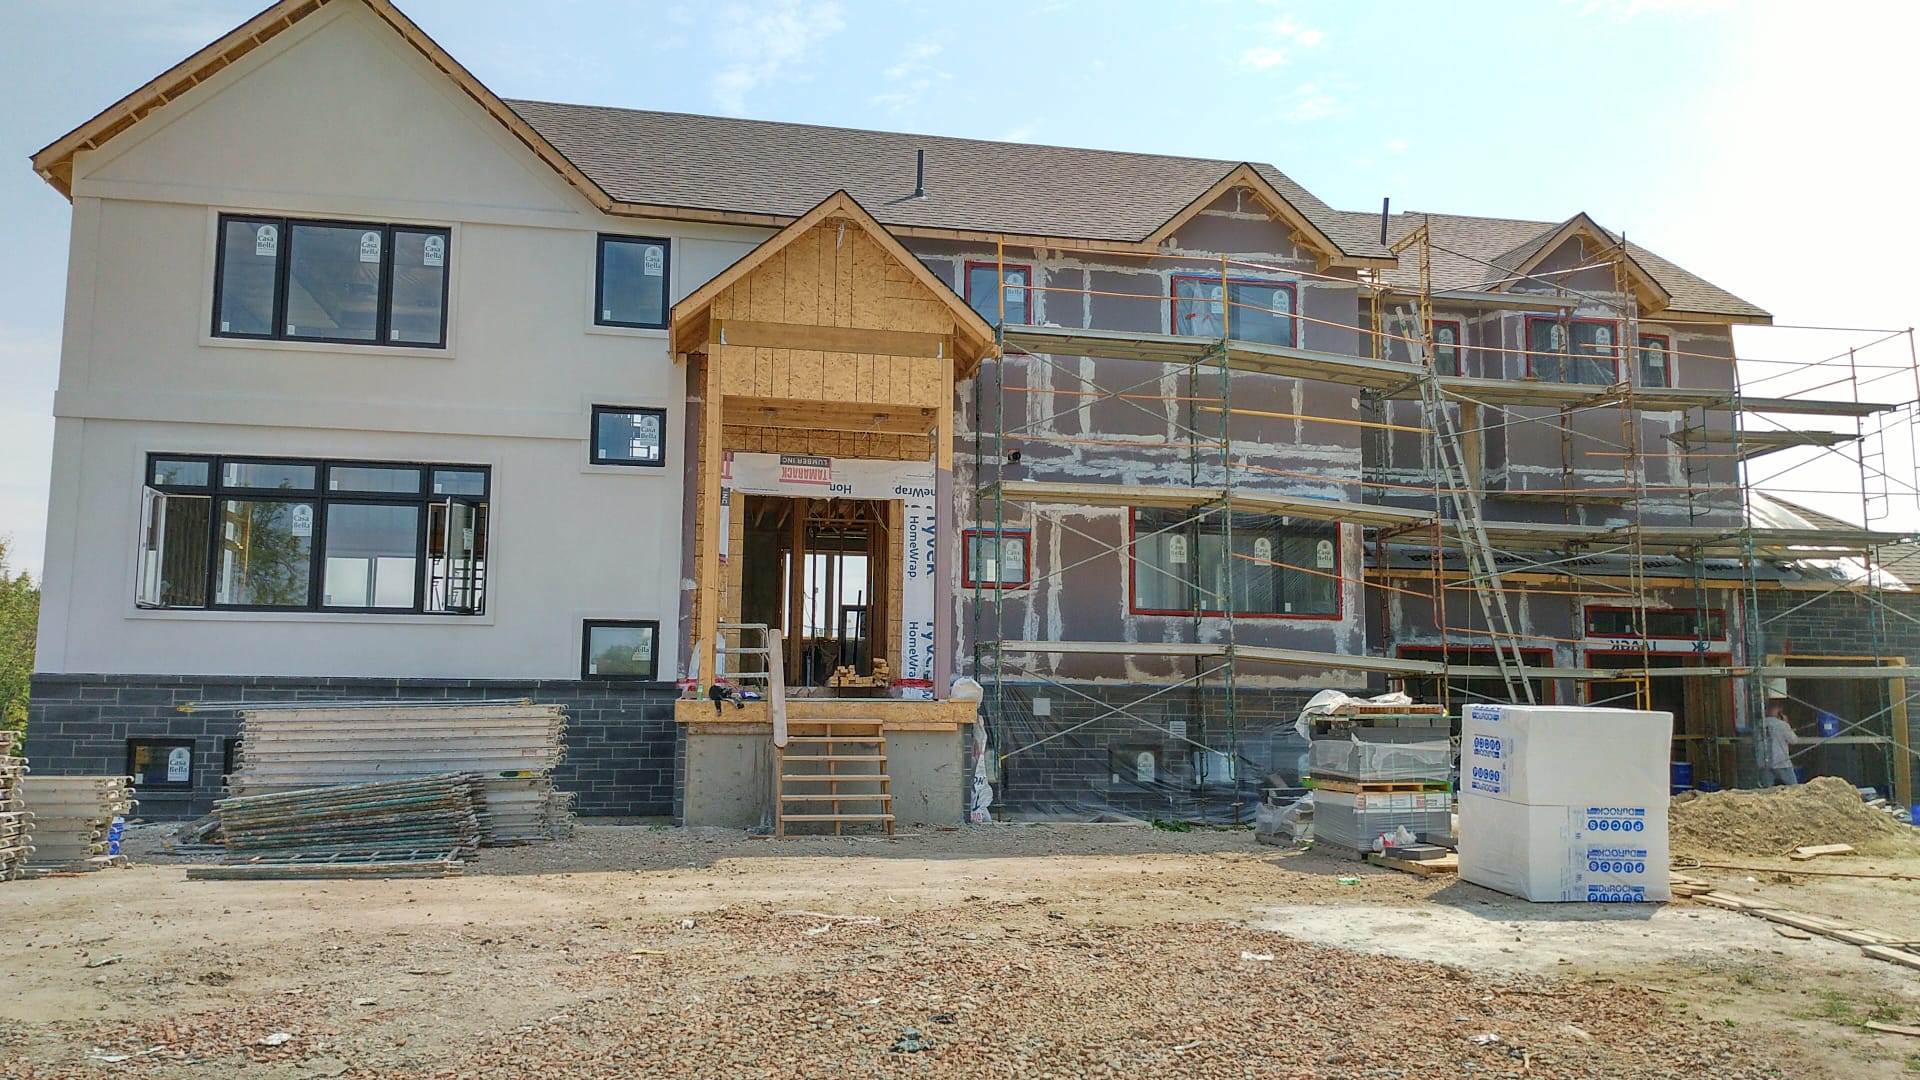
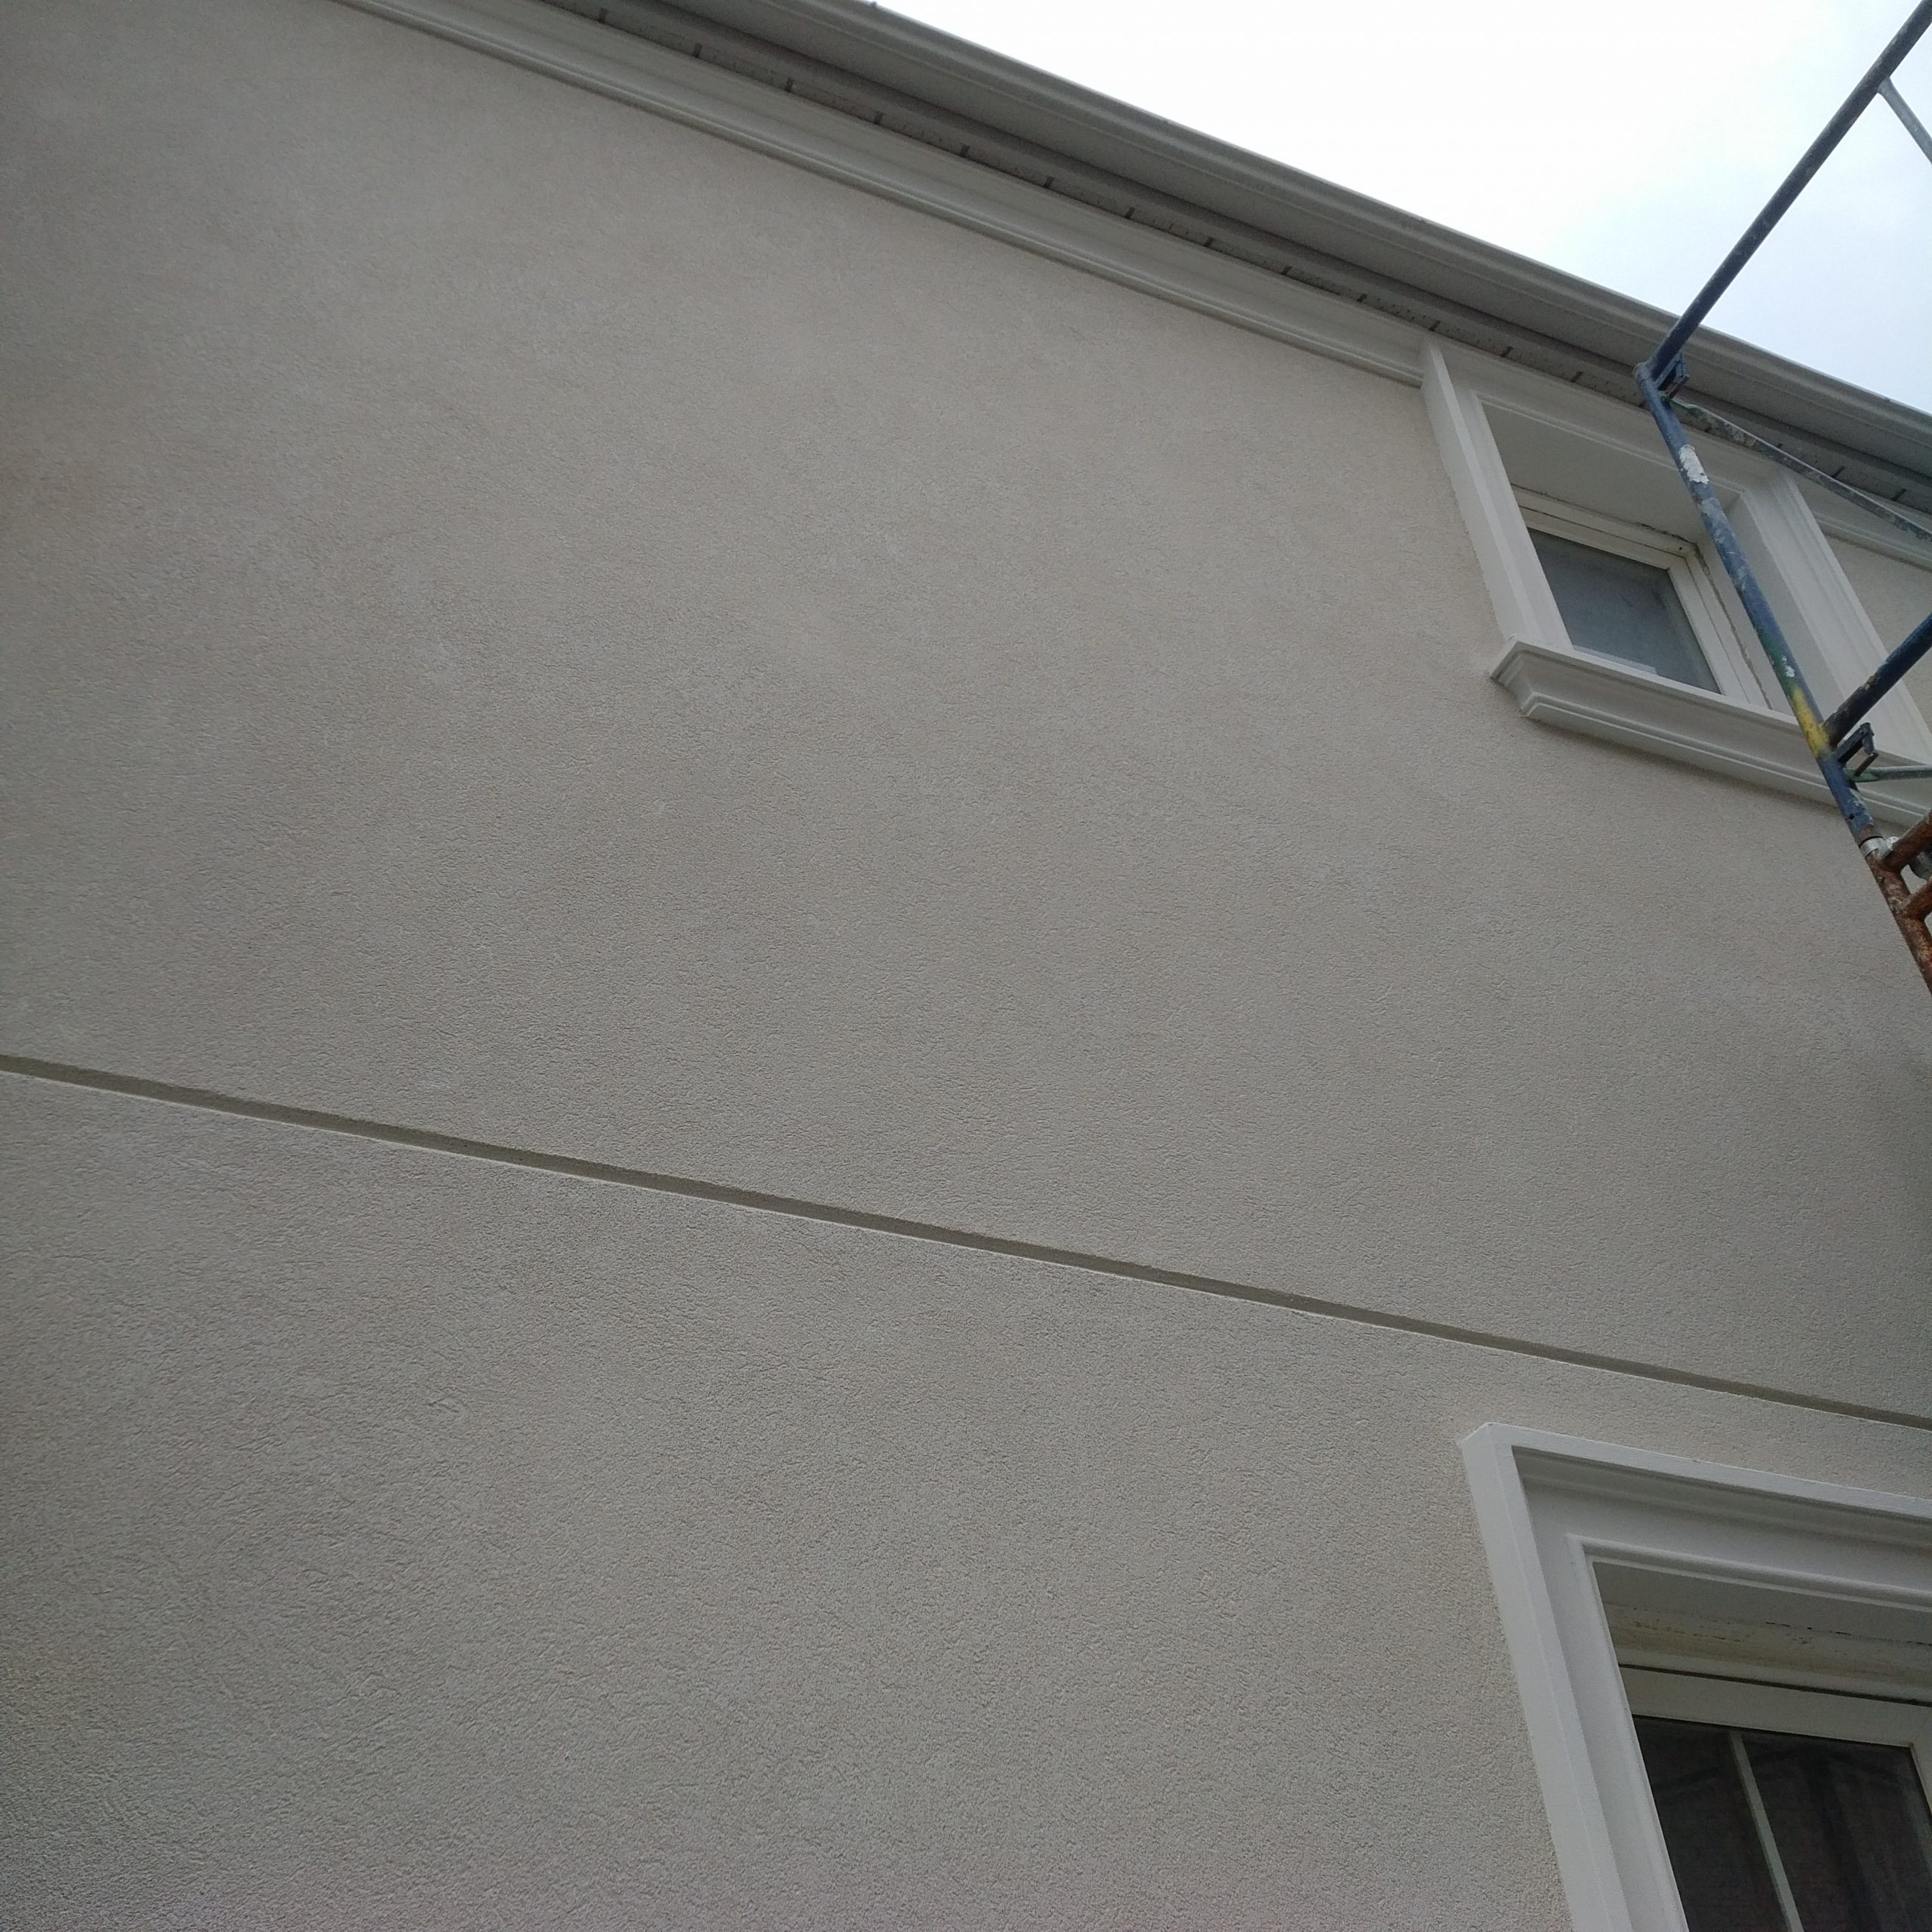
- Set up scaffolding the day before you want to start by making sure it is erected by OSHA safety regulations.
- Protect all the important areas using masking tape before you start working.
- Make sure you are using the correct material to work.
- Finally, making sure you are following the manufacturer’s guide or manual.
Application Process of how to install EIFS Stucco
There are so many different methods to create a perfect EIFS stucco but I am going to show you the best form and the simple way to go by. The key ingredient here is to make sure there is no moisture in the systems. Now let’s begin on how to install your EIFS stucco.
Attachments
The most common way and Effective way to Install EIFS stucco and to attach the insulation to the building is with adhesive. Use specially designed adhesives to fasten all elements in the EIFS structure. You should avoid metal fasteners since the conductivity of the metal contradicts the process of reducing energy. Here, Sto does not recommend the use of mechanical fasteners, they only do when the substrate is incompatible with adhesive. Security-wise, some architects will specify a mechanical attachment. It all depends on who you are working with.
Backwrapping
In other to apply the insulation boards to the wall, a strip of reinforcing mesh is attached to the base of the substrate. This mesh will fasten around the edge of the insulation. This is what we call “backwrapping.”
The two major purposes of back wrapping are:
- Ensuring you protect the edges of insulation boards.
- Ensuring you attach the whole edge of the insulation system.
Insulation Boards
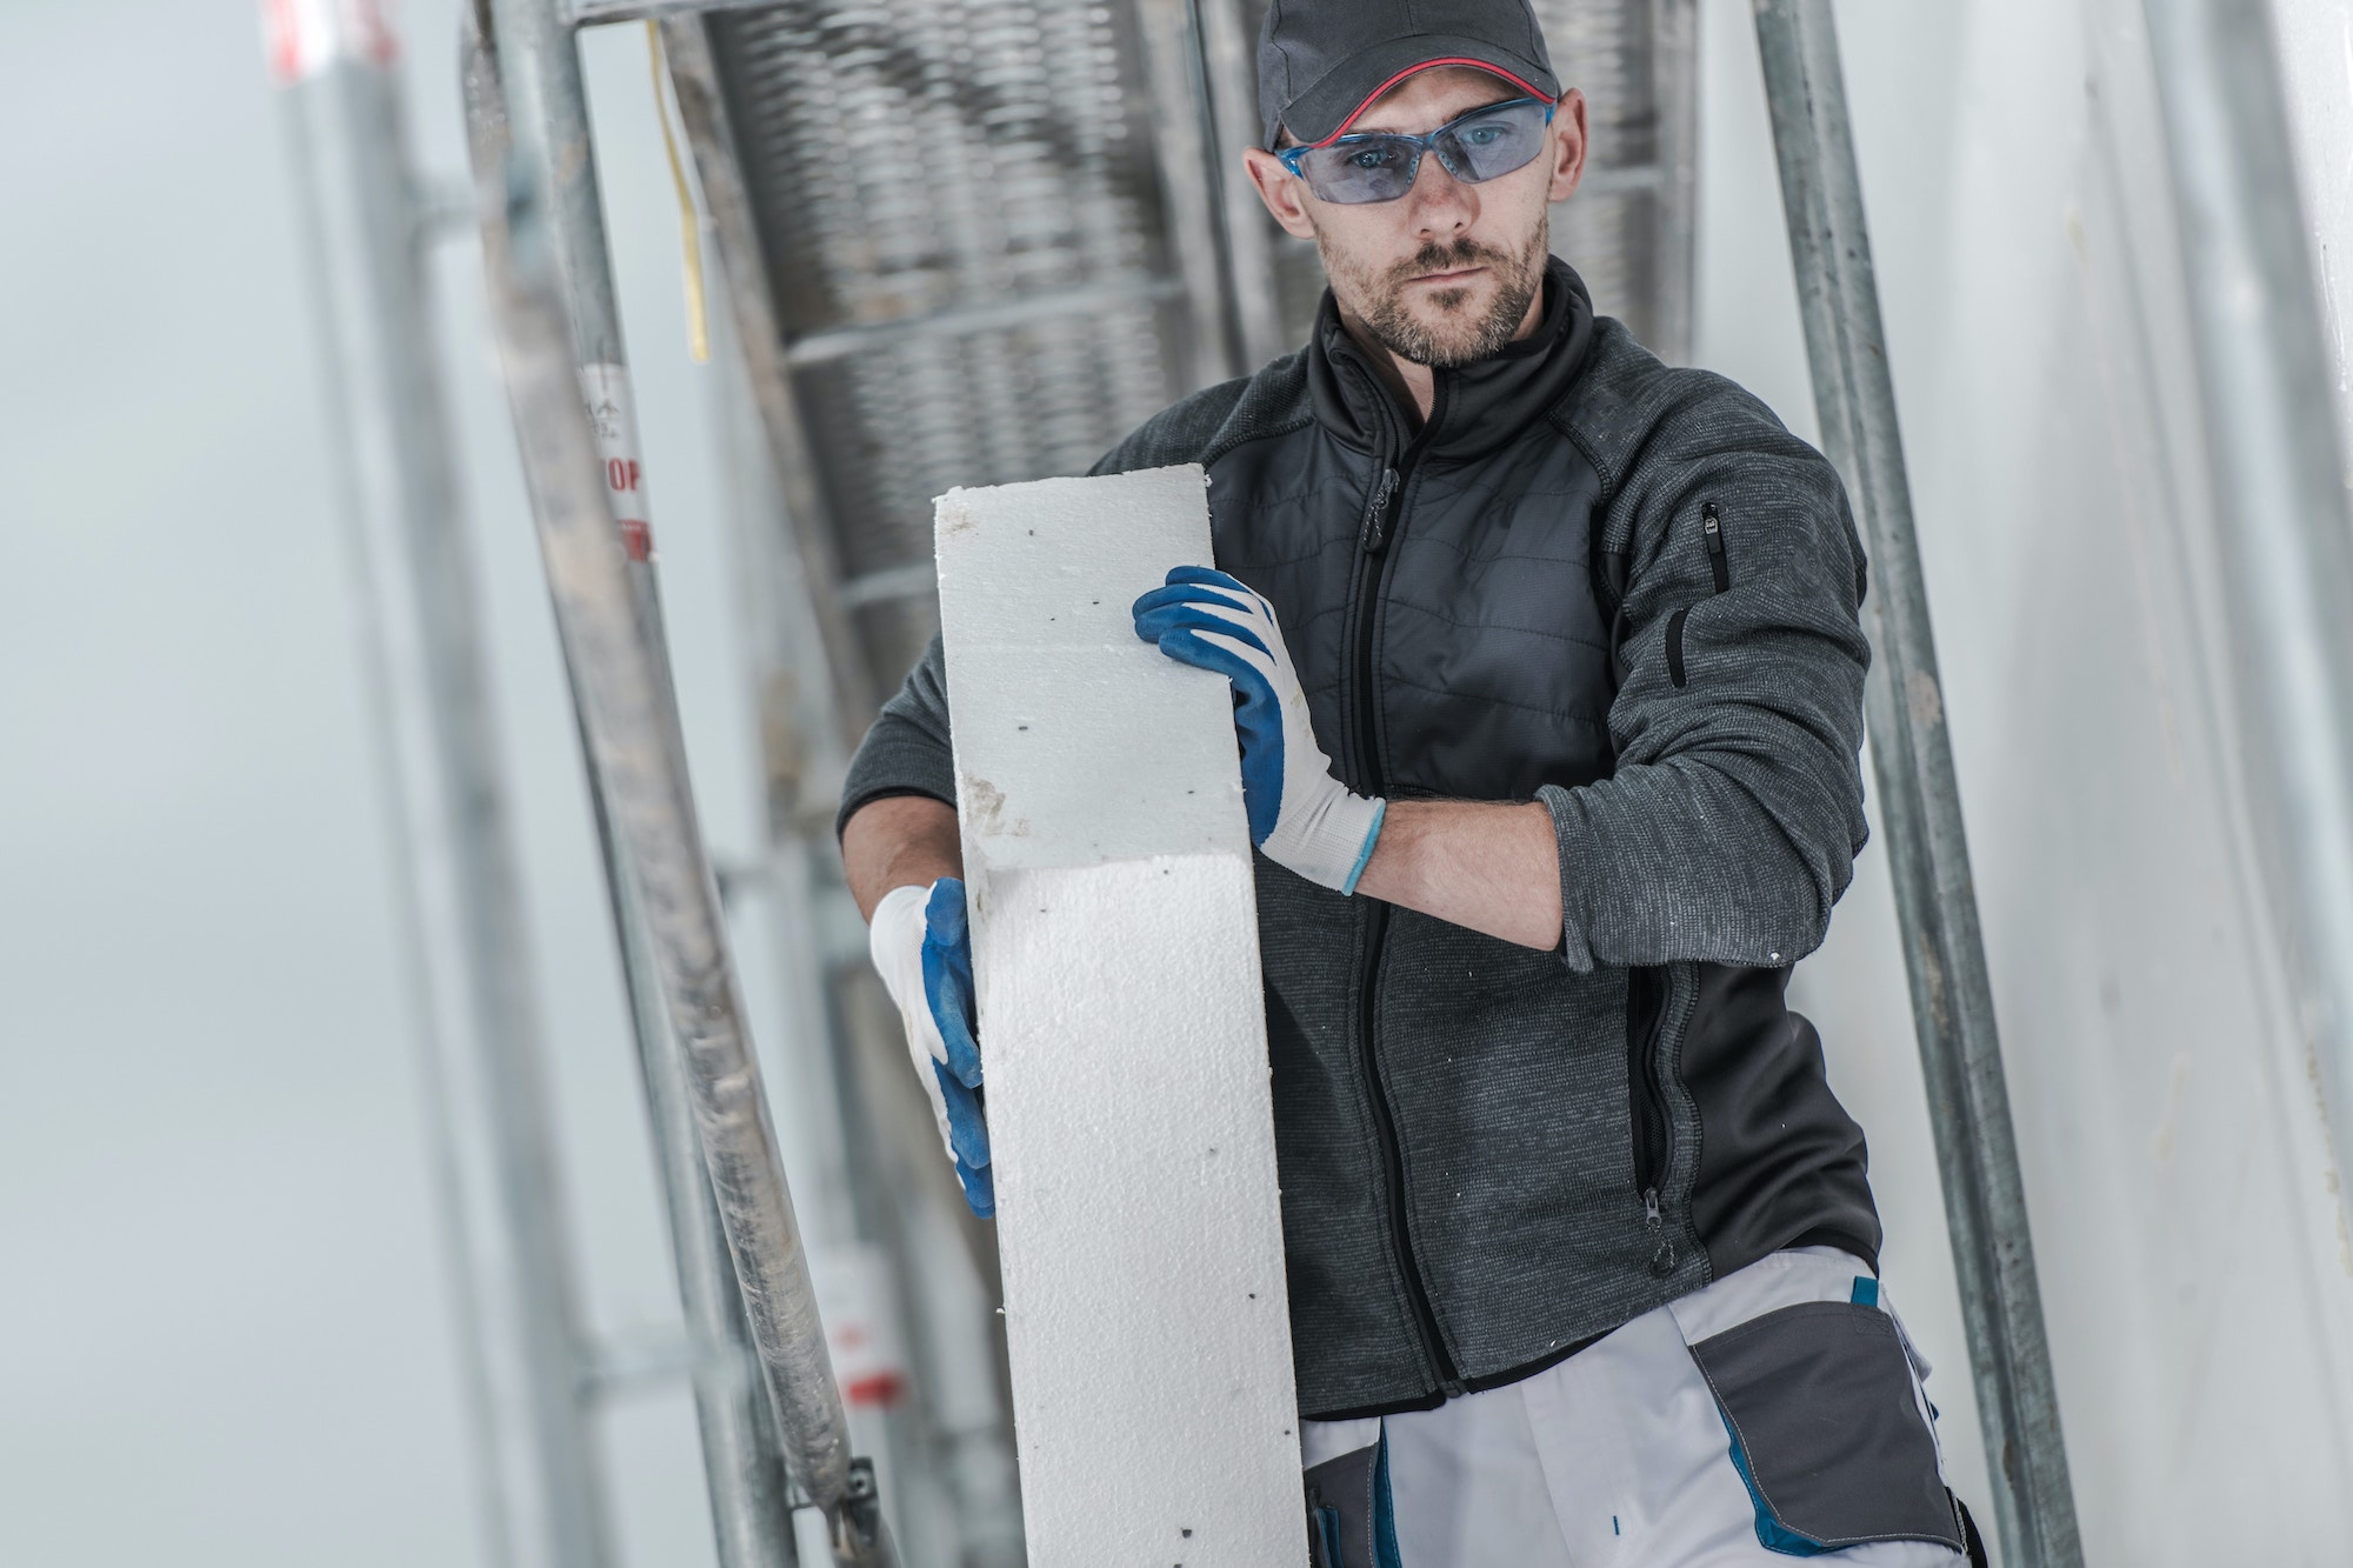
The insulation boards used are Expanded Polystyrene or “EPS” boards. There are several thicknesses available. The minimum thickness allowable is 3/4 inches (19 mm). Most building codes will permit the thickness to be up to 4 inches (100mm) maximum. When applying the boards, make an effort to remove any gaps between each piece. The insulation boards should be cut with a knife using a T-square to guide the cut. Keep the knife sharp and hold the blade at a low angle( around 30° or less ) when cutting the board. This allows it to slice through the insulation.
Upon delivery, the following should be checked:
- EPS should come in plastic bags.
- Each bag should identify technical properties.
- All the boards should be wire cut and the edges are to be square cut.
- Also, make sure the EPS boards were not damaged in handling.
Adhesive Application to ensure Effective way to Install EIFS stucco
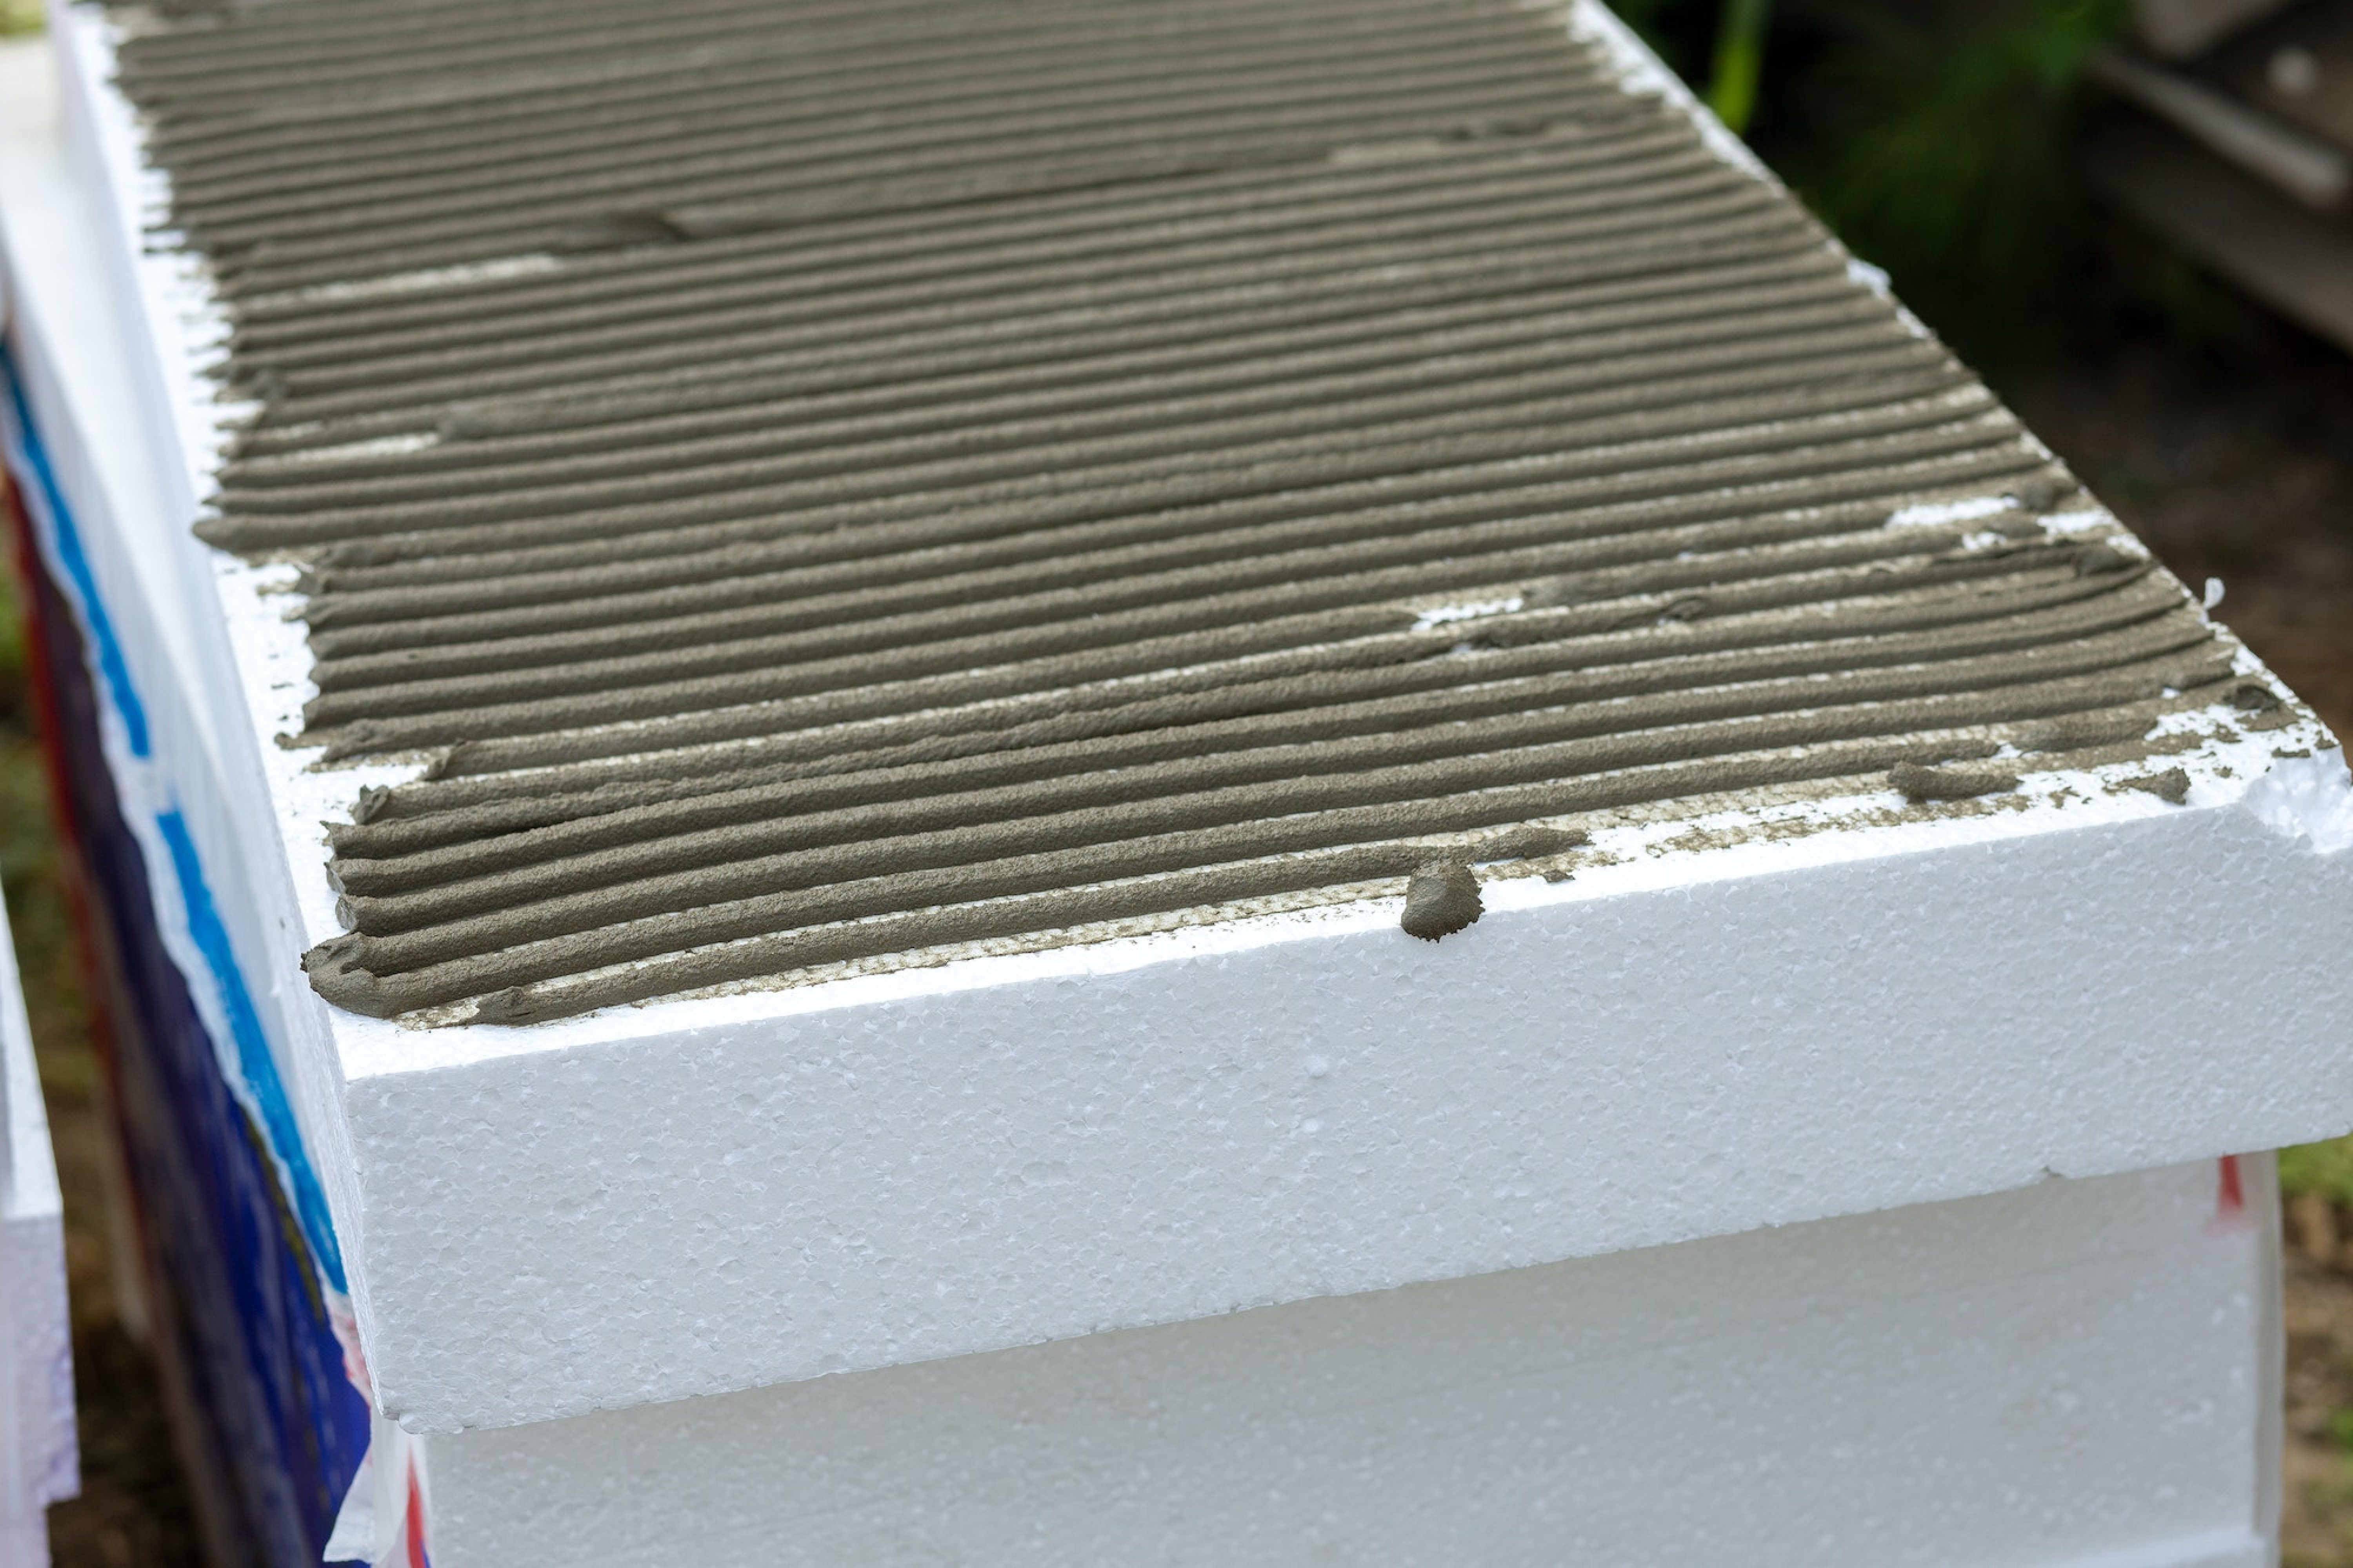
Apply the adhesive to the insulation board using the correct size notched trowel. Hold the notched trowel at a minimum 30° angle to create the correct size ribbons. When creating the ribbons, press the trowel firmly (this will prevent the excess adhesive from collecting between the ribbons). Keep the trowel clean to prevent any adhesive build-up in the notches.
The ribbons should run horizontally (parallel to the long dimension of
the board) when the boards are applied to the wall. The ribbons of adhesive are applied vertically (parallel to the short dimension of the board). This creates channels for moisture drainage. To make application easier and quicker, build an “easel” to hold the insulation boards as you apply the adhesive.
Applying the Insulation boards
Before placing the EPS boards on the wall, be sure to wipe any additional adhesive from the edges of the boards. Any adhesive collecting between the boards will create “thermal bridges”. When applying the boards, butt them tightly together. This will prevent any “thermal breaks” in the system. Gaps between the EPS boards can cause cracking in the EIFS base coat and finish and telegraphing of joints through the finished wall surface. After installation, check for any breaks or spaces. If there are any, even the width of a credit card, they must be filled with an insulating material.
Rasping
The entire surface of the EPS wall must be level and uniform. EPS
boards are very easy to level and shape using a “rasping board.” To make a rasping board, simply cut a straight scrap of 1/2″ (13 mm) plywood, install a wooden handle on one face, then glue a piece of 12 grit floor sanding paper to the other face of the plywood. Floor sanding paper is approximately 8″ x 22″ (203 x 599mm) and should be available at local equipment rental shops. When rasping the insulation boards level and even, you must rasp the whole surface of the boards, not the joints or edges.
Base Coat and Mesh Application
After the preparation of the wall, you should be able to protect it from sun and water damage. If the EPS board is exposed to sunlight for extended
periods, a powdery film develops on the surface. This film must be
removed by rasping. Moreover, einforcement is then added to all the boards for
impact protection. All the EPS boards are to be covered with the base coat and mesh application and to dry before applying any finish.
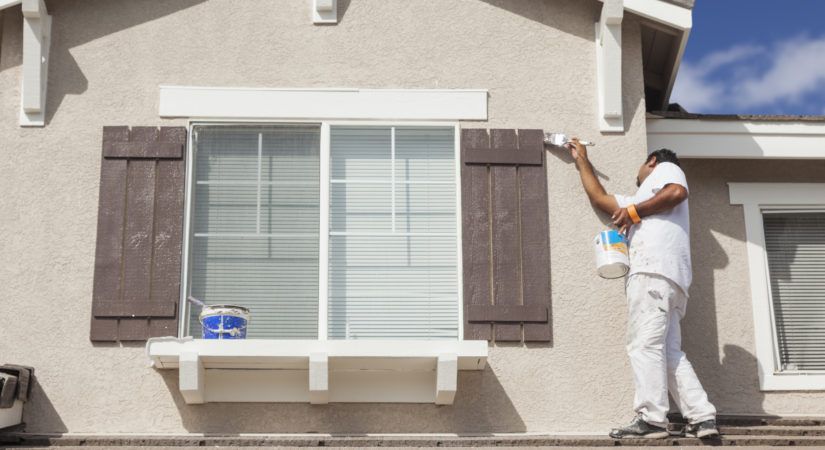
Finish Application
Plan the Finish application so enough workers are available to finish
entire sections of wall area at one time without interruption. Mix the finish with a clean, rust-free mixer. Small amounts of clean water may be added to aid workability. Limit water to the amount needed to achieve the Finish texture. Use only stainless steel trowels to apply the finish. Work in pairs with the first person applying the finish to the wall and the second person floating the finish to the proper texture.
By strictly following these guidelines listed below, we won’t face such problems and an aesthetically pleasing wall surface will be the result.
- Apply finish directly over the base coat only after it is dried. 24 hours minimum drying time is required.
- Resist application in direct sunlight. This can cause shadow lines from scaffolding.
- Apply finish in a continuous application, always working a wet edge toward the unfinished area.
- Aesthetic V-grooves can be designed into the system to accommodate workability on multi-level buildings. A minimum of 3/4 inch ( 19mm ) insulation board should be left after any grooves are cut.
- “Rilled texture” finishes must be floated with a plastic trowel to achieve proper textures and avoid discoloration of the finish.
- Avoid installing different batches of finish side by side.
- Also, interrupt application at natural breaks in construction: expansion joints, changes of plane, system termination, etc.
Floating or Spraying Textures
You can apply the texture to the outer surface with various products and application methods. Using the Natural Stone Finish, it is applied to the wall by spray application in two coats.
Also, you can apply the first coat by moving the spray vertically and horizontally with the second coat to achieve a full and uniform coverage to a thickness of not less than 1/8 inch ( 3.2mm). After the finish is dry, a sealer is also applied over the whole surface by a roller.
Also, when selecting a finish color always select a color with a lightness value
of 20 or greater. The use of dark color finishes (lightness value less than 20) over EIFS should be avoided because dark colors absorb light energy from the sun and heat up. This can cause EPS board deformation and delamination of the EIFS basecoat/mesh from the surface. The surface temperature limit of the EPS board is approximately 160°F (71°C).
Sealants – Final process to install EIFS stucco
Wherever the insulation system or the EPS boards meets another material, i.e., door/window frame, roof, pipes, meter boxes, exterior faucets, etc., a minimum 1/2” (13mm) wide sealant joint must be provided.
To properly install sealant, you need to provide a joint between two
materials.
The sealant works like a rubber band or a shock absorber bonded between two surfaces, stretching back and forth as the two surfaces move.
In addition, there are two important factors to remember when applying sealant.
The sealant must bond to only two surfaces such as the coated
EPS board edge and a window frame. It should never bond to
a third surface such as the substrate. If you bond to the third
surface, the “rubber band” will not be able to stretch back and
forth and the sealant will crack. There must be enough sealant material (minimum 1/2″) (13 mm) to stretch, yet not too much material (maximum 1″) (25 mm)
Also, there is an easy way to solve both of the above problems: use a closed-cell “backer rod” material. This can be pushed into the joint under compression. This will provide a backing to hold the size of the joint correctly and provide a third surface that the sealant will not bond water.
Conclusion on how to install EIFS stucco
Now you know all these processes but if you don’t get the right installer you will be causing damages. Sky Stucco Systems is a reliable installer of EIFS exterior stucco, architectural moldings, foundation parging, and repair in Toronto, GTA, and all over Ontario. You can learn more about EIFS and how they work here, or you can contact us for a free consultation.