If you have a house that is made out of stucco and wants to refresh the look of it then stucco paint is something that you might want to look into.
There are some tips and tricks that you could implement to make the job easier and make it look like a professional did it. Lets dive right into it to see what methods there are out there and what to expect from each one.
Some Things To Consider In The Beginning:
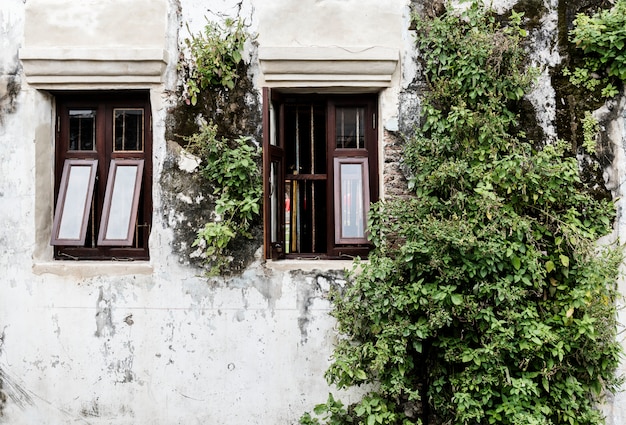
- Stucco Issues: Take a look at the existing stucco that is on the house/building and check to see what kind of shape it is in. Are there any patches or cracks that need to be fixed before painting begins?
In most cases, a good acrylic caulk (like this one) is the easiest to use and work with but they do make a caulk that has sand added to it for a more professional looking finish that blends a lot better. - More Stucco Issues: Is the stucco peeling off in any places, or are there any areas that need a little TLC? These kind of issues need to be taken care of prior to painting the structure and will make the end result much better. Smaller patches can be fixed using a premixed stucco repair patch material like this and comes in handy for making quick work of SMALL repairs.
- How Will You Clean The Surface: Is the stucco that is currently on the house painted or not? It really doesn’t make too much of a difference, both scenarios will require a good pressure washing (2,800 – 3,100 psi) to get rid of all of the loose paint and material that may prevent the paint from sticking to the walls.
If you don’t already own one, I found a decent one on Amazon that is under $250 with pretty decent ratings, but look around and take your time when buying one of these and it will pay off. I usually pay somewhere around $300 – $400 for pressure washers I use but they are much better quality and I have had no issues, it is one of those “you get what you pay for” types of deals, I guess.

- When Was The Stucco Applied: If the stucco is new, then you will want to wait at least 60 days before painting it, to allow it to fully cure and harden up before you seal the stucco with any kind of paint.
- What Kind Of Stucco Texture Do You Have: What type of texture do you have, a rough one or a smoother kind? The two different types of textures will require different methods and tools to properly adhere to the exiting texture.
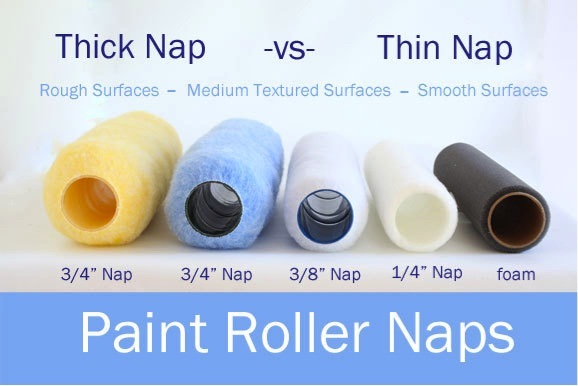
A rougher texture will require a larger nap on the roller and more paint, a smoother type will not need a nap as aggressive and will tend to use a little less paint. Take a look at different texture samples by clicking here. - How Will You Apply The Paint: Do you plan on using a roller or a sprayer, or both? A sprayer can be rented and is the optimal way to paint exterior stucco, it is much faster, uses way less material and provides a professional looking end result but back-rolling is recommended to get rid of the lines that the sprayer may leave.
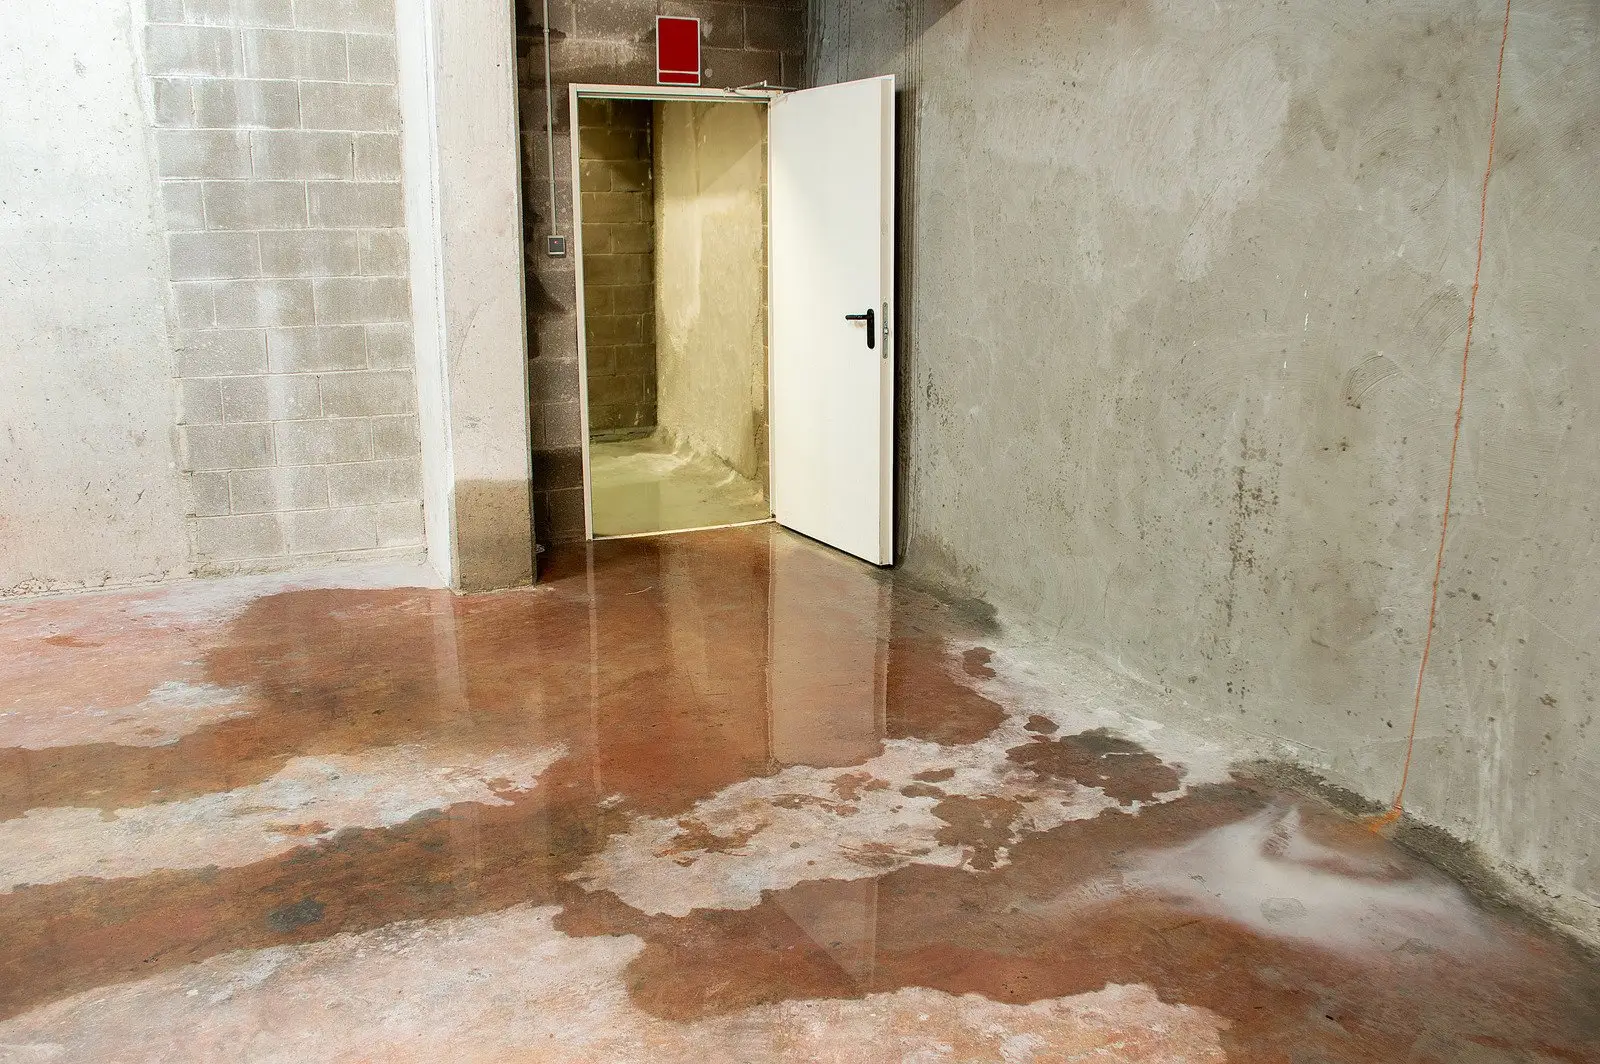
- Weather Permitting: Be sure that you will have a period of good weather when you paint or plan on painting, water that is sealed inside the stucco will results in issues.
If you are in the rainy season and can’t wait before you paint, then covering the walls is one option. You want to be sure that the stucco has no moisture content prior to applying paint. A moisture meer will help with this and are fairly inexpensive online. - How Will You Reach: If you have a single story house or building you are painting, then a simple step ladder and/or extension ladder will probably be more than enough to reach the highest walls.
If you are working on a two or three story building, ladders aren’t going to do the job. You may want to buy a little scaffolding or rent some from a local rental yard. Just plan ahead to make sure you have access to every nook and cranny that will need to be painted. - Measure Your Walls: In order to buy the correct amount of paint, you will need to measure your walls, so you can buy the correct amount of paint. I would add 25% to this because stucco tends to suck up paint and you almost always end up using more than you anticipated.
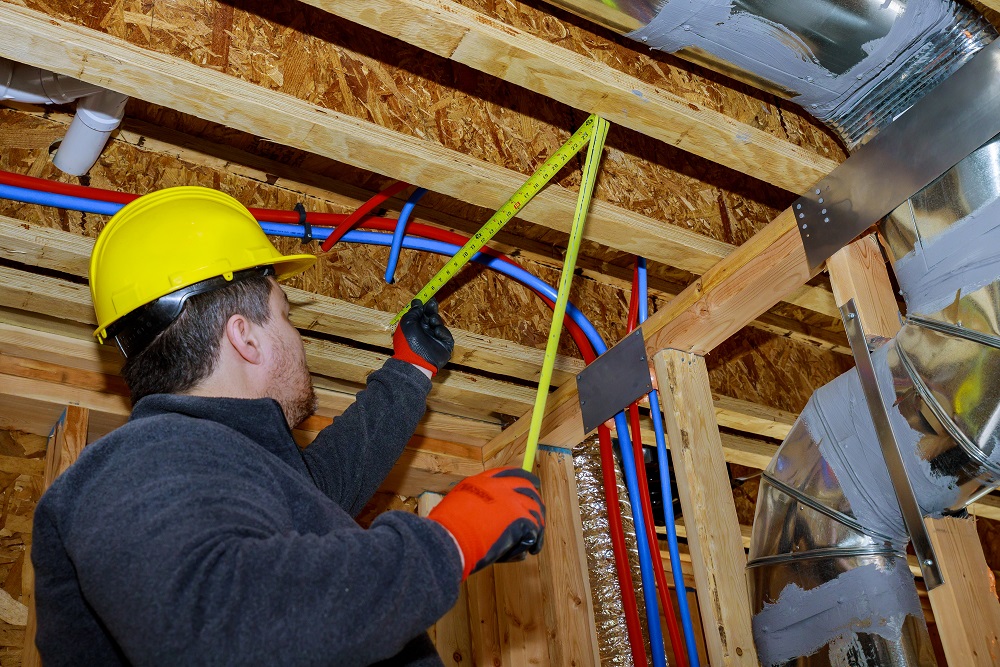
A smaller house will be pretty easy to do using a tape measure and a partner (optional) but a larger house will be a little more difficult but can be done with a tape measure.
You could always use a measuring wheel or a laser tape measure, if you want to make the job easier. These two items will have all kinds of uses in the future too, especially if you are an avid diy’er.
Think About Painted VS Unpainted Surfaces:
Painted Surfaces: Coming Soon! Reply if you are interested.
Unpainted Surfaces: Coming Soon! Reply if you are interested.
The Prep Work Involved:
- Cover Everything You Need To Cover: You will want to make sure that all of the windows, doors, trim, vents and anything else that is not going to be painted is covered very well. This will save time in the end and will ensure that professional results are achieved.
- Caulk Any Cracks You Have: Caulk cracks and small gaps (1/8″ or smaller) using a paint-able exterior grade caulk. When caulking, only fill the cracks and use a wet rag to wipe the excess caulk off of the wall, or it will stand out like a sore thumb. Try to add a little texture to the caulk to match the stucco, if it is a rougher texture, like a sand finish, dab the caulk lightly with a paintbrush to match the texture a little better.
Anywhere wood meets stucco, you will want to apply a bead of caulking, because it will crack or a gap will form, this is natural and is a normal occurrence. - Clean The Surface: Pressure washing the stucco is a good idea prior to painting, it removes dirt and debris from the surface and ensures that the paint will adhere well to the finish. If you can’t afford one of your own, or don’t need one that bad, then you can always rent one at a cost of about $30-$50 a day.
If you do not pressure wash the stucco, you can use a garden hose instead, but really, pressure washing is the way to go and is recommended. Using only a garden hose may result in the paint flaking off over time because the surface was not cleaned and prepped properly. - Address Patches And Larger Imperfections: Make any necessary repairs to the stucco that need attention, meaning larger voids or damaged areas. To achieve this, remove the existing stucco, keeping the paper and wire underneath intact and fill with a stucco patch material, using two to three applications, but try to avoid filling larger patches in a single coat. They will end up turning out bad and will stick out like a sore thumb when you are all finished.
Try to avoid filling in the spots with a single application, seeing as how it will likely crack and make even more work for you in the long run.
Painting Different Stucco Textures:
Smooth Stucco Finishes: The smooth types of finishes are probably the easiest types of finishes to paint. Repair work is a little tougher to do and make them appear seamless but if you take your time and use the right tools, it should come out pretty good.
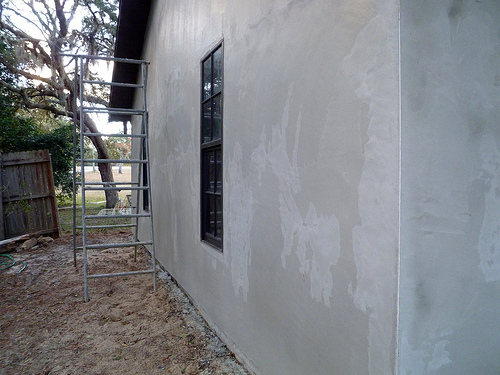
Scraping the walls with a large floor scraper will help eliminate any larger items that may be stuck to the surface.
A roller or sprayer will work on these types of finishes but a sprayer will be much quicker and probably have a little bit better results because you can spray a more even amount of paint on the surface. Backrolling is recommended and will help soften the overall appearance. A roller with a 1/2″ nap will work well and perform well, using a roller cover with a thicker nap would be much harder to use, especially for a novice painter.
Semi-Smooth To Medium Types Of Finishes: A medium finish would be considered most sand finishes, a worm type finish,etc. and will require a little more effort than a smooth or semi-smooth finish would because of the added roughness.
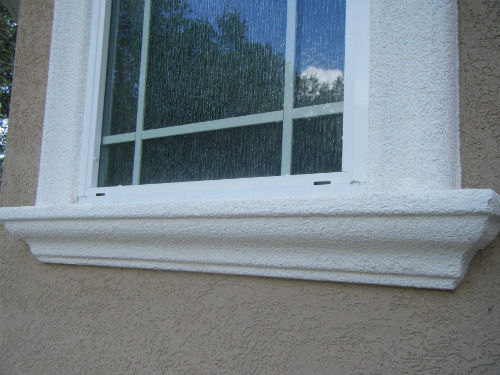
These will usually require a 3/4″ – 1″ nap on the roller and will need two coats of paint to thoroughly cover the surface. If you use a good paint with an equally good technique, it should be more than enough coverage.
I have seen people use one coat of paint on these types of finishes but I don’t think it turns out as good as it could have, just my personal opinion.
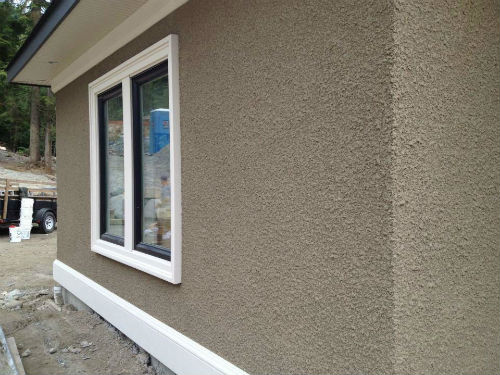
Rougher Types Of Finishes: Rougher stucco finishes require a little more paint, thicker napped rollers and more attention to detail because the surface is so rough!
I would recommend using a 1″ nap roller for this and would recommend spraying the paint on this type of finish.
abacostucco.ca
You can roll it on but it is going to be very difficult to get into the crevices of some of the finishes, especially a dash finish.
In my experience, painting these types of finishes will require at least two coats of paint and possibly a third “touch up” coat. This has the best results and ensures that nearly every spot is covered. Be sure to check each wall after you paint (or have someone else check) for any small spots you may have missed and look from all angles. If you painted the wall from left to right, walk from right to left to see if you missed anything.
Using A Sprayer:
When using a sprayer, certain techniques and tricks can be used to achieve professional results, not to mention, it can cut the time the project takes in half! This is the best way to paint a stucco surface and will yield the best results. You might be surprised to see that there are decent sprayers out there for around $300 that will easily paint an entire house’s exterior, if you choose to do it yourself.
- Prep And Cover: Be sure that everything is masked off very well, these sprayers have a tremendous amount of pressure and can blow your covering right off, tape every joint of the plastic/paper, so no edges are exposed. A covering machine is a handy tool to have on hand and make the job so much easier!
- Use A Shield: When spraying, use a shield to avoid over-spraying on areas that you do not want to be painted, such as walkways, the eaves, etc. Cardboard works well for a shield and is free, cut a couple out, so you can toss the ones that get too saturated with paint. A good size for these is 12-15″ wide by 3-4′ long, holders can be purchased or made so you don’t have to hold the cardboard with your hands.
- Technique: Try to avoid making lines with the sprayer by having an even spray pattern and using quick, short bursts, as opposed to longer ones. Pull the nozzle away from the wall in order to blend the starting and stopping points of your spray pattern and to avoid any hard lines.
- Back-rolling Makes A Huge Difference: Be sure to spray the stucco in many different directions, to better blend the paint and minimize the appearance of hard lines. For the best results, have someone use a roller and go over what you have sprayed, this will help cover the surface and get the paint into any crevices and low spots that the texture may have and help to evenly spread the paint around making a more uniform appearance.
Using A Paint Roller For Your Stucco Walls:
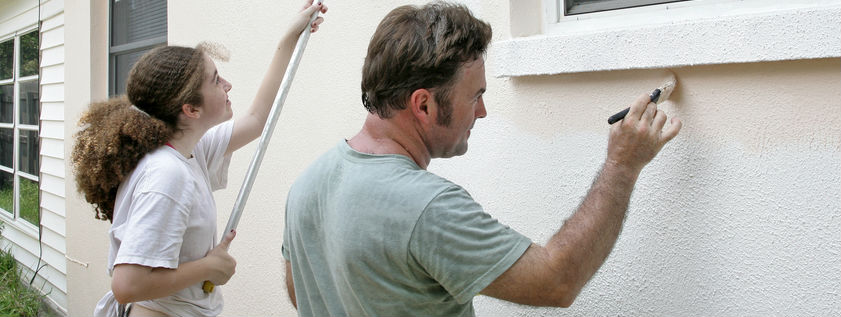
Some of you may choose to use a roller to paint the stucco on your home, which is just fine, but requires a few different techniques than a sprayer would. It will take a bit longer to do it this way, but can still give professional looking results if done correctly.
- Roller Covers And The Nap Size: You will want to use a roller with at LEAST a 3/8″ nap on it, in order to get into the low spots and ensure that you have a nice, even coat of paint. Stock up on rollers because they will get abused and will wear very quickly. Here is a link to the rollers I like to use, they use a 1″ nap instead and I have always had good luck with Purdy Brand roller covers.
- Technique: When rolling, use more paint and less pressure when applying, this will save your roller, making it last longer and will make it easier on you as well.
Use a different pattern when rolling, not just one or two different motions. This will make the paint blend better and will help hide any paint edges that may appear later on. - Apply Primer & Paint: If your stucco is unpainted (have some type of cement-based finish to paint) then remember that it will soak up quite a bit of paint on the first coat and a primer is recommended for this first coat.
Next apply the paint to the house using the same techniques described above. This coat will soak up less than the primer coat did but will still have a little bit of that suction on the second coat as well. You can apply another (3rd) coat of paint if you choose to do so but most people rarely do, mainly because of cost and additional labor involved but it will be a better end result all-in-all (from my experience, anyways). - Cutting In Around Doors, Windows, Etc.: You can use a smaller roller setup for any of the cut in type work or a paintbrush, whichever you choose to do. If you do get a brush be sure to get one that holds a generous amount of paint and will not leave visible, harsh brush strokes when it dries.
FAQ’s About Painting Stucco:
- How Often Should I Apply A Fresh Coat Of Paint To My Walls? – This is a matter of your climate, the quality and application of the paint itself and visual appearance. The short answer is between 3 and 10 years, although I believe the “standard” is about 5 years.
Research your area on different social media outlets and forums to see what others are saying to get a better average of what to expect. - Is Painting Stucco Recommended? – Painting stucco is always a hot topic and there are really two main arguments which are: the maintenance-free aspect of stucco is gone after you paint (because you have to continually repaint after that) and cost.
Maintenance-Free Issue: This is the biggest argument when deciding to paint stucco and is a valid one. Once you paint, you have to repaint every “X” number of years after that, which is hardly maintenance free. A stucco color coat (acrylic or cement-based finish) will last anywhere from 10 – 20 years or longer if properly applied and maintained, which is a lot more maintenance-free than painting.
The Cost Issue: I think the majority of people choose to paint their stucco walls because it is so inexpensive, especially when compared to a new re-coat on the wall. A re-coat is a new finish coat (just the top layer of stucco, not the base coats) that is applied to the exterior of existing stucco to give it a new, fresh look. A re-coat will be more expensive than simply painting (short term) and is easier to do too. - How Long Should I Wait To Paint My Stucco? – The recommended wait time is somewhere between 30 and 60 days, which accounts for a full cure of the cement materials used in the stucco process (base coat(s) and/or finish coat).
They do make primers that can be used in a fraction of the time (usually 7 – 14 days) it takes which will work but you will be rushing the curing process, PERIOD. There is no substitute for a slow, moist-cured base and finish coat (cement based) but these products will work in a time crunch. - What Kind Of Paint Should I Use – There are many different paints out there so I don’t want to name one specific brand but I will say that I would not go with the cheapest exterior paint out there. Use a paint that is in the mid to higher end of the price spectrum so you eliminate a lot of the potential “issues” that typically come up when using a cheaper paint like runs, inconsistant color, etc.
- What Is Elastomeric Paint? – Elastomeric paint is a paint that seals any surface it is applied on and it actually has a significant thickness to it, when compared to traditional paint. In my experience, these paints are usually troublesome for stucco because it seals the stucco, not allowing it to breathe anymore (like it is designed to do). There will be two main opinions about an Elastomeric paint on stucco and this will come from stucco and painting contractors.
Stucco Contractors: Stucco contractors usually don’t like elastomeric stucco and will try to recommend a stucco re-coat instead. They don’t like to rely on paint products that may have potential issues down the road with a product they don’t usually use. An acrylic finish is going to probably be recommended instead.
Painting Contractors: Painters who like Elastomeric paint think it is a good product because of the thickness that is achieved, it’s ability to bridge cracks and the longevity properties it has. If applied correctly, it is a decent material that can keep out moisture and have a near crack-free stucco job afterwards. - Should I Use A Primer Before I Paint? – A primer is an absolute must in my book because you are sealing the stucco properly before you actually paint. Stucco that is UNPAINTED is porous and is thirsty, so you eliminate the suction by applying the primer coat and the primer coat takes the brute of this rapid suction which can cause inconsistent color, different saturations of paint, a slightly different hue or sheen, etc.
After you apply a primer coat, the surface will now have a lot more consistent suction, resulting in a better paint job in every aspect. If you are working with an acrylic or a surface that has been painted before the primer is not as essential if the finish is in decent shape but is always recommended.
Specialty Primers: Coming Soon! - How Much Paint Do I Need? – Like I stated earlier, UNPAINTED stucco tends to suck up the material more than any other siding so you will calculate the amount of paint you will need and add about 25% on the primer coat and about 10% more on the paint itself. This is not a hard and fast rule but it is
- What If My PH Is Too High? – This is a loaded topic and I don’t want to get too involved here but sometimes there is a concern regarding the PH level of the stucco being too high to paint. There are a couple of different measures you could take to see if it will help, like watering the wall multiple times a day for 3-4 days straight.
Another resolution to the problem would be to use a specialty primer that is designed to handle these higher levels of PH, like Omega Stucco’s primer for it’s acrylic finishes. - What Type Of Sheen Should I Use? – 99% of the time you will use a flat paint, especially being on the exterior of your building. There have been (very rare) cases where I have used an eggshell sheen for a project but only because I was matching an existing paint on the building.
Potential Issues That May Come Up:
Paint Failure Articles Worth Reading:
That’s about it when it comes to stucco paint and how to apply it for a fresh, new look. Take your time and remember to really prepare the surface for the paint, this will be the determining factor for how good the project looks in the end.

