Synthetic stucco looks the same as traditional stucco, but underneath the surface, it is a different product. Unlike standard stucco which is a plaster made from cement and water, Traditional stucco is a multi-layered exterior coating that includes wire mesh, Scratch coat, and a polymer mixture. Unlike Exterior Insulation Finish System, or EIFS which is made from Styrofoam insulation as the modern days, this is Traditional stucco which doesnt have, moisture or air through, and usually result on bobbleing and hair lines over the years.
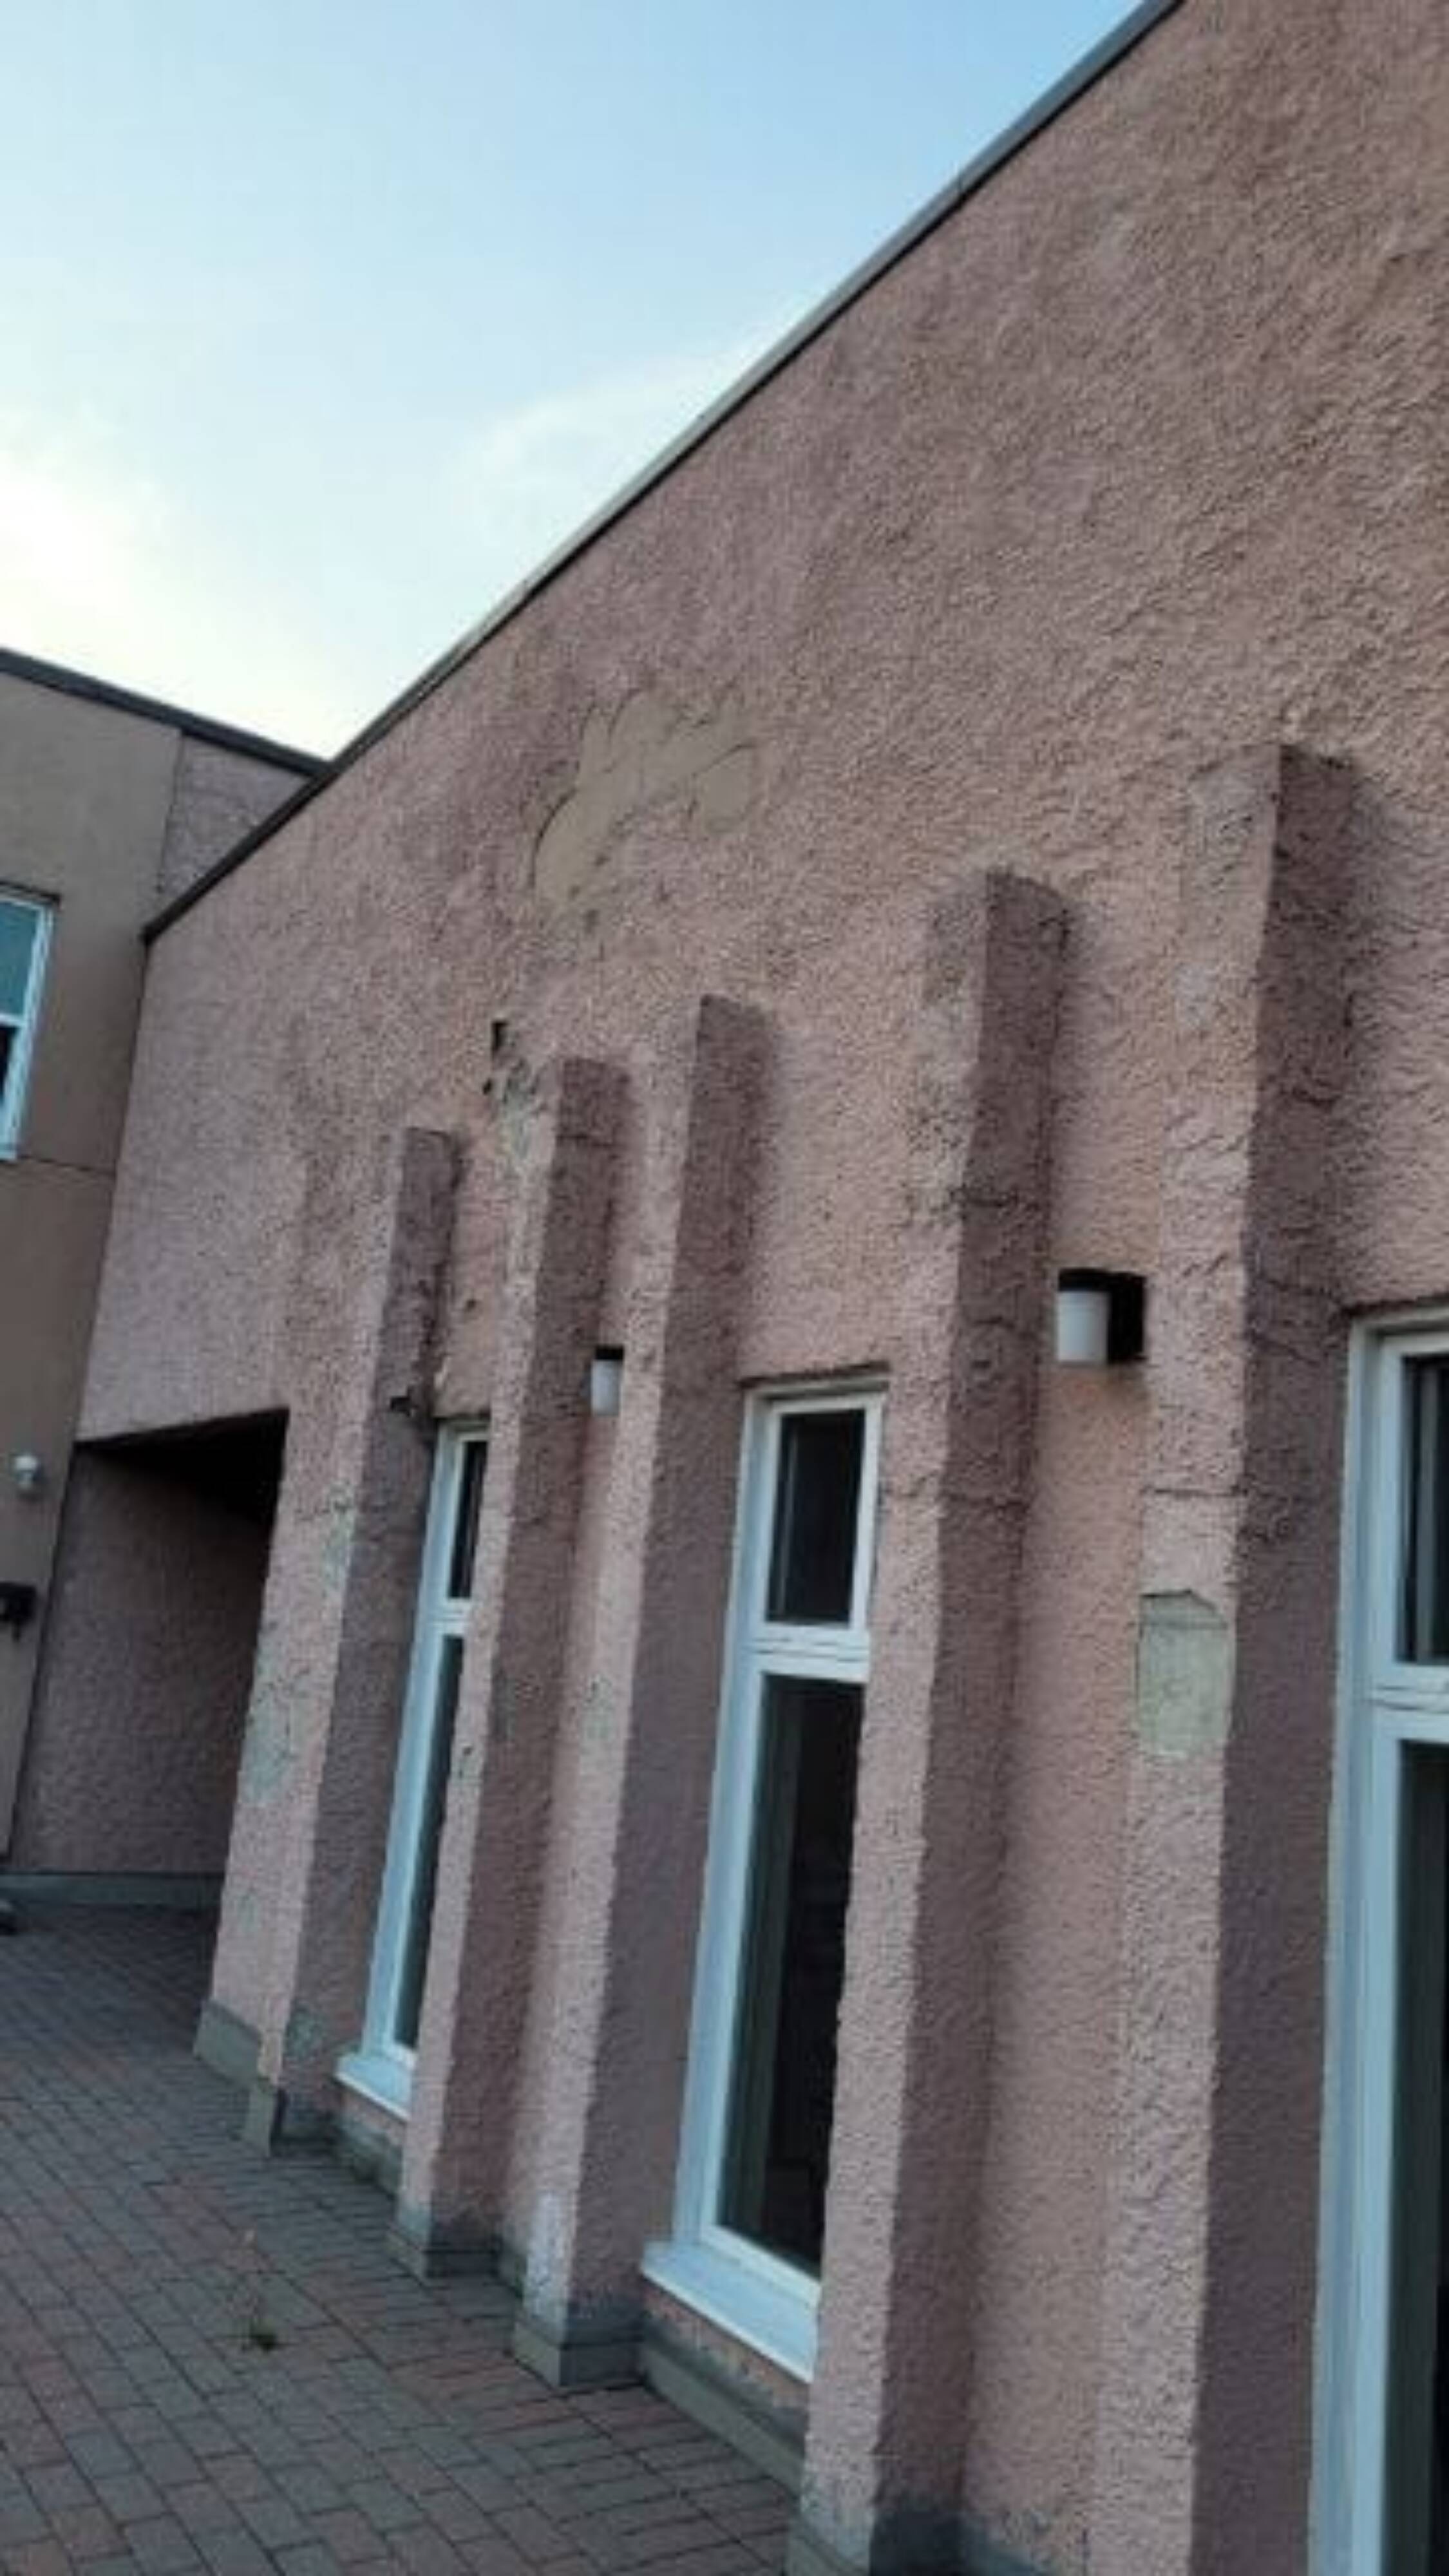
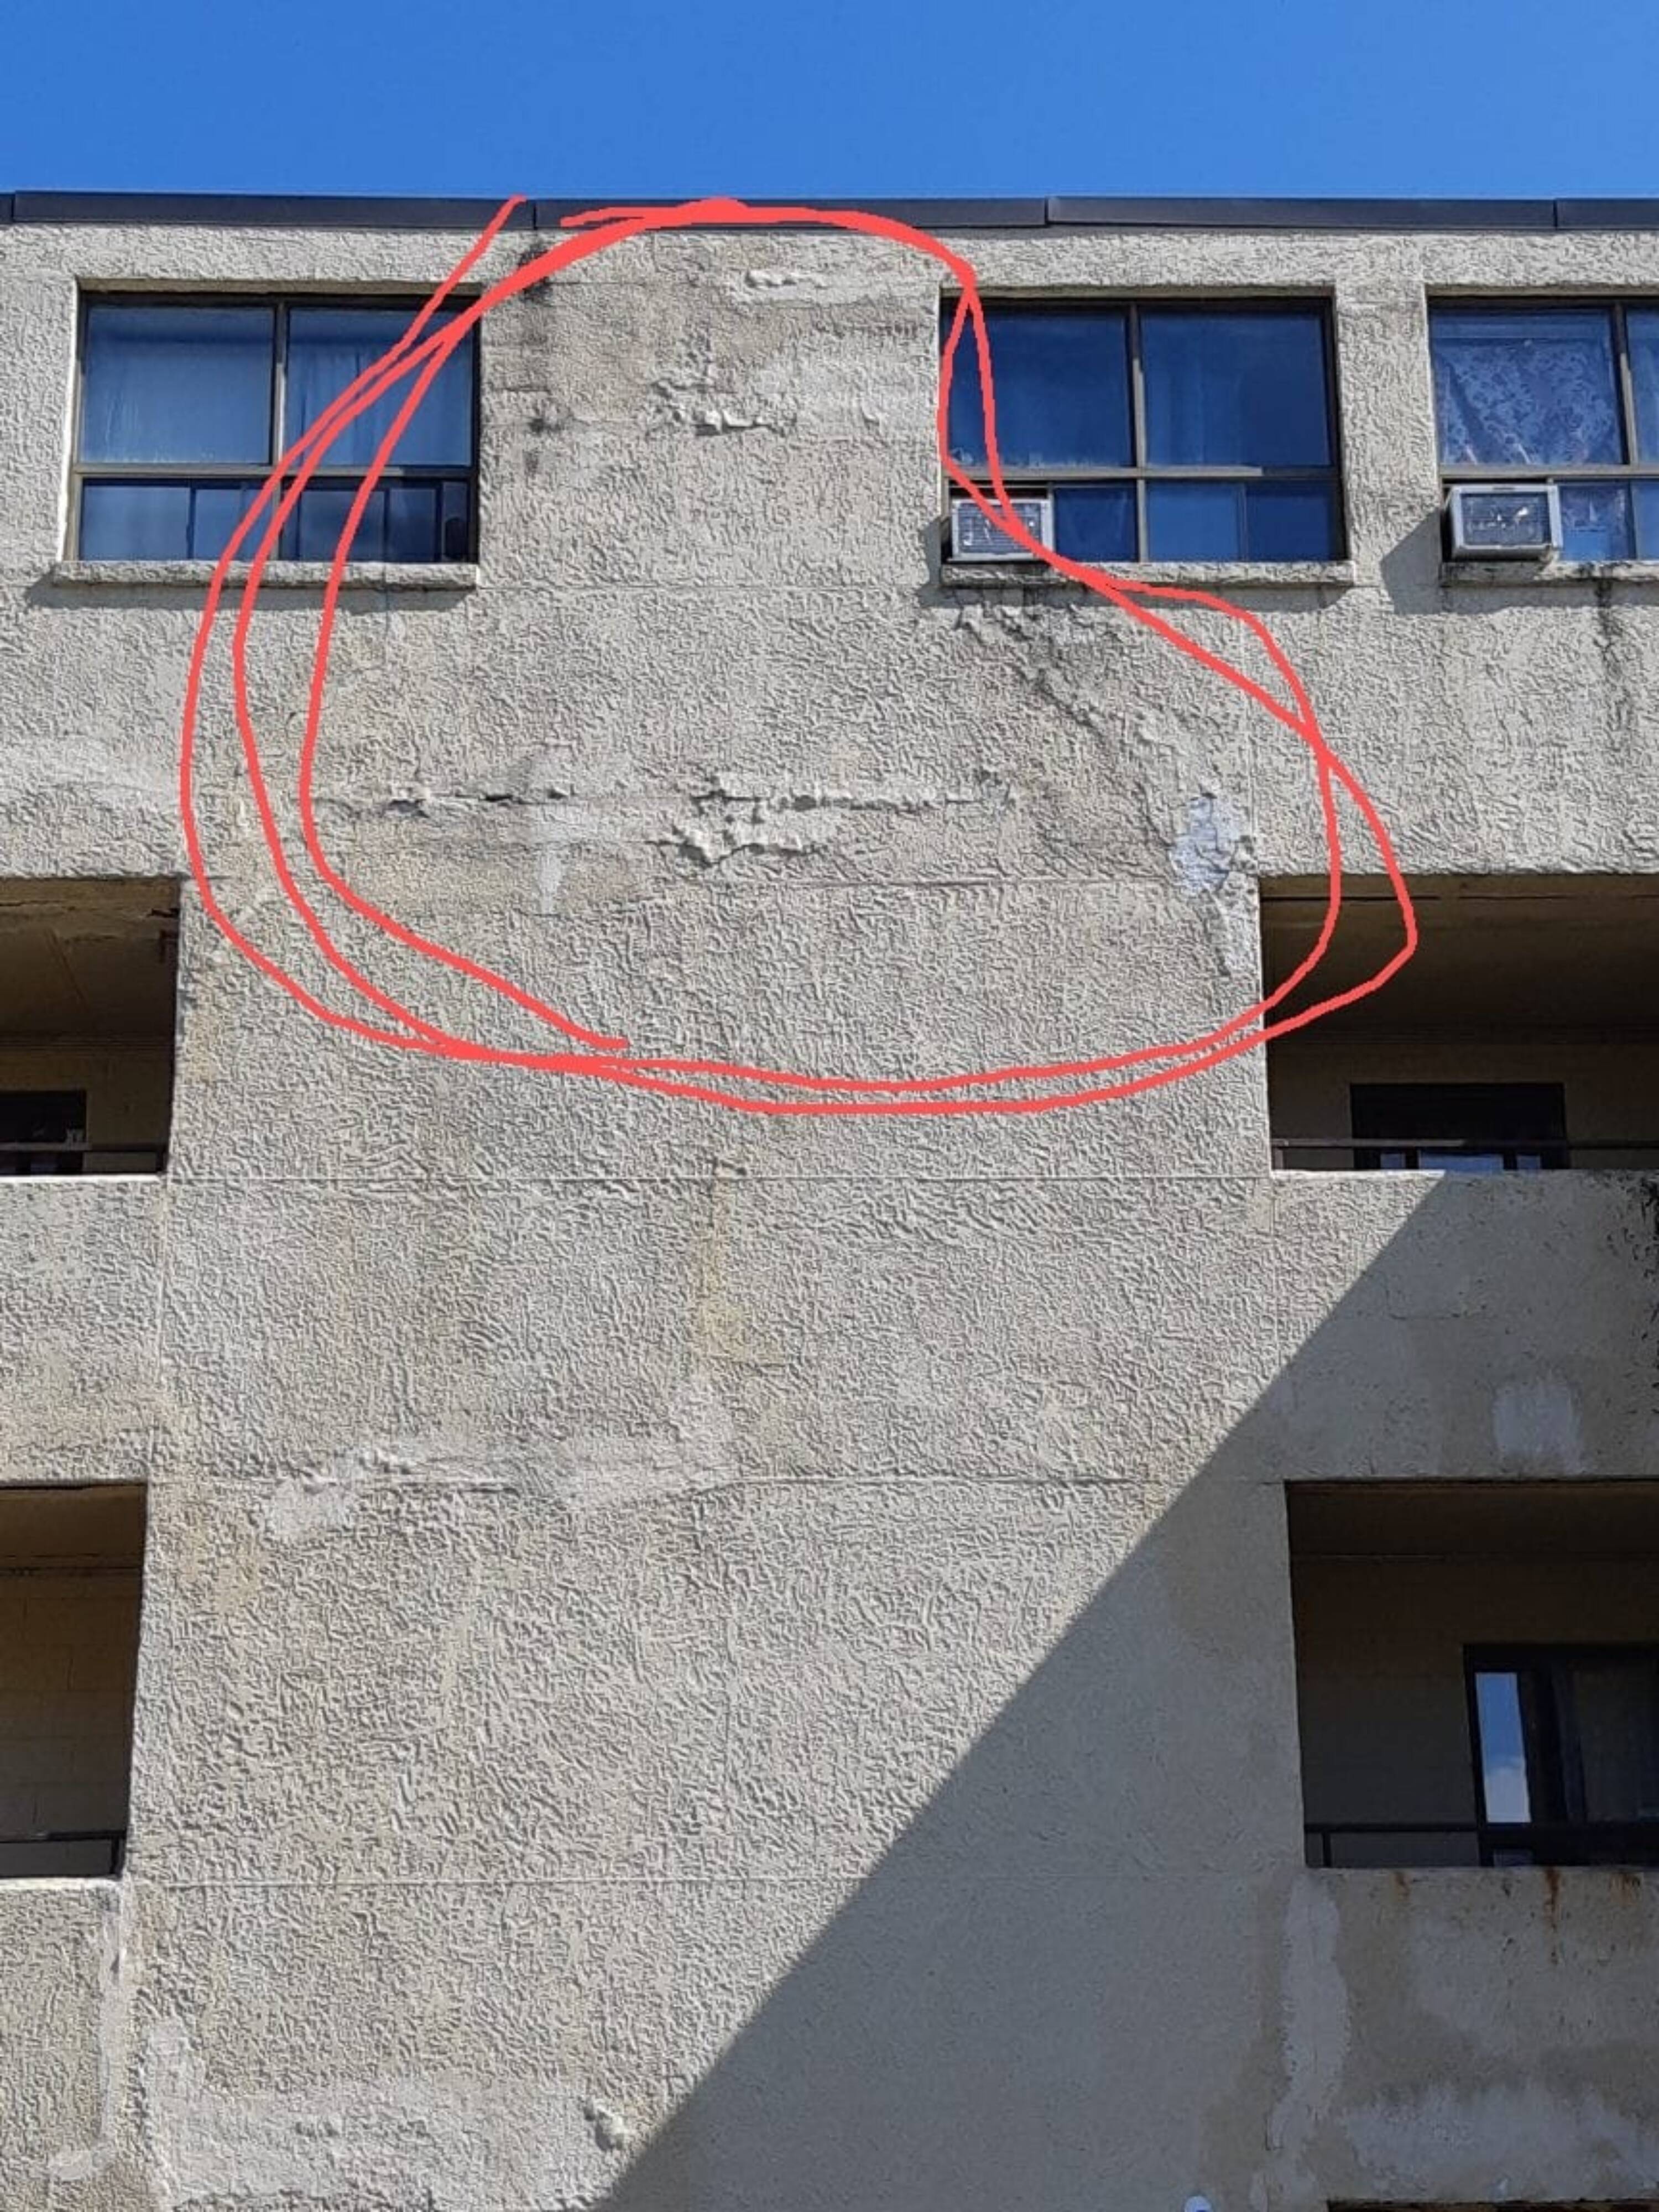
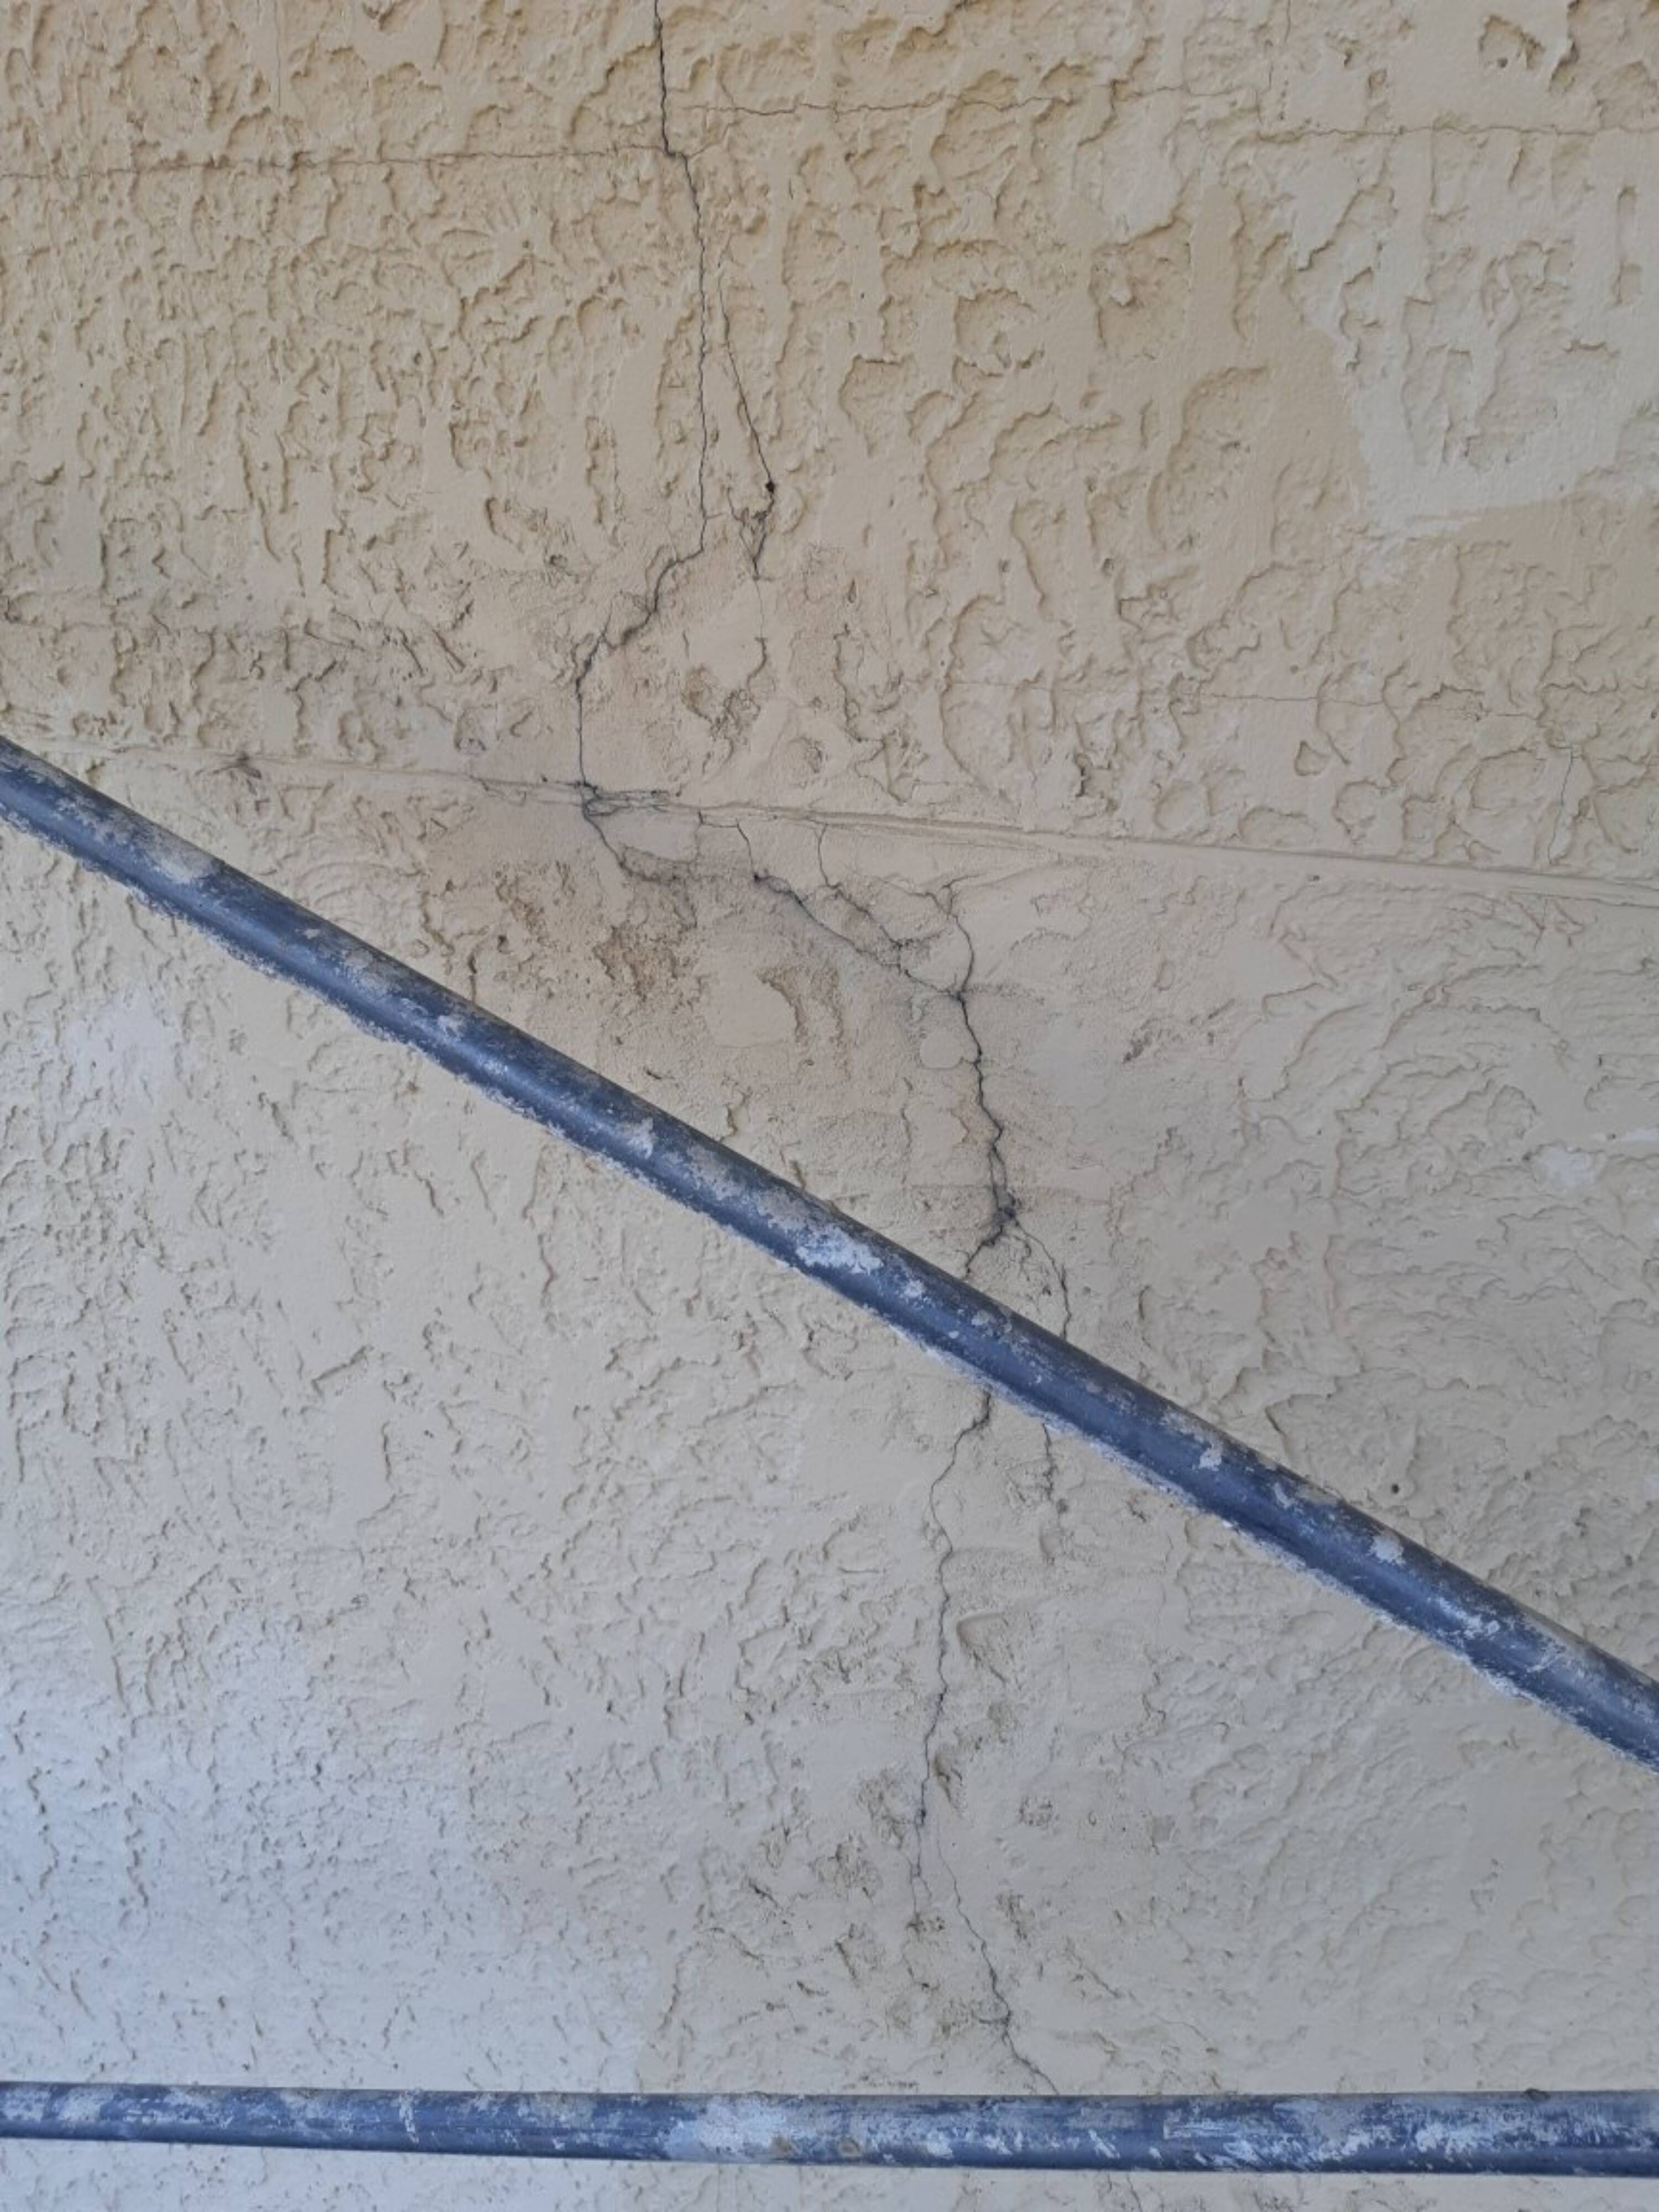
Although Traditional stucco is extremely strong and is normally maintenance-free, if Cracks start showin up, it’s essential to get it fixed fast to prevent watter filtration behing the layers of the stucco. If moisture gets behind this scratch coat layer, it cannot escape and can quickly cause mold and rot. With the correct tools and materials, you can successfully restore small areas of damage yourself. Read the five-step guide below to learn how to complete a long-lasting repair.
The Tools Needed to Repair Synthetic Stucco

As with any DIY project, having the right tools for the job is important and can make all the difference to the result. Make sure you have all the equipment you need before you start work. When it comes to fixing synthetic stucco, you need the following tools:
- Ladder
- Hammer
- Chisel
- Gloves
- Safety glasses
- Trowel
- Putty knife
- Paintbrush
These are the tools required to prep the area, apply the new polymer layer, and finish the surface to blend in with the rest of the wall. When the stucco is completely cured, a coat of paint may be applied to match the original exterior. A ladder is only required if the repair area is out of reach.
Buy Quality Materials
Only purchase the best materials that are recommended for patch repairs to ensure a professional synthetic stucco repair. Don’t be tempted to pick up cheap substitutes; always use a recognised brand that manufactures quality products. If you are going to take the time and trouble to renovate your stucco, ensure it is a durable repair that you can be proud of.
- Synthetic stucco repair mix/polymer mix
- Waterproof caulk
- Paint to match the rest of the area
Make sure you purchase enough to finish the job but don’t waste money by buying or preparing too much.
Repair Your Synthetic Stucco in Five Easy Steps
1. Preparation is key
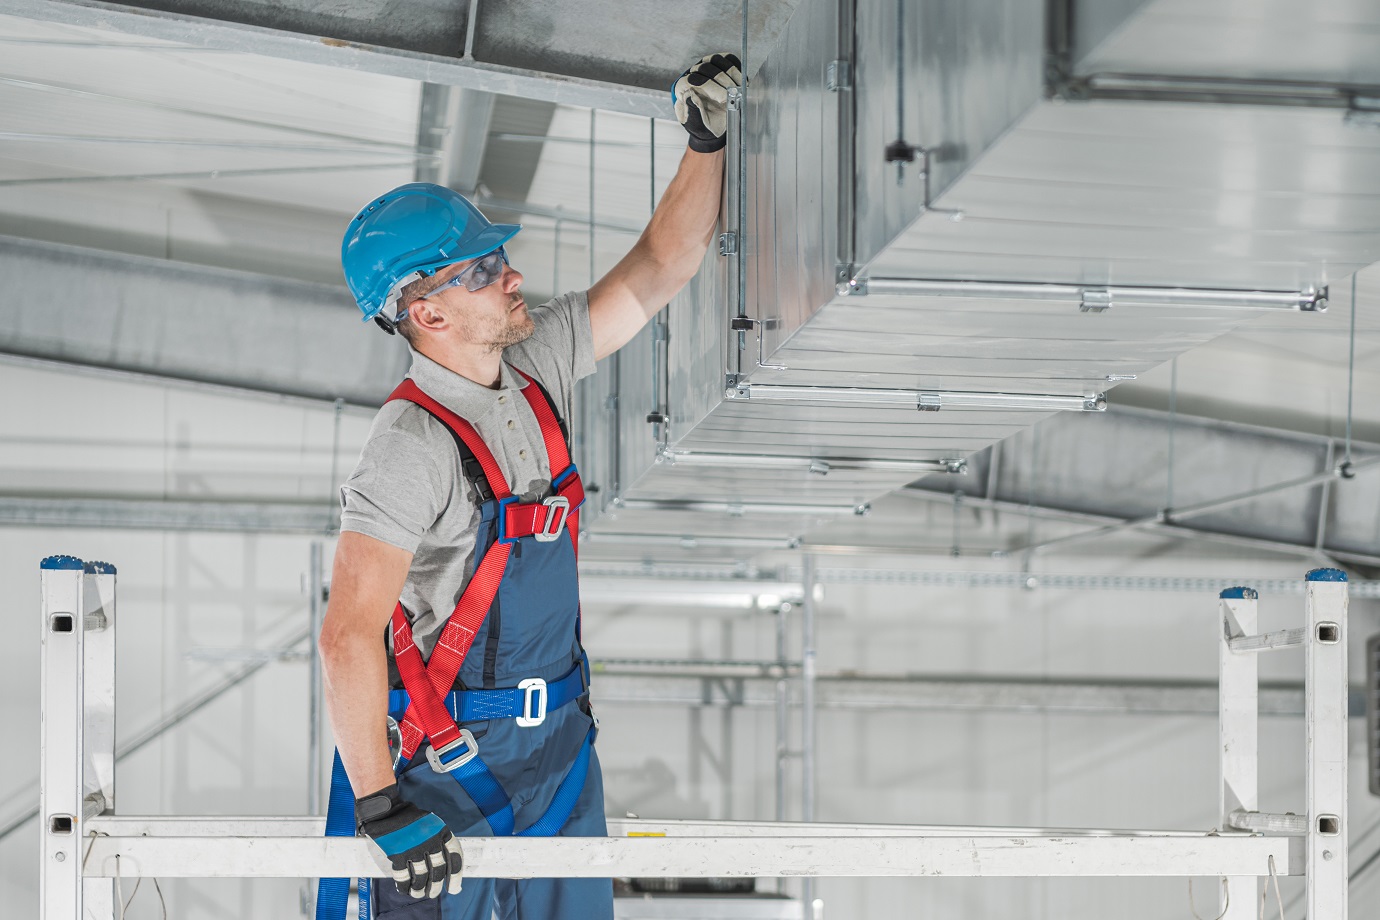
Put the work in at the prep stage to ensure a robust finish. Always wear gloves and safety glasses to protect your eyes and hands from broken or toxic material.
Start by removing loose and broken stucco; a hammer and chisel will remove stubborn pieces. You must remove anything that is not solid and secure.
Use the putty knife to widen narrow cracks – this will give you a better result because the repair mix can achieve stronger adhesion.
At this point, it is very important to take a look to determine whether water has got behind the synthetic stucco. Do not complete a repair if moisture has compromised the outer layer. This is because a synthetic stucco repair seals wetness inside and will cause major issues to your home. Call in the professionals if you are not sure to avoid expensive repairs later.
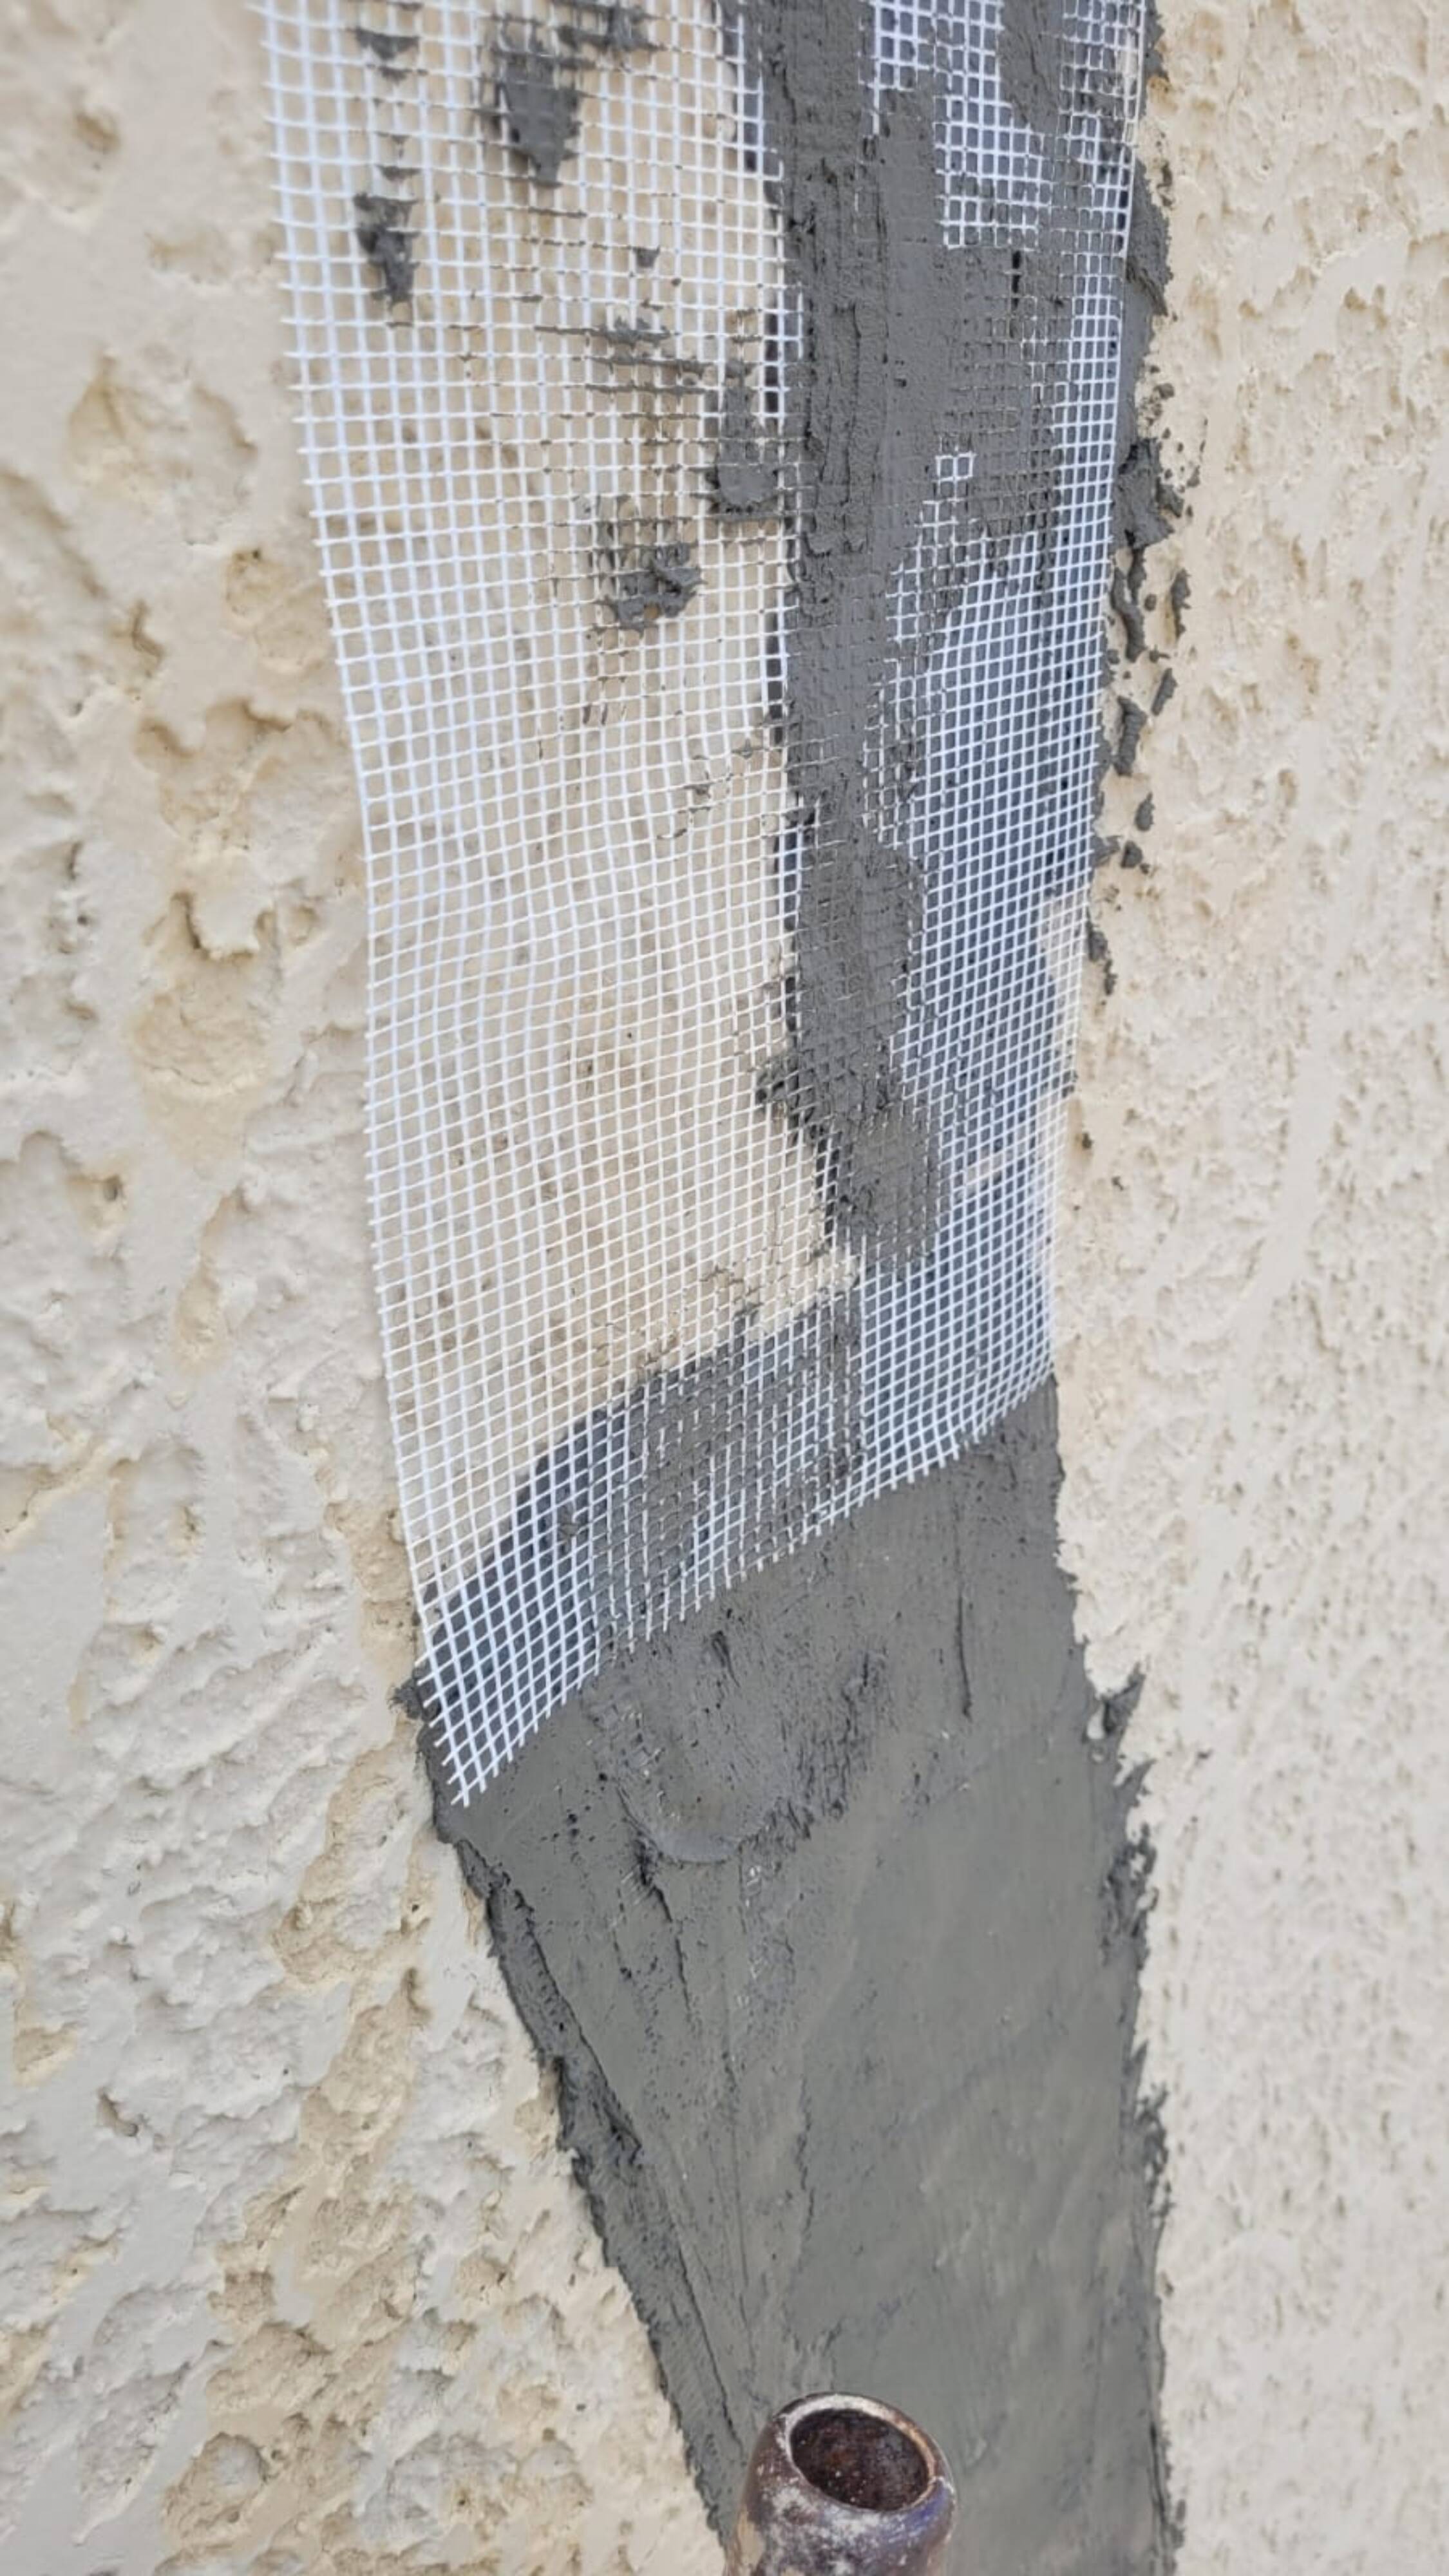
2. Get the area ready for new stucco
For small repairs, you simply need to clean all gaps meticulously. Sweep away dust and tiny particles to ensure good adhesion – you might consider using a vacuum or blower to do this thoroughly.
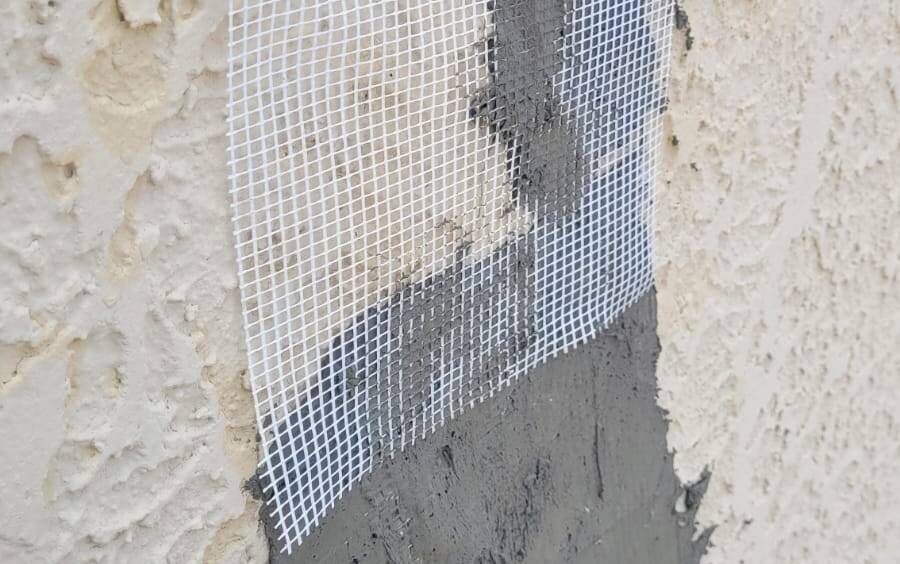
For larger areas, you will need to install areas of wire mesh and board, and it is strongly advised to get a professional to complete this type of repair. In some cases, it is better to have a whole new side installed to make sure further issues are not caused by a repair.
3. Mix the new stucco
Don’t mix the polymer synthetic stucco mix until everything else is ready. Be sure to follow the instructions carefully because each repair kit is different.
For very small areas or patches around windows or doors, a waterproof caulk can be used for repairs.
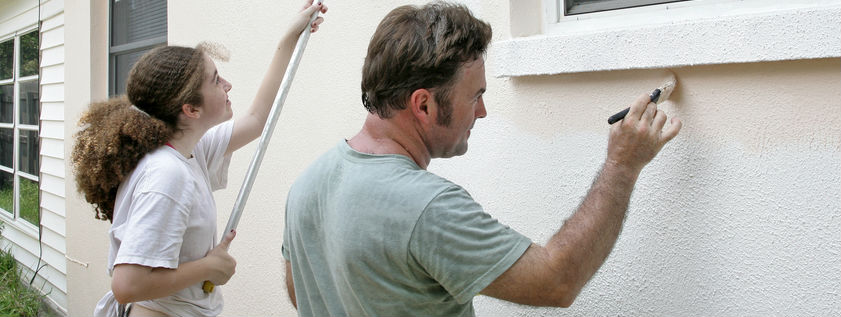
4. Applying the stucco
Using a trowel or putty knife, fill the cracks and gaps with the polymer. Simply fill the holes and smooth the material so it is level with the rest of the stucco.
The surface of your polymer application should mimic the surrounding finish – some exteriors have smooth finishes, and others have ripples or swirls. You might need to experiment with different textures to achieve a good match. Try brushes and trowels or other tools to get the desired look. The better the match, the happier you will be with the result.
5. Cure time
Leave the repair patch for the recommended time before doing anything more. Some materials will be fully cured within 24 hours, but others may take longer. Read the instructions for the precise cure time.
Once the stucco is completely dry, you can finish with a coat of approved acrylic paint to match the rest of the wall. You may need a couple of coats to seal the stucco completely. If you cannot match the existing paint color, it might be time to repaint the whole exterior of your home.
The Bottom Line
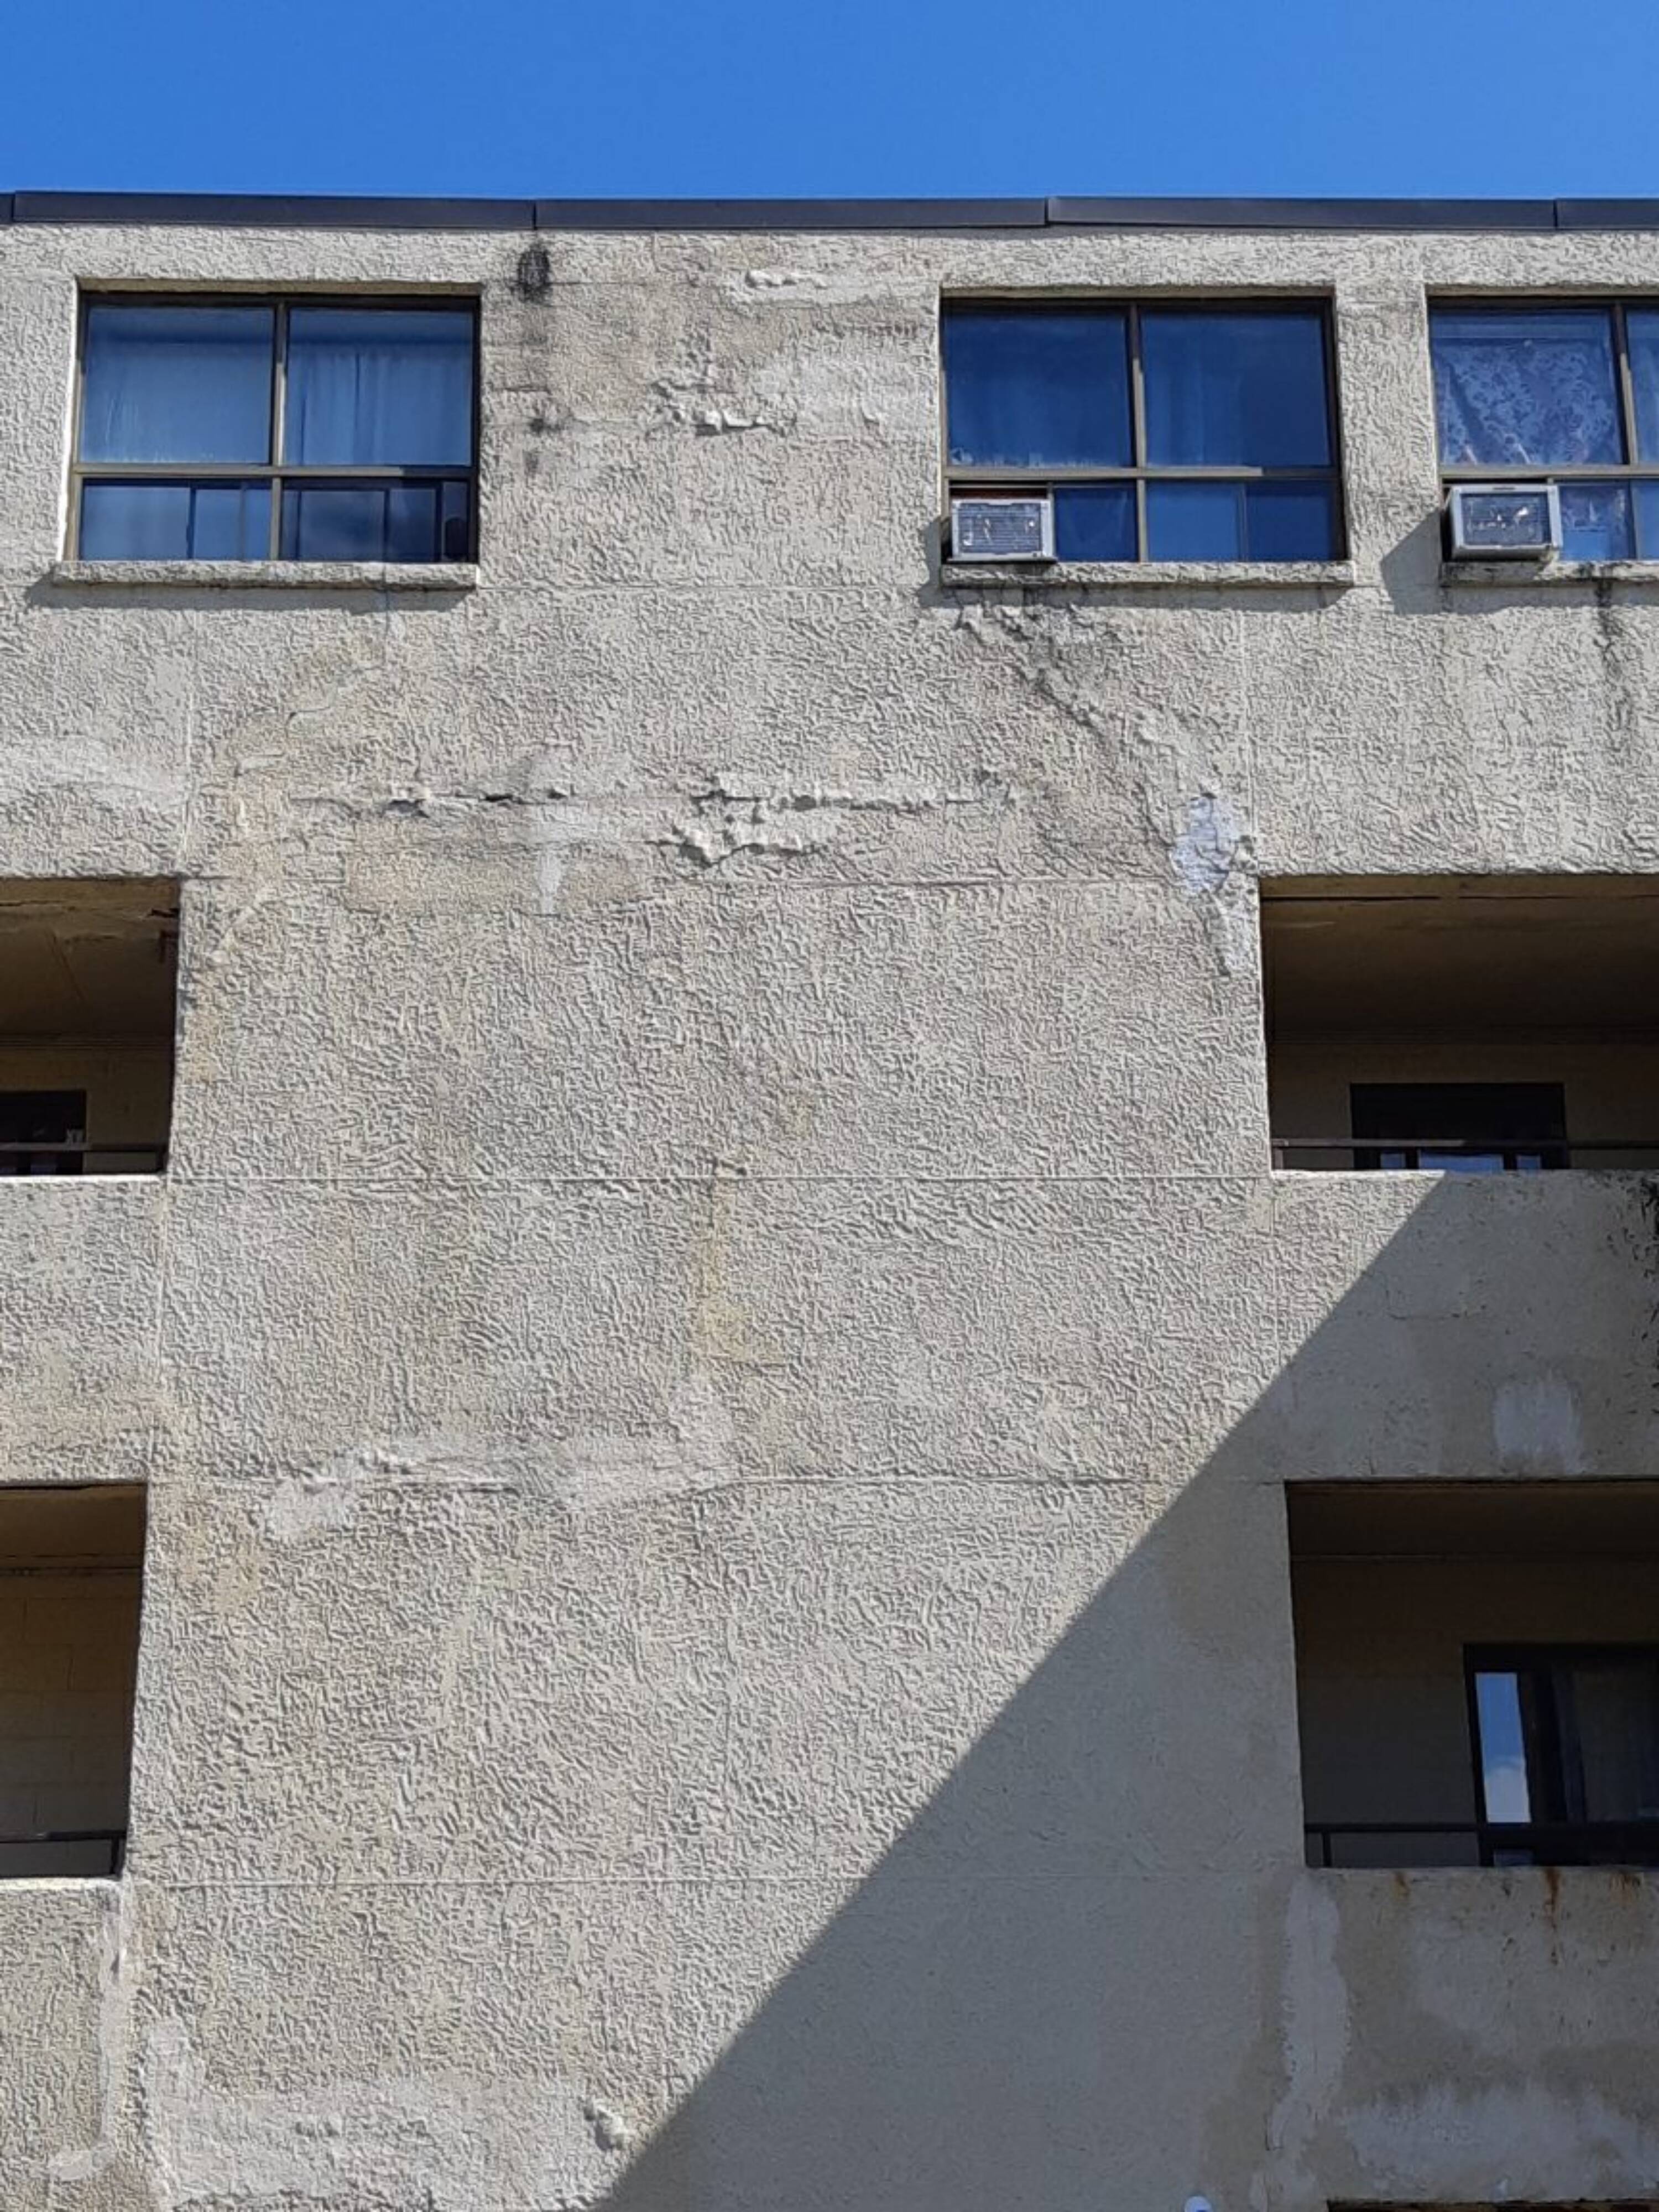
Missing or damaged synthetic stucco can lead to problems. Rain, snow, humidity and harsh sunlight can get under the exterior surface of your walls and create structural issues. Dealing with any damage promptly is essential, and you can repair small areas of cracked and broken stucco yourself using the five-step guide above.
To achieve a quality repair, having the right tools for the job is important – and if you already own all the equipment needed, fixing synthetic stucco is not expensive. However, if you don’t have all the required tools, or the property is not your main residence, consider using a facility management company. Consider hiring a trusted expert is more cost and time-effective, and a quality result is assured.