

Popcorn ceilings are ceilings that have had one of the many spray-on or painted-on treatments applied to them. Stipple ceilings and acoustic ceilings are other names for this style of the ceiling. The rough surface of the ceiling, which is produced by minute particles of either vermiculite or polystyrene, is credited with the ceiling’s ability to absorb sound. You will get the full idea of how to remove a popcorn ceiling from this blog.
In the 1960s & 1970s, everyone desired popcorn-textured ceilings in their houses. Plaster and repair drywall ceilings might easily have some texture applied to them to hide imperfections without the need for further painting. Due to their rough texture, popcorn ceilings often gather a lot of dirt and cobwebs, yet it may be difficult to figure out how to remove them.
When there are any gaps or holes that need to be filled, it may be quite difficult to find the right match. A home with eliminated popcorn pattern from ceilings can seem much more modern if the substance is also eliminated from the walls. If you are properly prepared and have the required equipment, removing popcorn ceilings might be a really enjoyable home repair endeavor. The removal procedure could take a long time and be nasty.
Finding a method on how to remove a popcorn ceiling texture from a ceiling without creating a mess is worthwhile if the substrate that lies underneath the popcorn ceiling is in excellent condition. The following advice can help to lessen the discomfort of removing popcorn from ceilings.
A brief overview of the Popcorn Ceiling
Because drywall mud, styrofoam, or plaster particles are sprayed over the ceiling’s surface to produce the texture, it resembles cottage cheese or popcorn. Due to their capacity to absorb sound, popcorn ceilings are usually referred to as acoustic ceilings. However, the majority of builders have ceased using them since they are challenging to paint effectively and are no longer typical features in newly constructed homes.
Many older popcorn ceilings might be dangerous to one’s health since they contain asbestos. Before you remove the popcorn ceiling in your home, test a small area for the presence of asbestos using a test kit that has been approved by the EPA. Nobody other than an expert in asbestos abatement should ever try to remove asbestos.
Test the ceiling by Scraping It
Before spending the money to prepare the entire room, scrap a tiny portion of the ceiling while you find out how to get rid of the popcorn texture. Try it when it’s dry first, and then after you’ve wet the pattern with some water. Although it is feasible to remove part of the texture even without water, dampness is often preferred.
The ceiling can be painted or even paint has been added to the pattern mixture if the water does not soak in and soften the texture. If this is the case, spraying water on the ceiling could not be effective, leaving you with the tough choice of either scraping the ceiling or coming up with a way to cover the popcorn ceiling.
Asbestos testing
Before 1980, asbestos, which has been linked to lung cancer, could have been used to create popcorn ceilings. Contact your local health department and inquire about getting a sample examined before you begin trying to find out how to remove a popcorn ceiling pattern from your ceiling. You want to understand how to take down a popcorn ceiling that contains asbestos, don’t you? If the test results show that there is asbestos present, you should either completely remove the existing popcorn ceiling & upgrade it with the latest drywall installation or even tongue-and-groove boards, or you should hire an asbestos abatement professional to assist you with the operation.
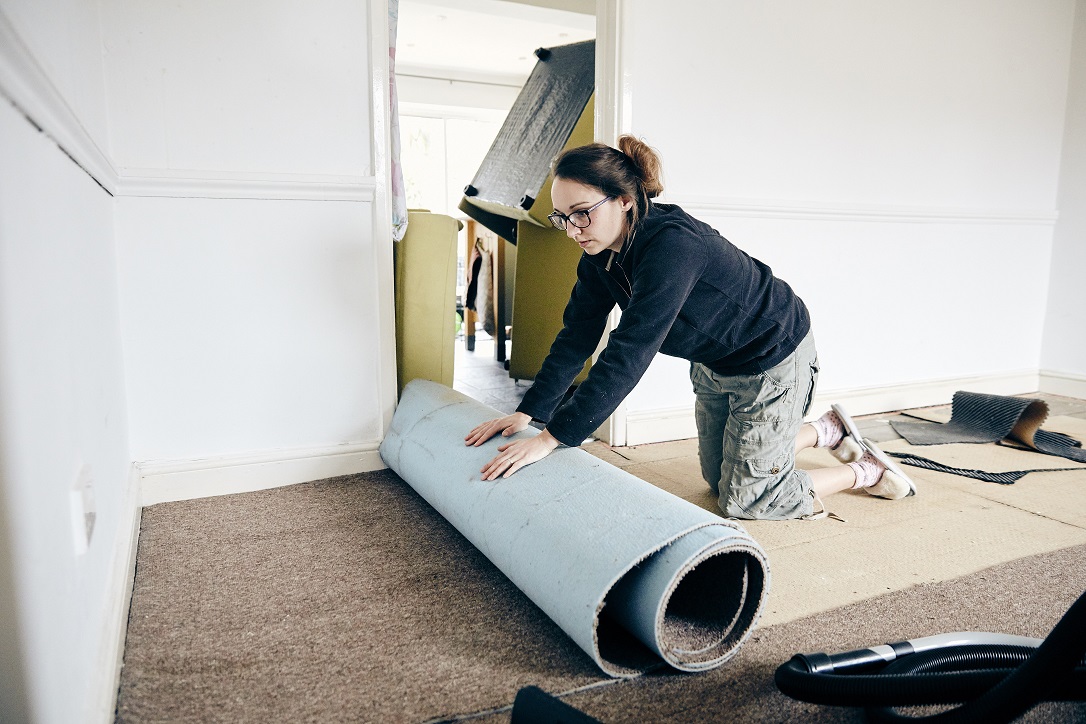
Be prepared for the big mess
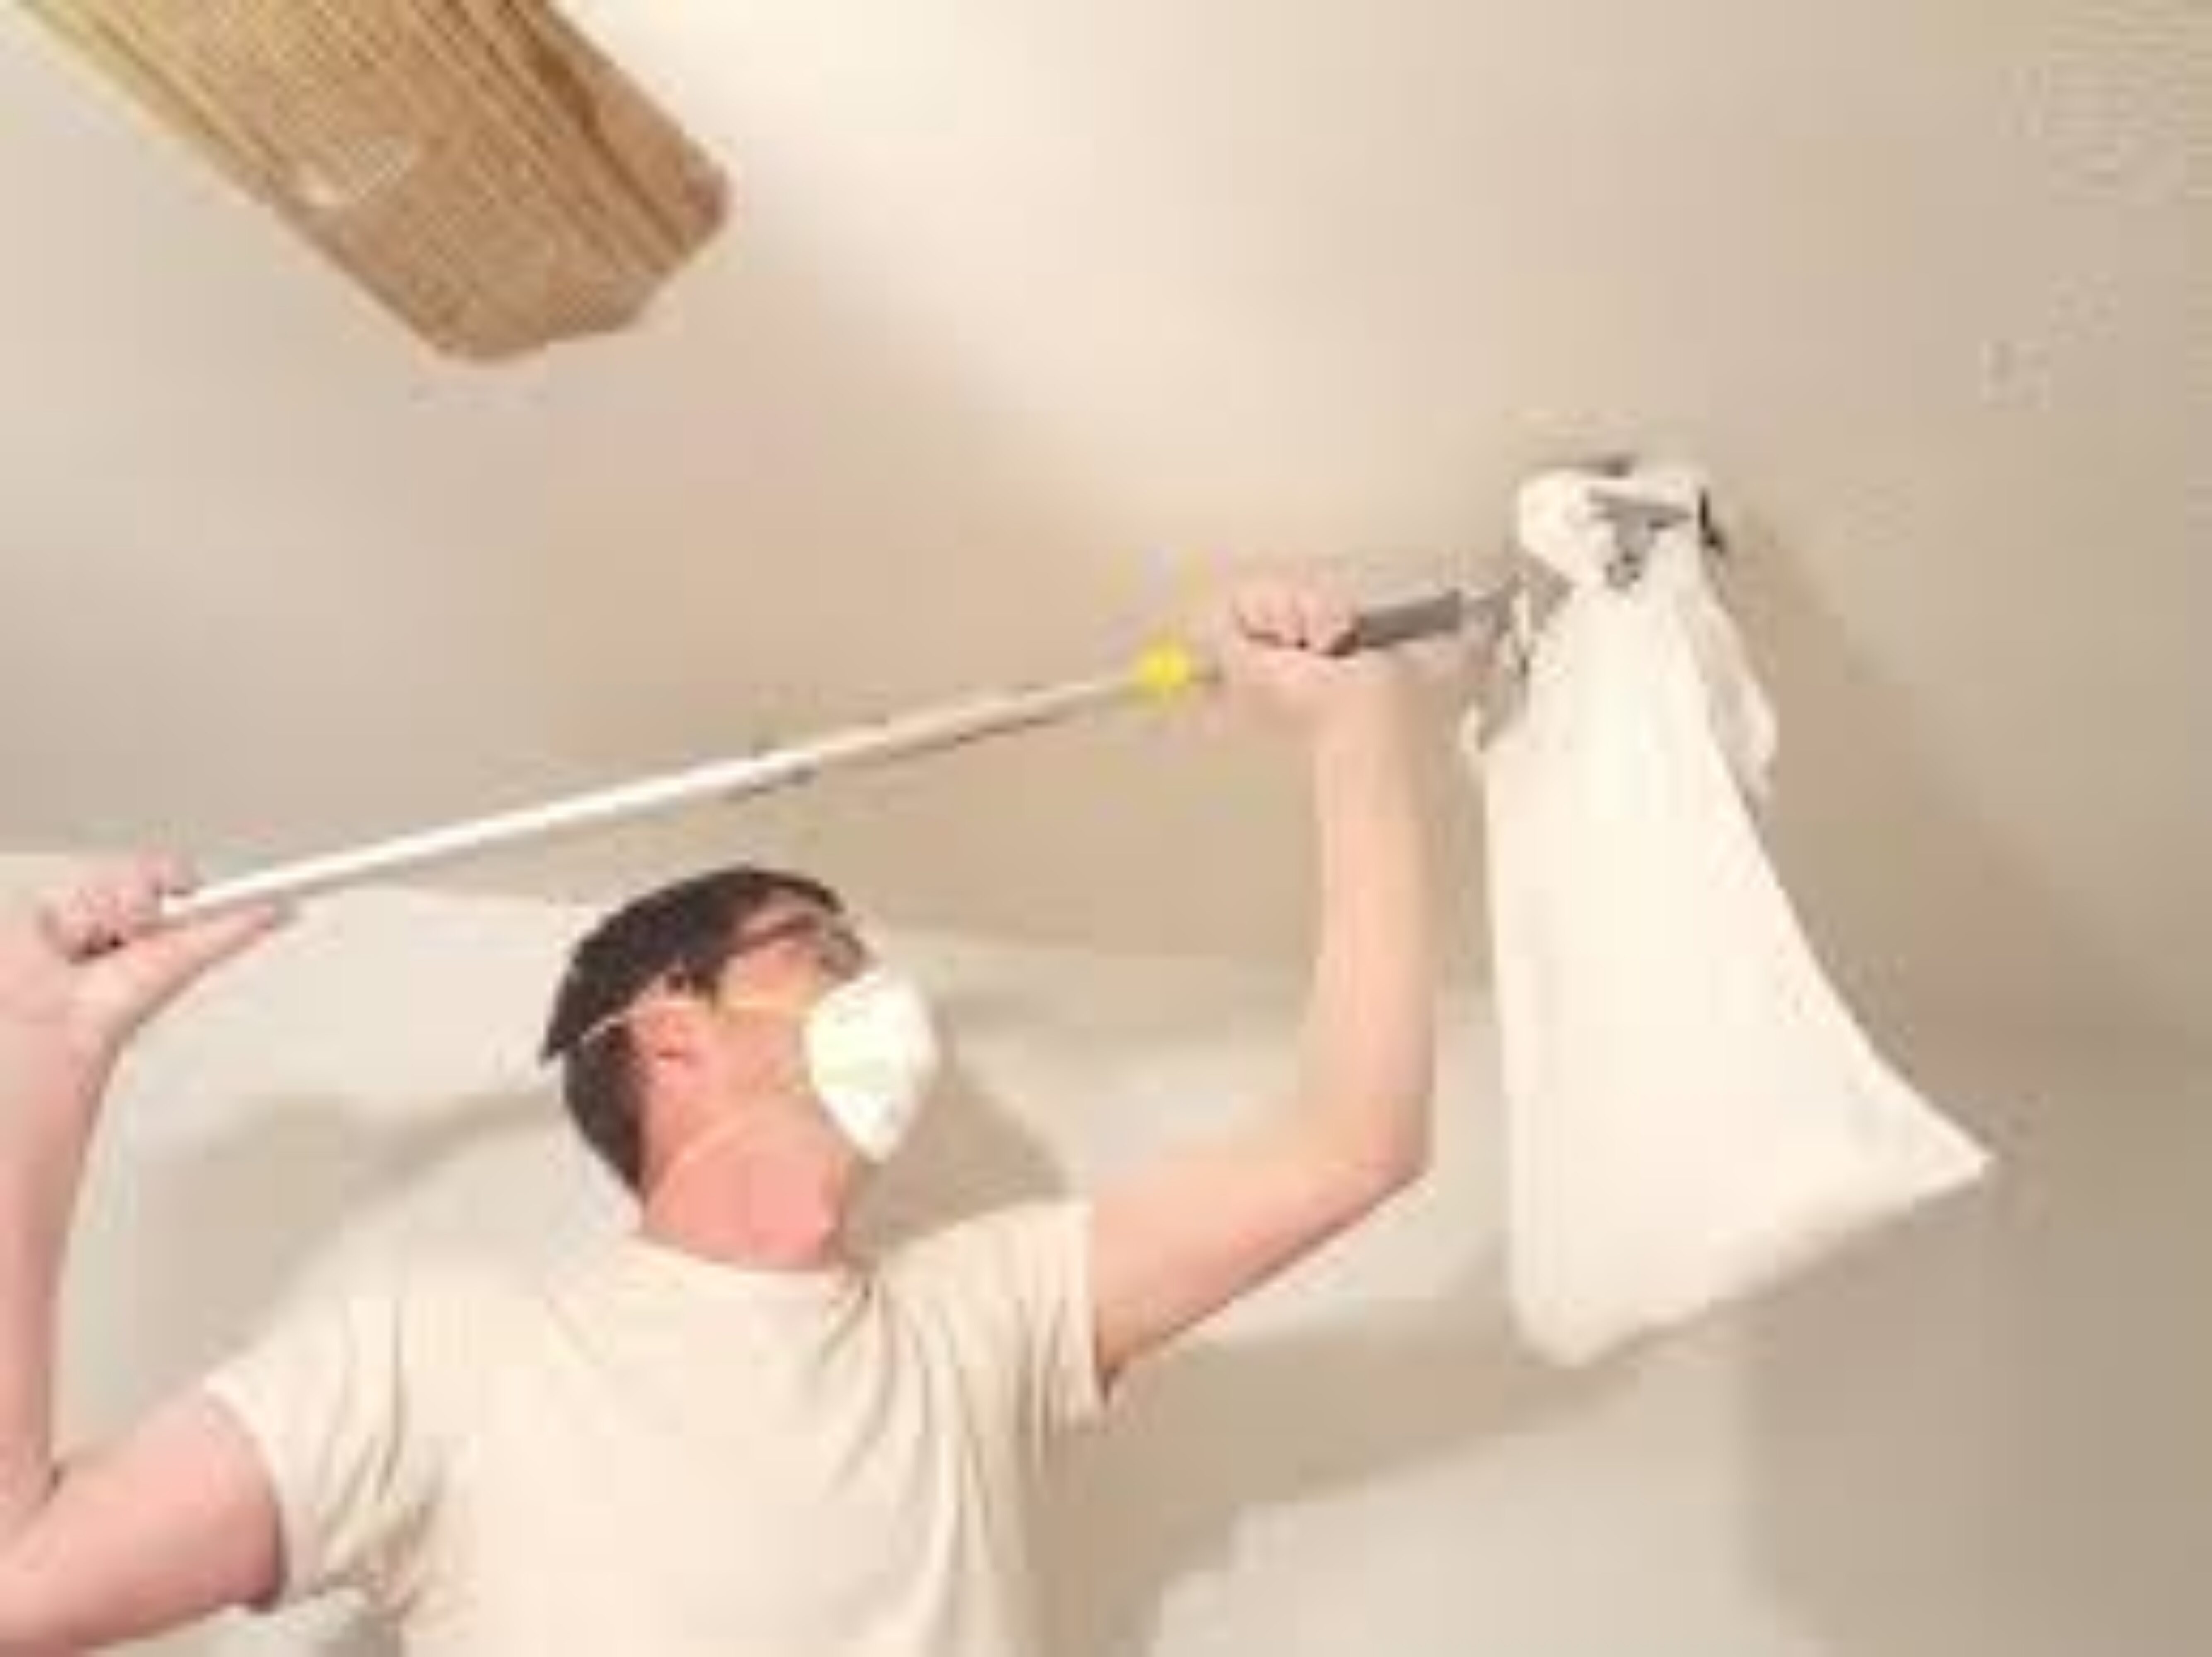
Use drop cloths made of plastic to cover the walls and floors. As you start to learn how to remove a popcorn ceiling. It is not advisable to use canvas and drop cloths since the water might readily seep through them. When you are done dealing with plastic. All of the leftover waste may be rolled into a ball and thrown away. Cleaning up is now much easier. Leave the plastic in place after removing the popcorn ceiling so that it may collect the dust produced when you sand and restore the ceiling later.
Put the furniture in its proper location
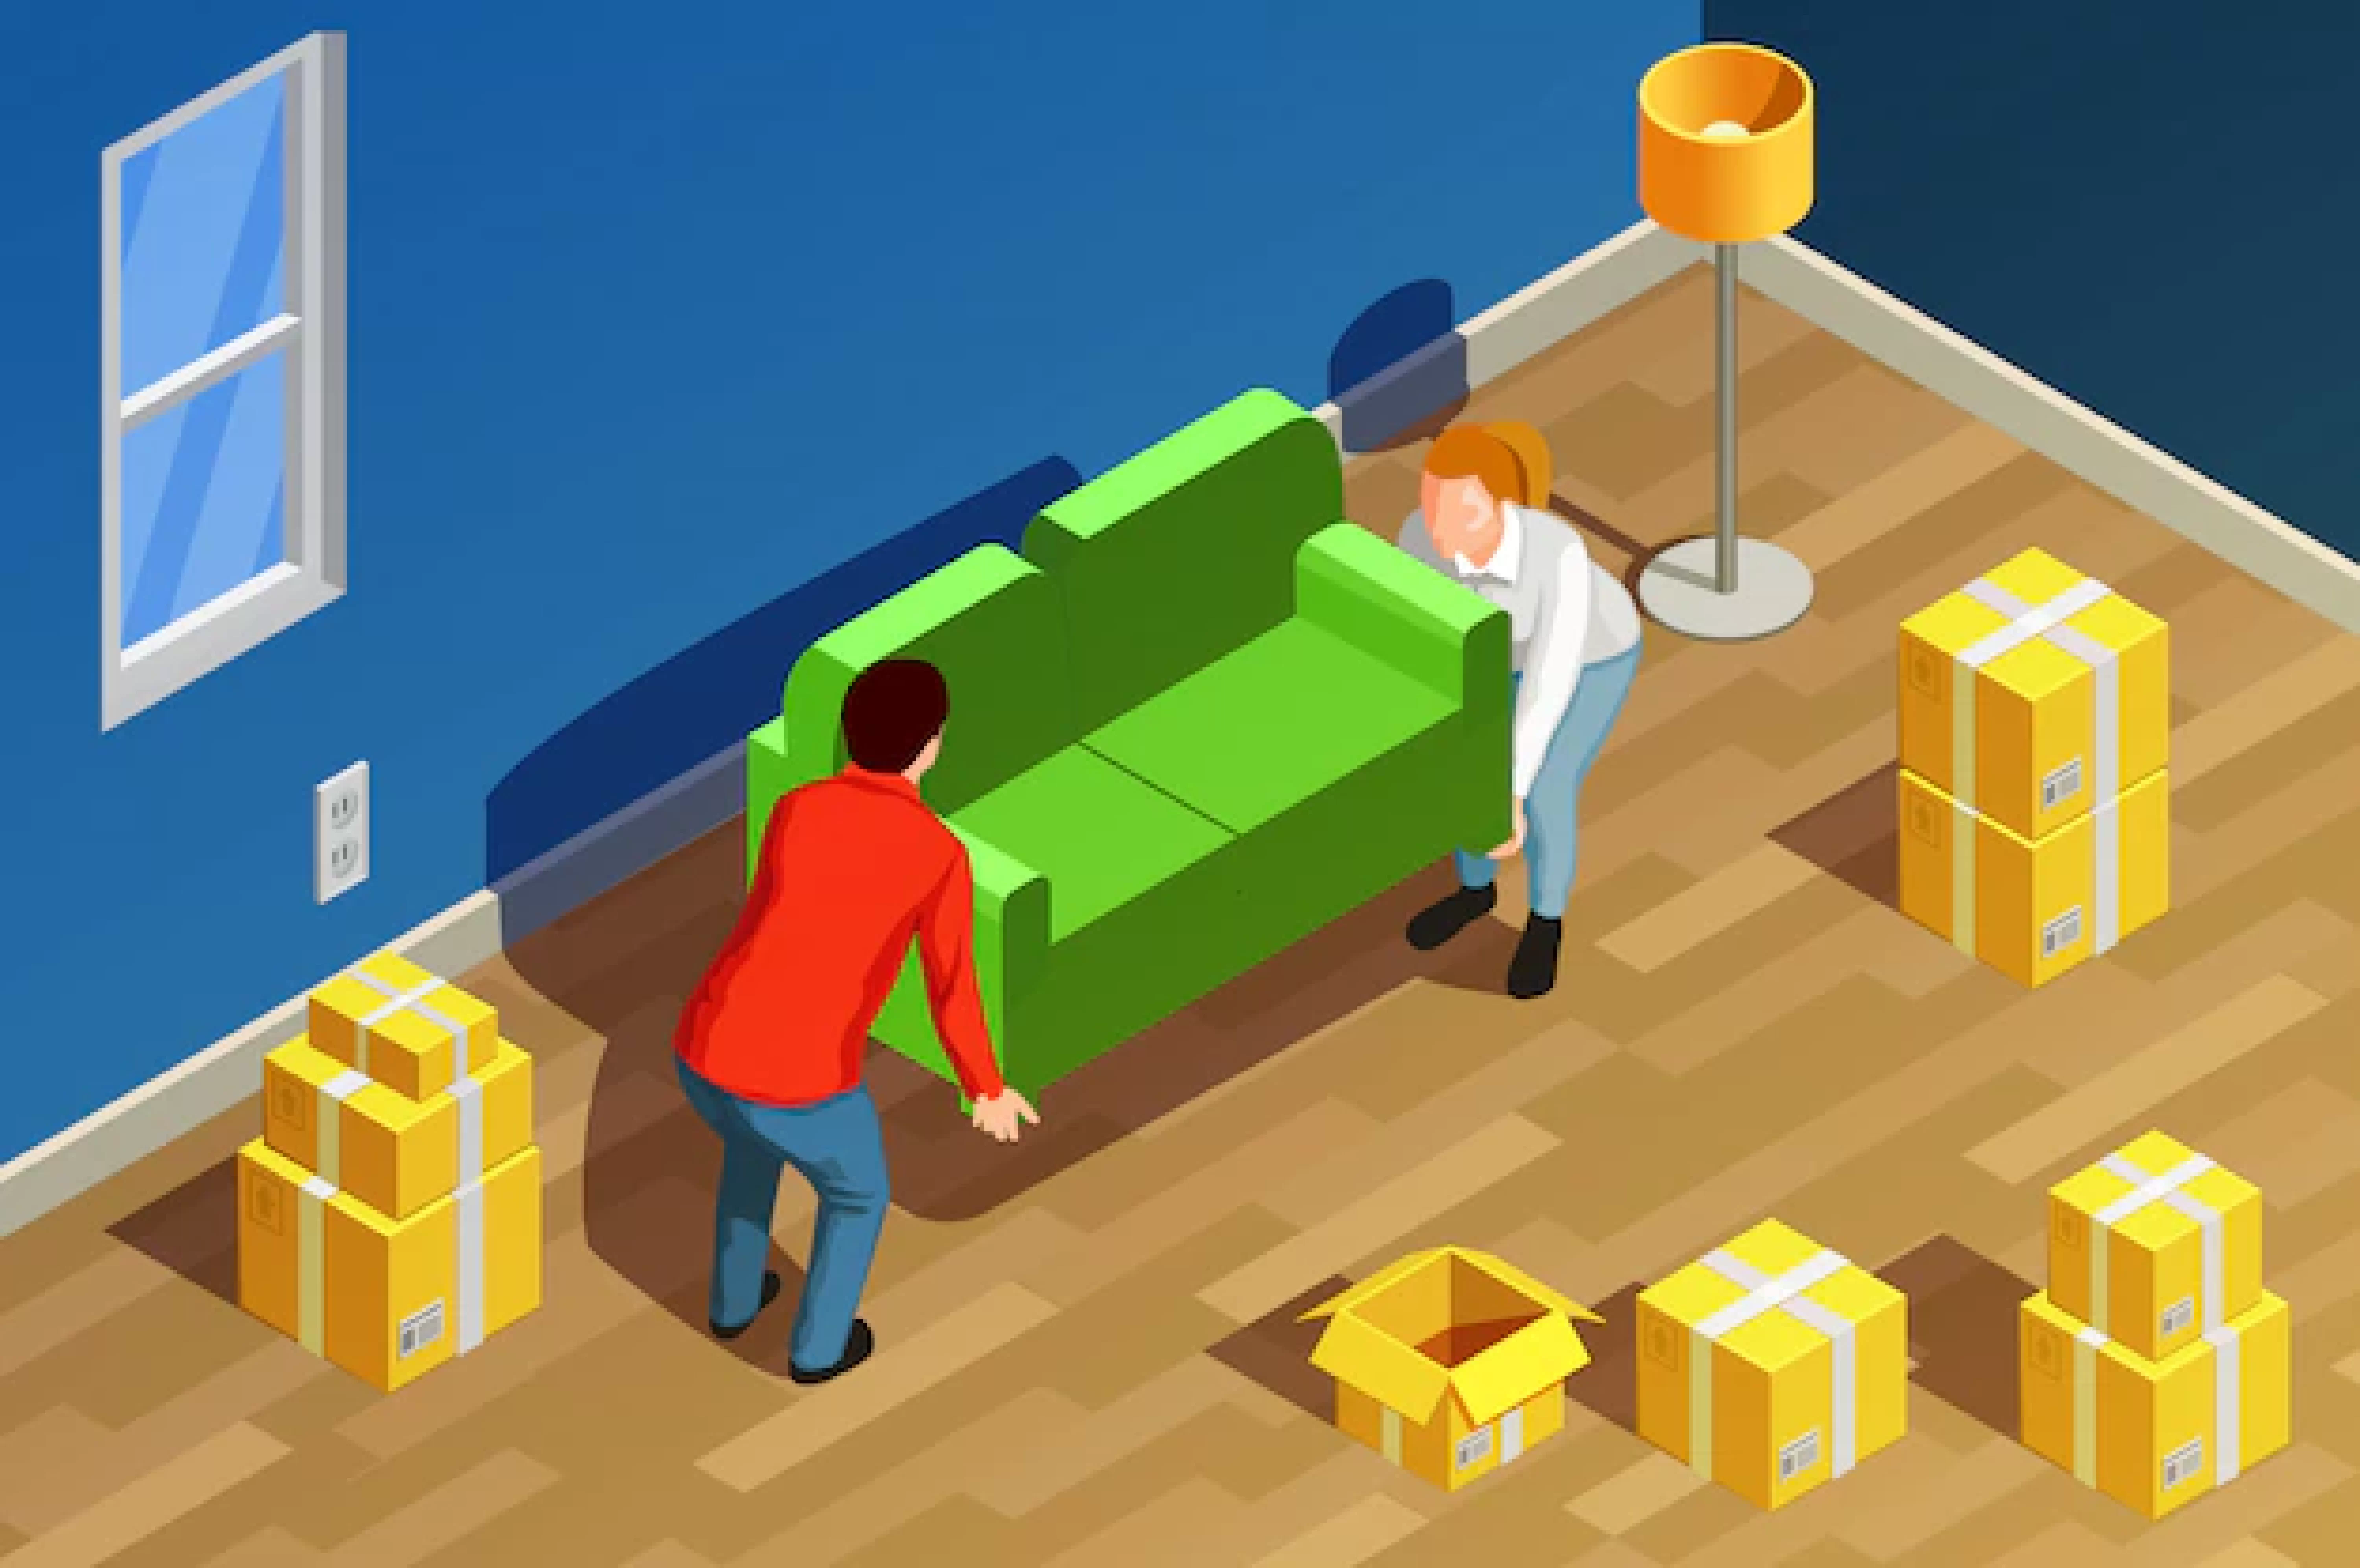
If at all possible, you can remove all the furniture from the rooms you want to work in. When you are learning to eliminate popcorn ceilings, the work may get messy. So you won’t want any furniture in the way when you are moving the ladder. Organize everything into a single area and cover everything with drop cloths if it is not possible to remove everything from the room.
Turn off the ceiling fans and lights
You would believe that leaving light fixtures & ceiling fans in place would make it easier to eliminate the popcorn ceiling. Doing so could just make the removal process more difficult since the wet popcorn would get on the fans and light fixtures. It would be offensive to further spray liquid into the electrical fixture by mistake.
Protecting can light from the spray is a good idea
While you learn how to remove a popcorn ceiling if your house has recessed ‘can’ lights, then you should place rosin paper and newspaper inside of them to prevent them from becoming wet. Additionally, check the fuse box or circuit breaker panel to ensure that the energy to those items has been switched off.
Use a pump sprayer to saturate it with moisture
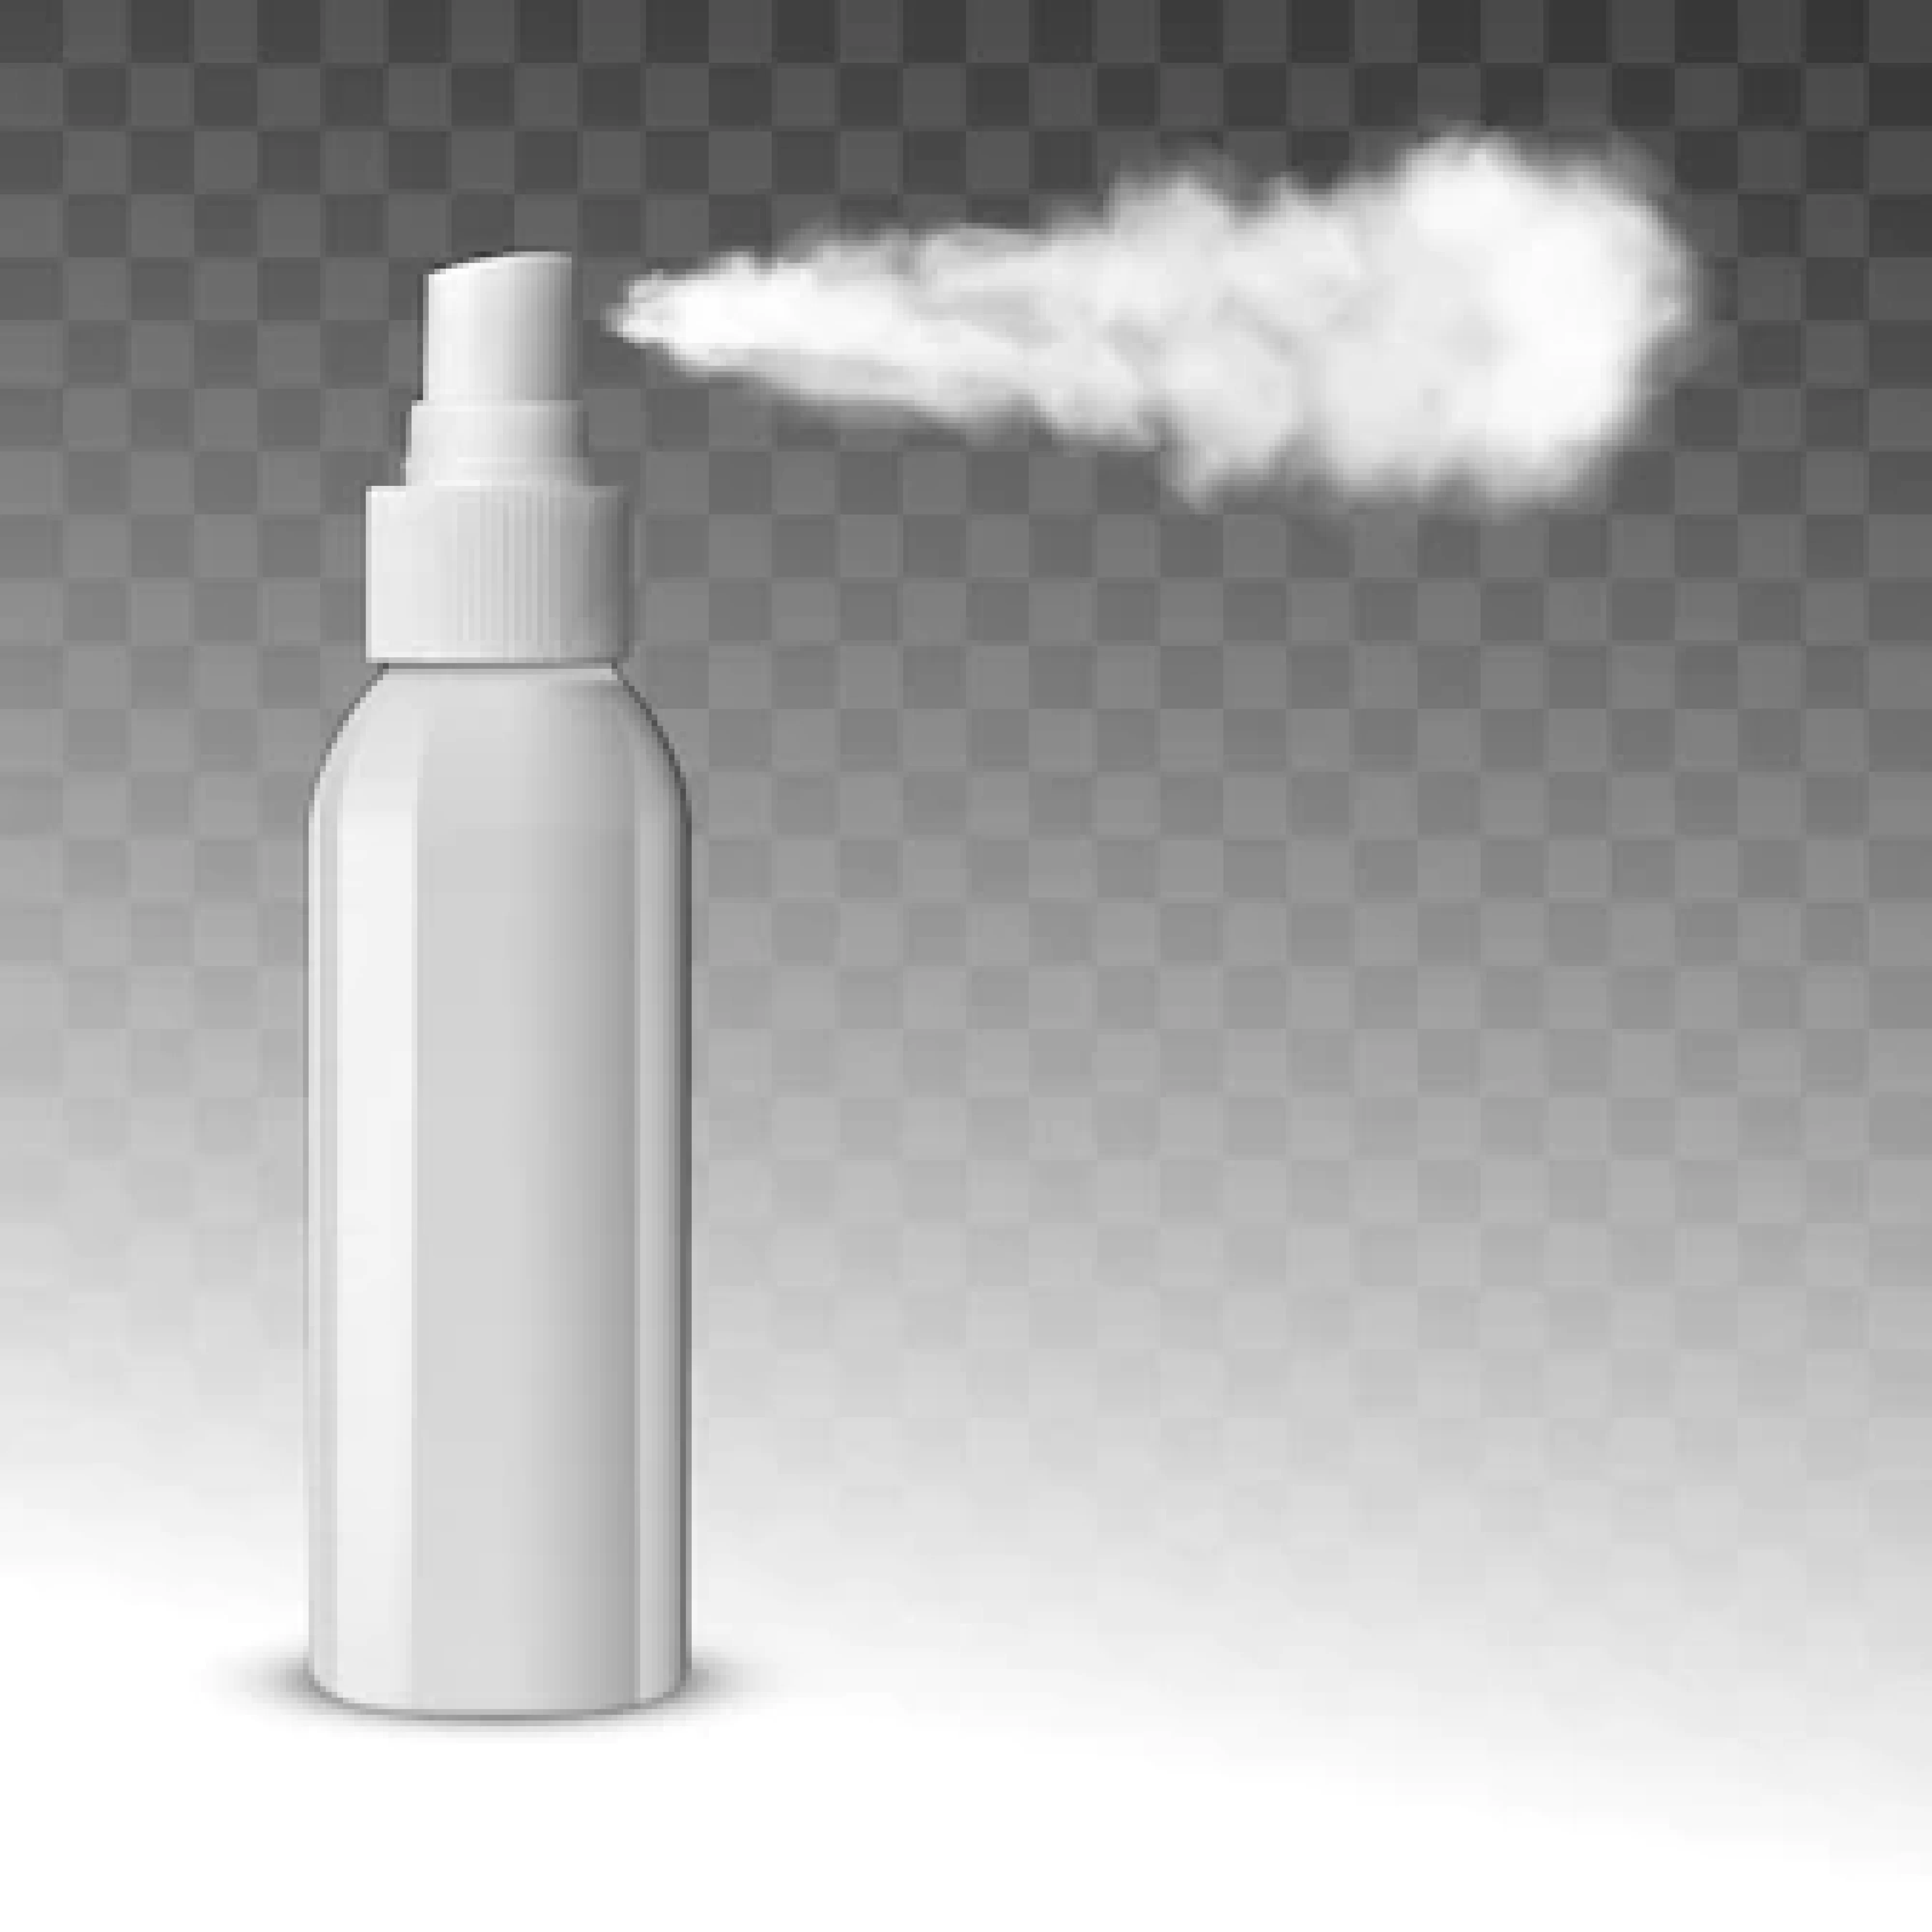
Wetting the area with the garden pump sprayer & letting it set for around 15 minutes prior to scraping. Makes the process much simpler and most remove dust when removing popcorn from a ceiling. Just a little sprinkling of water will do. Any more might harm the walls or cause the joint tape to come off. If the texture has not become more malleable after about 15 minutes. Spray it once again and await for another 10-15 minutes.
It’s possible that the texture is painted or painted into it before applying. If it has not yet softened, this means it has been painted. Whatever the situation, water will have difficulty getting in. If the pattern is painted, you may be able to wet scrape it. After initially dry scraping it to reveal the unpainted areas of the texture. You will either have to dry-scrape the entire ceiling or wrap it with T&G boards and drywall to remove excess paint from the texture.
Electricity Box be Covered
Turn off the electricity to boxes of electrical junctions in the ceiling before spraying on the popcorn to prevent moisture from getting into the wiring. Next, cover the electrical junction boxes with painter’s tape. Use a utility knife to trim the tape’s edges after it has been wrapped around the junction box. So that it overlaps the box’s edges, be careful to cut any wires in the process.
Perform Your Tasks in Brief Intervals
You should only spray and scrape a tiny area at a time, no larger than 4 feet to 4 feet. The popcorn can dry before you can scrape it off if you operate on a huge area at once. In such a case, reapply the spray and wait an additional 10-15 minutes before washing the troubled region.
Create order from chaos by Making Mud Pan
The soggy popcorn should be captured in a mud pan similar to those used to store joint compounds before it may fall to the ground. As a consequence, as you walk to position the ladder, you won’t be spreading it all over the area. Additionally, you may rid your scraper of any remaining wet popcorn by running it down the pan’s edge.
Don’t touch anyone with anything
You should round the corners of the popcorn scraper. Whether it’s a broad putty knife or a drywall tape knife, to stop it from scraping the ceiling & leaving you with multiple holes to patch. This holds true if you’re using a wide putty knife or a drywall taping knife. To achieve this, you may use a file, sanding, or electric grinder.
Smooth after Being Scraped
The ceiling won’t be ready for house painting by just scraping it. Some dents and scratches may probably need to be fixed. The ceiling has to be at least lightly sanded to make it sufficiently smooth before you can paint it.
FQA’s
Can I take down my own popcorn ceiling?
Popcorn ceilings are easy to take down and don’t cost much. All you need is some time and muscle. If your popcorn ceiling needs more work than just scraping and painting. You can also cover it with wood paneling, pressed tin tiles, or new drywall.
What’s the best way to get rid of the popcorn ceiling?
POPEEZE is the best tool for removing popcorn ceilings.
A Popeeze Popcorn Ceiling Scraper with a vacuum attachment is one of the more modern tools you can use to remove popcorn ceilings. It’s basically a tool that takes off ceiling texture without making any mess or needing a bag.
How do I get rid of popcorn ceilings?
Using your spray bottle filled with warm water. Spray an area and let the water soak the popcorn for a few seconds. Exactly what is this? By wetting the popcorn, the powdery mess is lessened, and scraping it is made easier. Don’t saturate the ceiling with water.
Conclusion
It may seem like a big job to get rid of how to remove a popcorn ceiling. But now you know that a little work will make a big difference in your home. You will save both time and money if you do the task by yourself. If you’re working on this project, let us know how it’s going on social media.