The tips and tricks in this article are perfect for people that are just starting out with how to remove drywall anchor. They will help you learn the basics of how to use them and how to choose the best ones for your needs.
Some people think that drywall anchors are difficult to use, but it’s not as hard as it seems. If you follow these 10 tips, you will be able to know how to remove drywall anchors like a pro in no time.
Some Amazing Facts About Why Use Drywall Anchors:
Drywall anchors are a type of fastener that is designed to reinforce the attachment of drywall to framing members. Drywall anchors come in many different forms, with some being metal and others being plastic. Before we know how to remove drywall anchors first we need to know why we use drywall anchors. Here we will cover Some Important facts about drywall repair and why they use anchors.
- 1. They are used to hold the drywall in place while it is being stretched.
- 2. They can be used on a variety of surfaces, including gypsum board, wood, and plaster
- 3. The most common types of anchors are toggle bolts and sheetrock screws
- 4. They can also be used to hold the stone, tile, and other materials
- 5. Anchors are commonly used as a type of fastener for drywall
- 6. Toggle bolts are the most common form of anchors for drywall
- 7. Anchors can vary in length, but the most common lengths in the United States range from four inches to six inches.
Identify the drywall Anchor Type:
Removing drywall anchor most of the time depend on what type of drywall you have. It may be many types. They are:
- Plastic Expansion Anchors: It is the most common type of wall anchor. They cover a plastic sleeve with sharp edges and can be used in both new and existing construction.
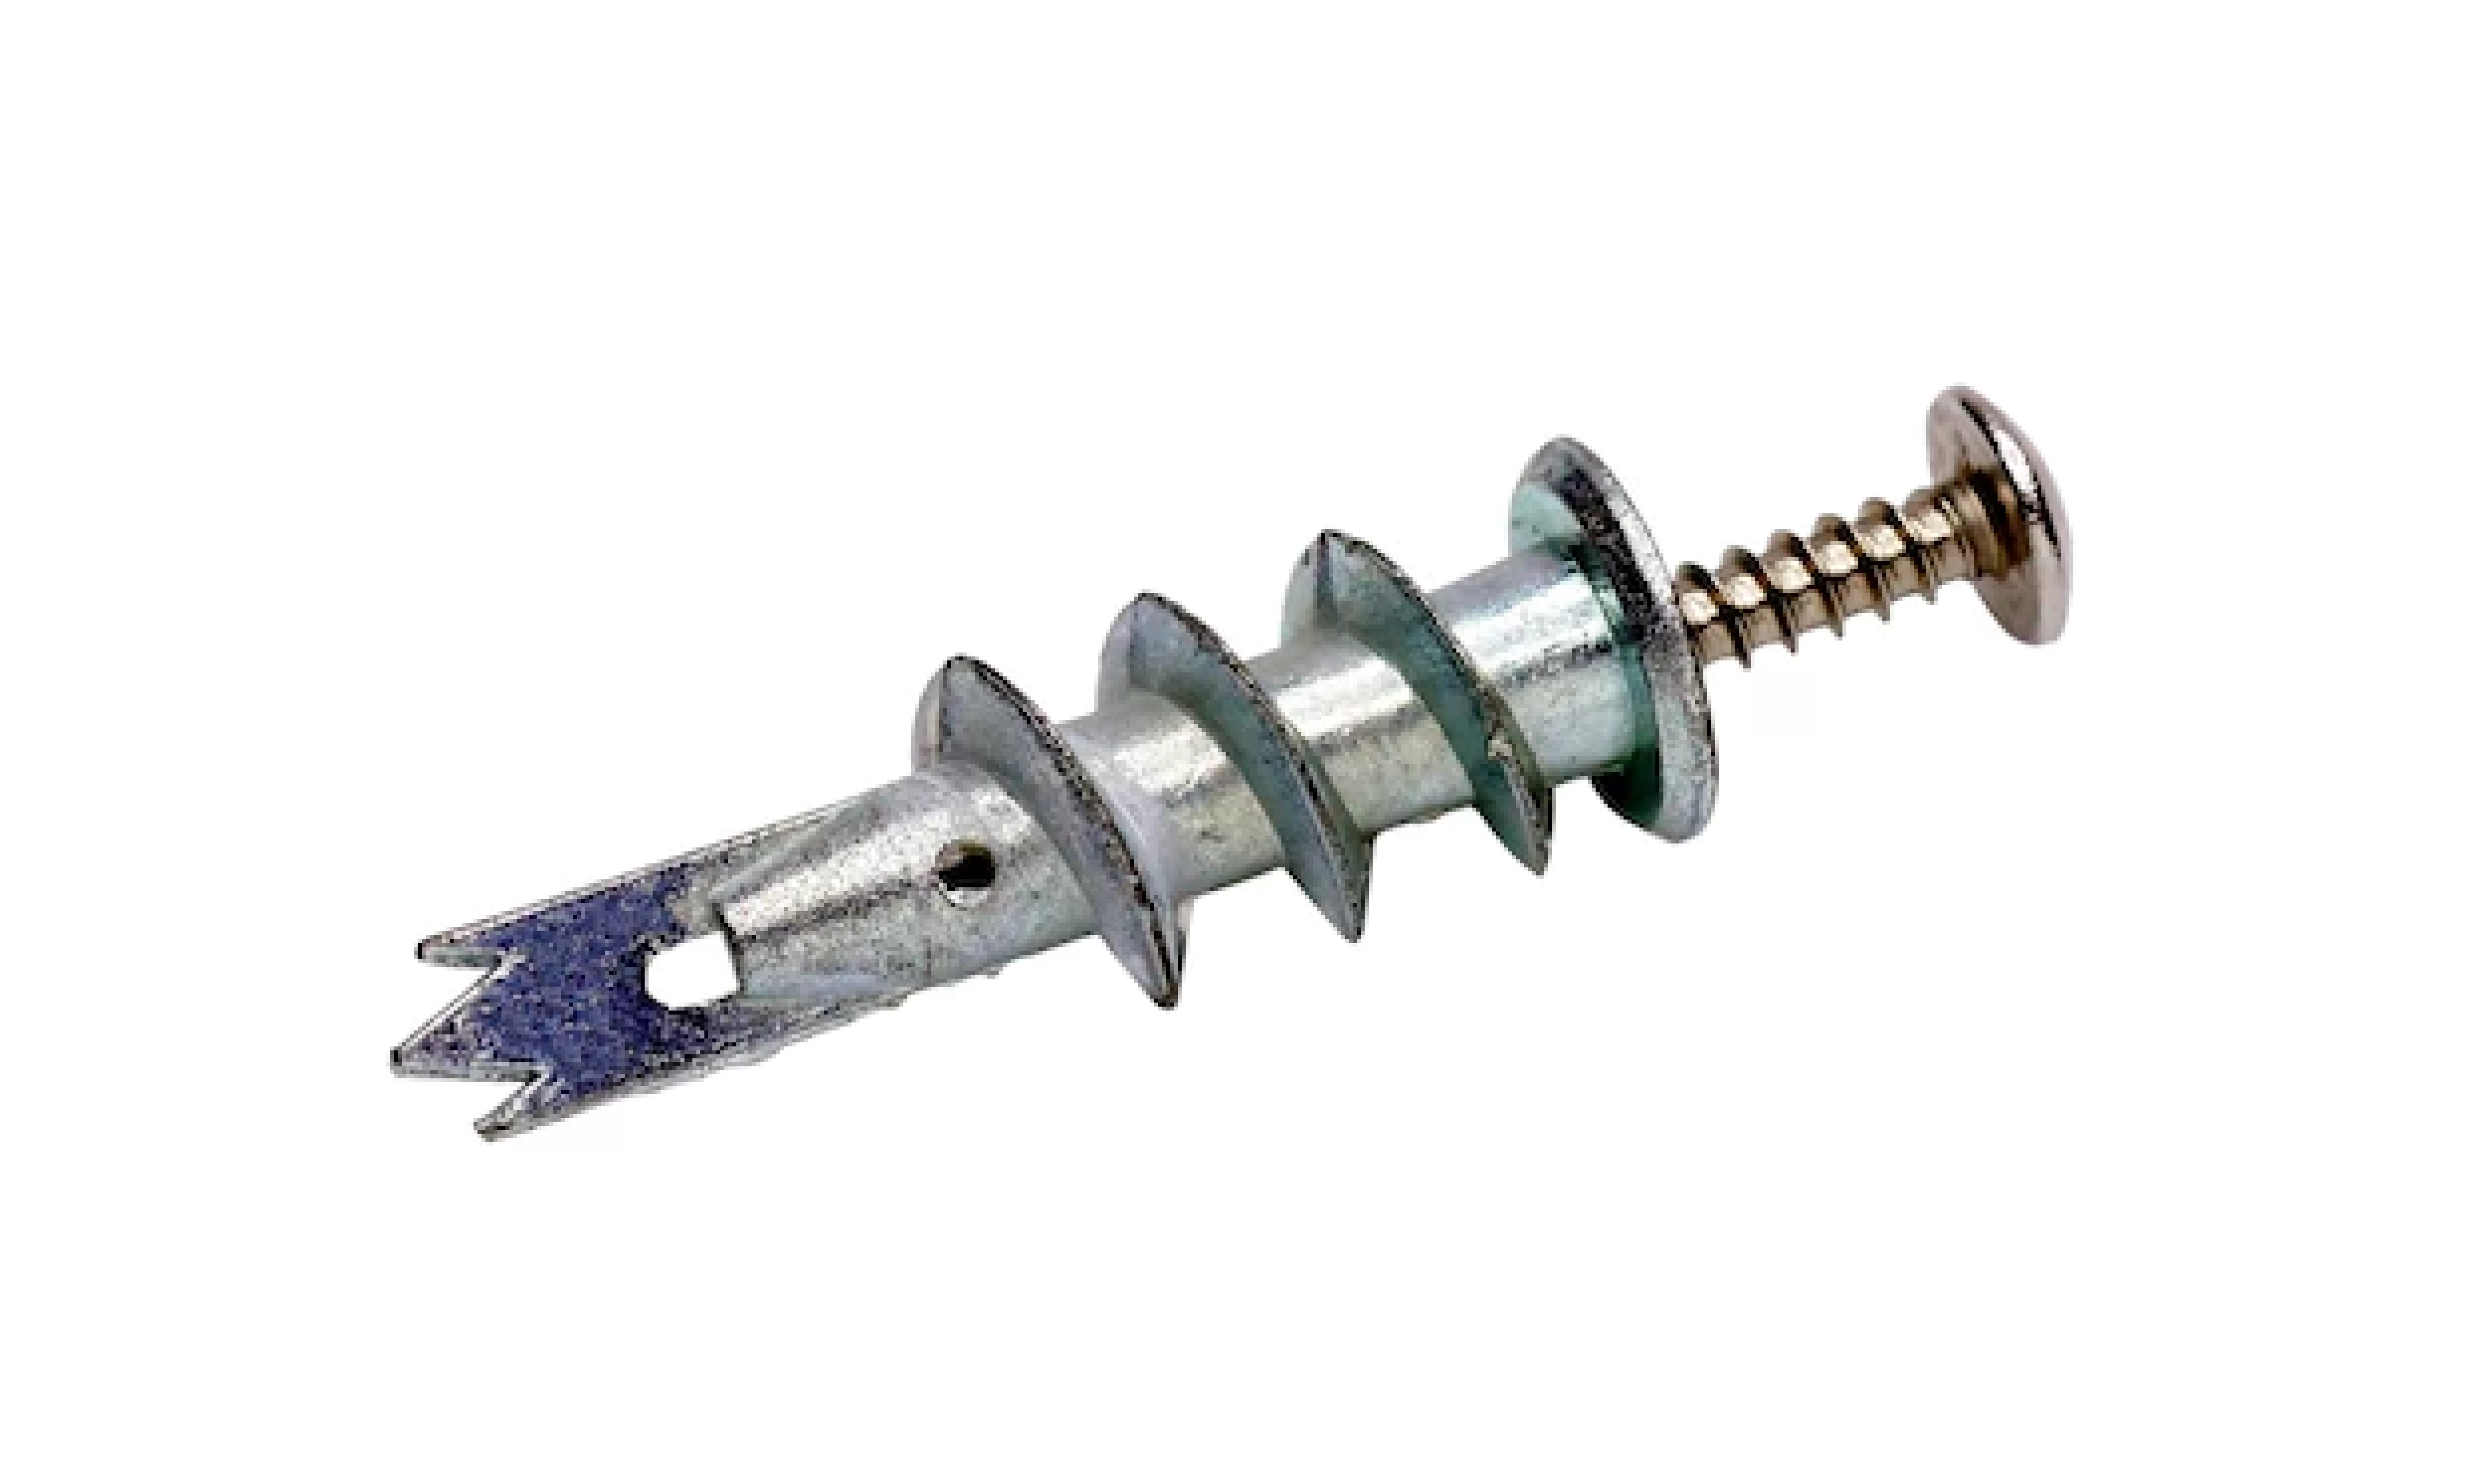
- Plastic screw anchors: This anchor’s collar looks like an expansion anchor, but the screws on its sides are bigger. This is a saddle-shoe-style expansion anchor.
- Steel hollow wall anchors: The stainless steel collar is a small, metal piece that has a wide, circular opening at the top. This opening should be wider than the screw. The collar should be screwed into the top of the post and tightened securely with a wrench or ratchet.
- Toggle bolts: You would never suspect this was a concealed screw with a metal clip inside until you get right up close.
So first you have to identify which type of anchor you have then start removing drywall.
Materials Need to Gather Before Remove Drywall Anchor:
The tools you need to remove the screws from a drywall anchor are different than the tools you’ll need for cutting and drilling holes. Before you start work, make sure you have:
- Bucket,
- Putty knife,
- Screwdriver
- A putty chisel.
- Hammer
- Pliers
- Utility knife
- Speckling compound
- Rags
- Medium-grit sandpaper
- Detail paintbrush
The previous list of tools are are Recommended in order to remove anchors from the drywall. So gather them before starting to remove the drywall.
The Easiest Way To Remove Drywall Anchors:
1. Before you remove any drywall anchors, find a flat surface to place the sheet of drywall on. The thin side of the sheet should be facing down.
2. Carefully pry up on the anchor plate so that you expose the screw that holds it in place and then put some weight on top of the anchor so that it breaks free.
3. Leave the broken anchor in place and remove all screws in a similar fashion.
4. You can then begin to pull out drywall to expose the wall studs, which will make for a much easier time when you’re starting fresh with new drywall and anchors.
5. Always use masking tape on any drywall that comes out.
6. Once the drywall has been removed, using a utility knife or box cutter, cut through any of the remaining nails to expose the studs and mark them with a pencil first so you know where to add your new anchors.
7. Use a hammer to drive the anchors into the studs until they are flush with the wood, then use a level to ensure they are straight.
8. Proceed to remove any excess nails, and when you’re finished screwing in your new anchors, add your decorative wall plate or trim piece and secure it with screws at each of the four corners of that wall plate or trim piece.
9. All anchors should be screwed in as deep as they go a screw is only suitable for so much holding power before it begins to pull out of the wood and snap off at the head.
10. To remove an anchor: insert a screwdriver or drill bit into the head of the anchor and unscrew it from its wall stud.
Conclusion:
With that said, The conclusion of this article suggests that drywall anchors are often used for hanging decorations and for holding shelves and other items to a wall. The anchor engages with the wall by compressing the anchor’s wings on the two sides of the hole to create a tight fit.
Drywall screws are then placed into the wings of the anchor, provided that the wings are in contact with both sides of the wall. The top wing of a drywall anchor engages with a surface above it and the bottom wing engages with a surface below it.