This is the Ultimate guide for 2022 Exterior Stucco Installation with the Canadian building Standard.
Stucco makes your wall durable and resilient so that it lasts longer. This is as a result of the thorough process involved in installing it.
However, although Stucco is designed to resist the effect of moisture on your wall, little common errors make it prone to water penetration.
Moisture in the structure can have serious long-term consequences on Stucco walls. Hence, the moisture-proof stage is vital to strengthen your wall against water penetration.
Don’t Miss out on the process behind it
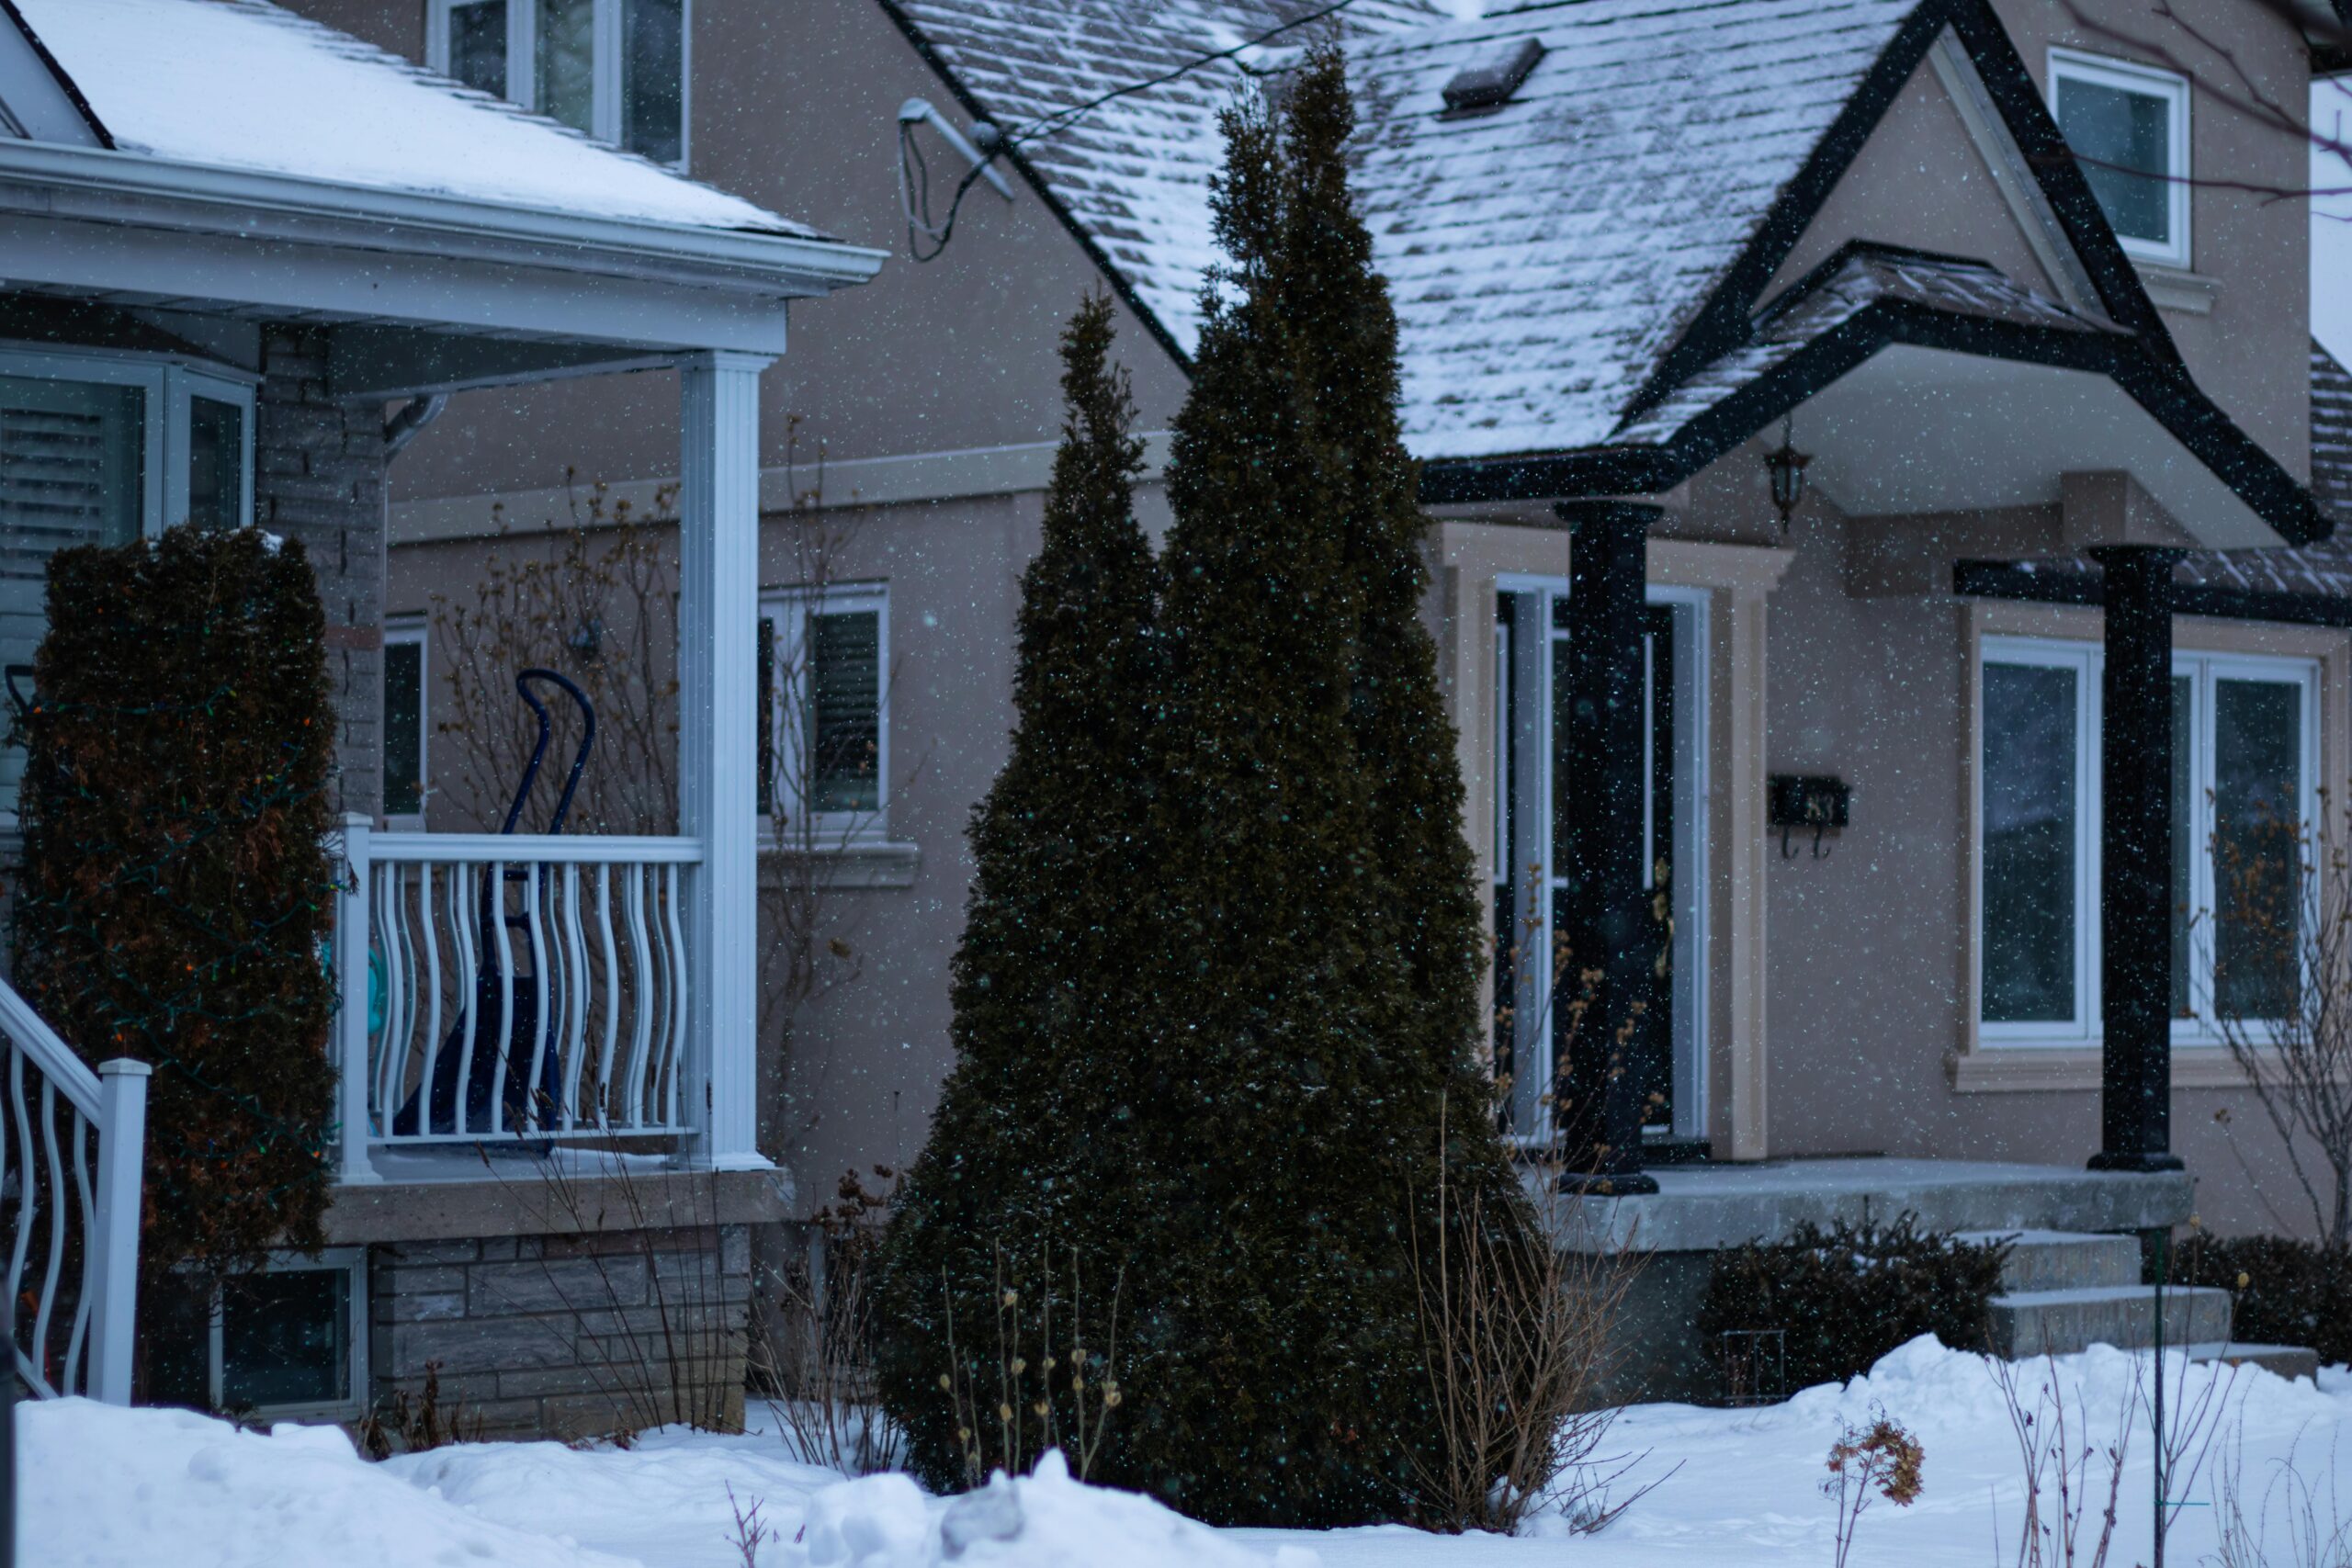
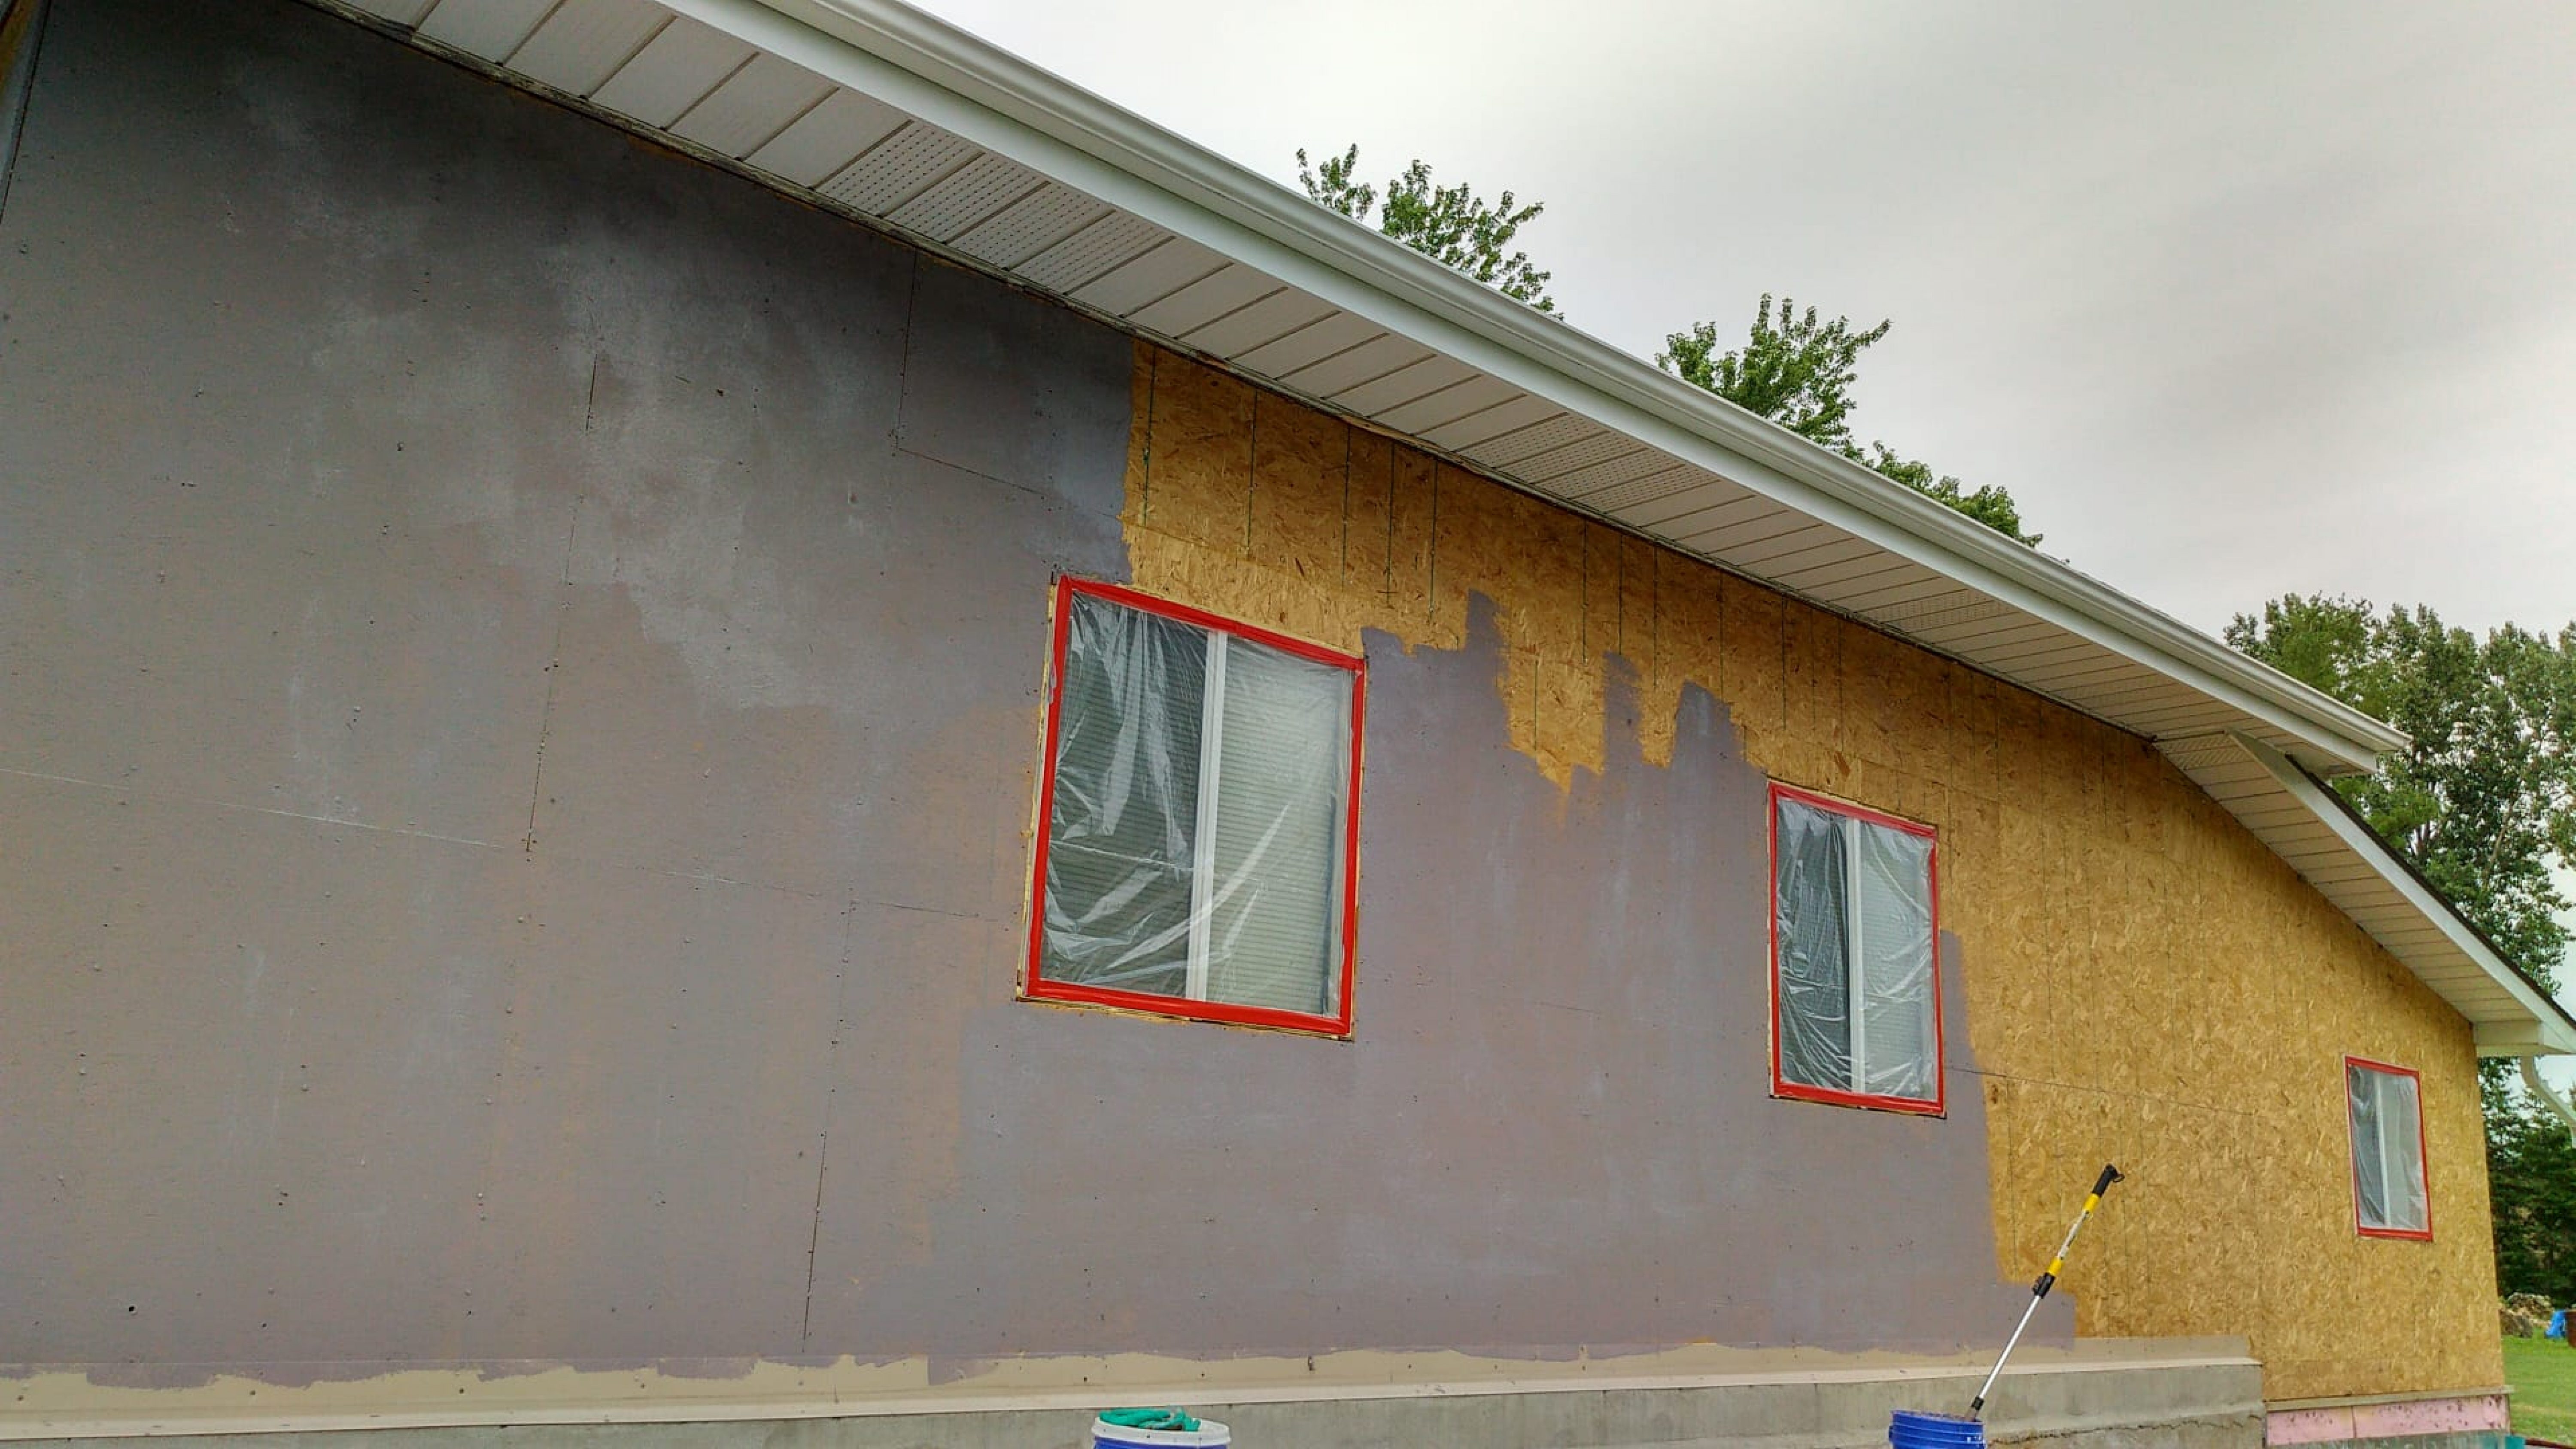
Unique Exterior Stucco Home From Scratch: Leveling the insulation
This fall
This article will show you the need for moisture-proofing of your structure. Also, you will learn the various approaches to waterproofing Stucco.
Is The Moisture Proof Stage Necessary?


The moisture-proof stage is very vital because the slightest crack or opening in a Stucco wall allows moisture to seep into and get trapped in the material. This can result in rotting, damage, and mold.
With this in mind, the moisture-proof stage which you can also refer to as waterproofing Stucco is necessary.
How to Moisture Proof a wall?
Proper waterproofing of Stucco is a three-part process that requires in-depth construction knowledge. There are different ways to waterproof Stucco, they include:
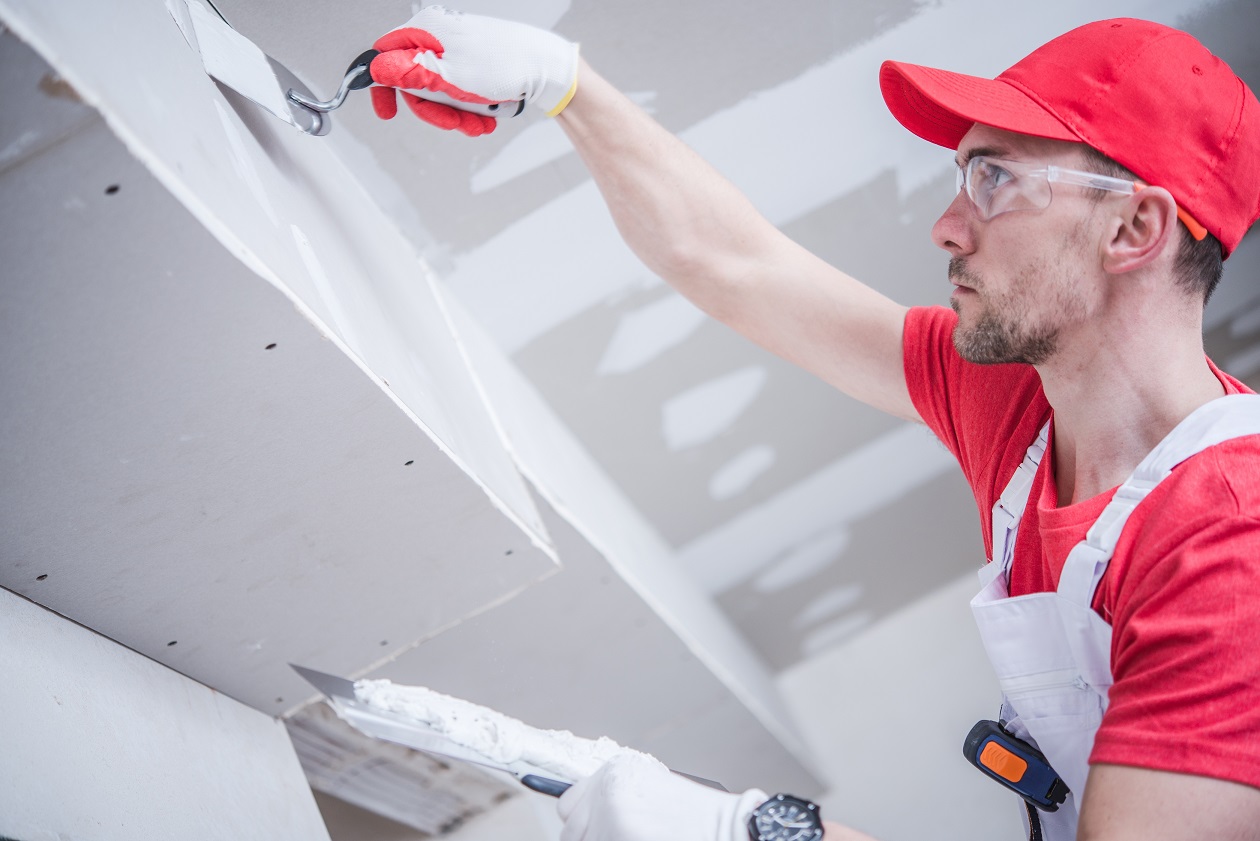
#1. Paint the Wall
One of the easiest ways to waterproof Stucco is by applying waterproof paint. But, although the easiest, this method is also the riskiest. Any damage to the paint can compromise the Stucco and render it useless.
This approach just requires two steps which include:
- Clean the wall
Clean the Stucco with a soap and water mixture to eliminate dirt and debris.
- Paint Wall
Apply the waterproof paint directly onto the clean and dry Plywood wall and let it air dry.
#2. Use Stucco Sealant
A more durable and reliable method is using a Stucco sealer. Sealants are specially designed to prevent moisture penetration in Stucco. The method of applying a waterproof sealant is the same as painting a Stucco. Simply paint the sealant onto the Stucco and allow it to air dry.
However, this method is also not entirely reliable.
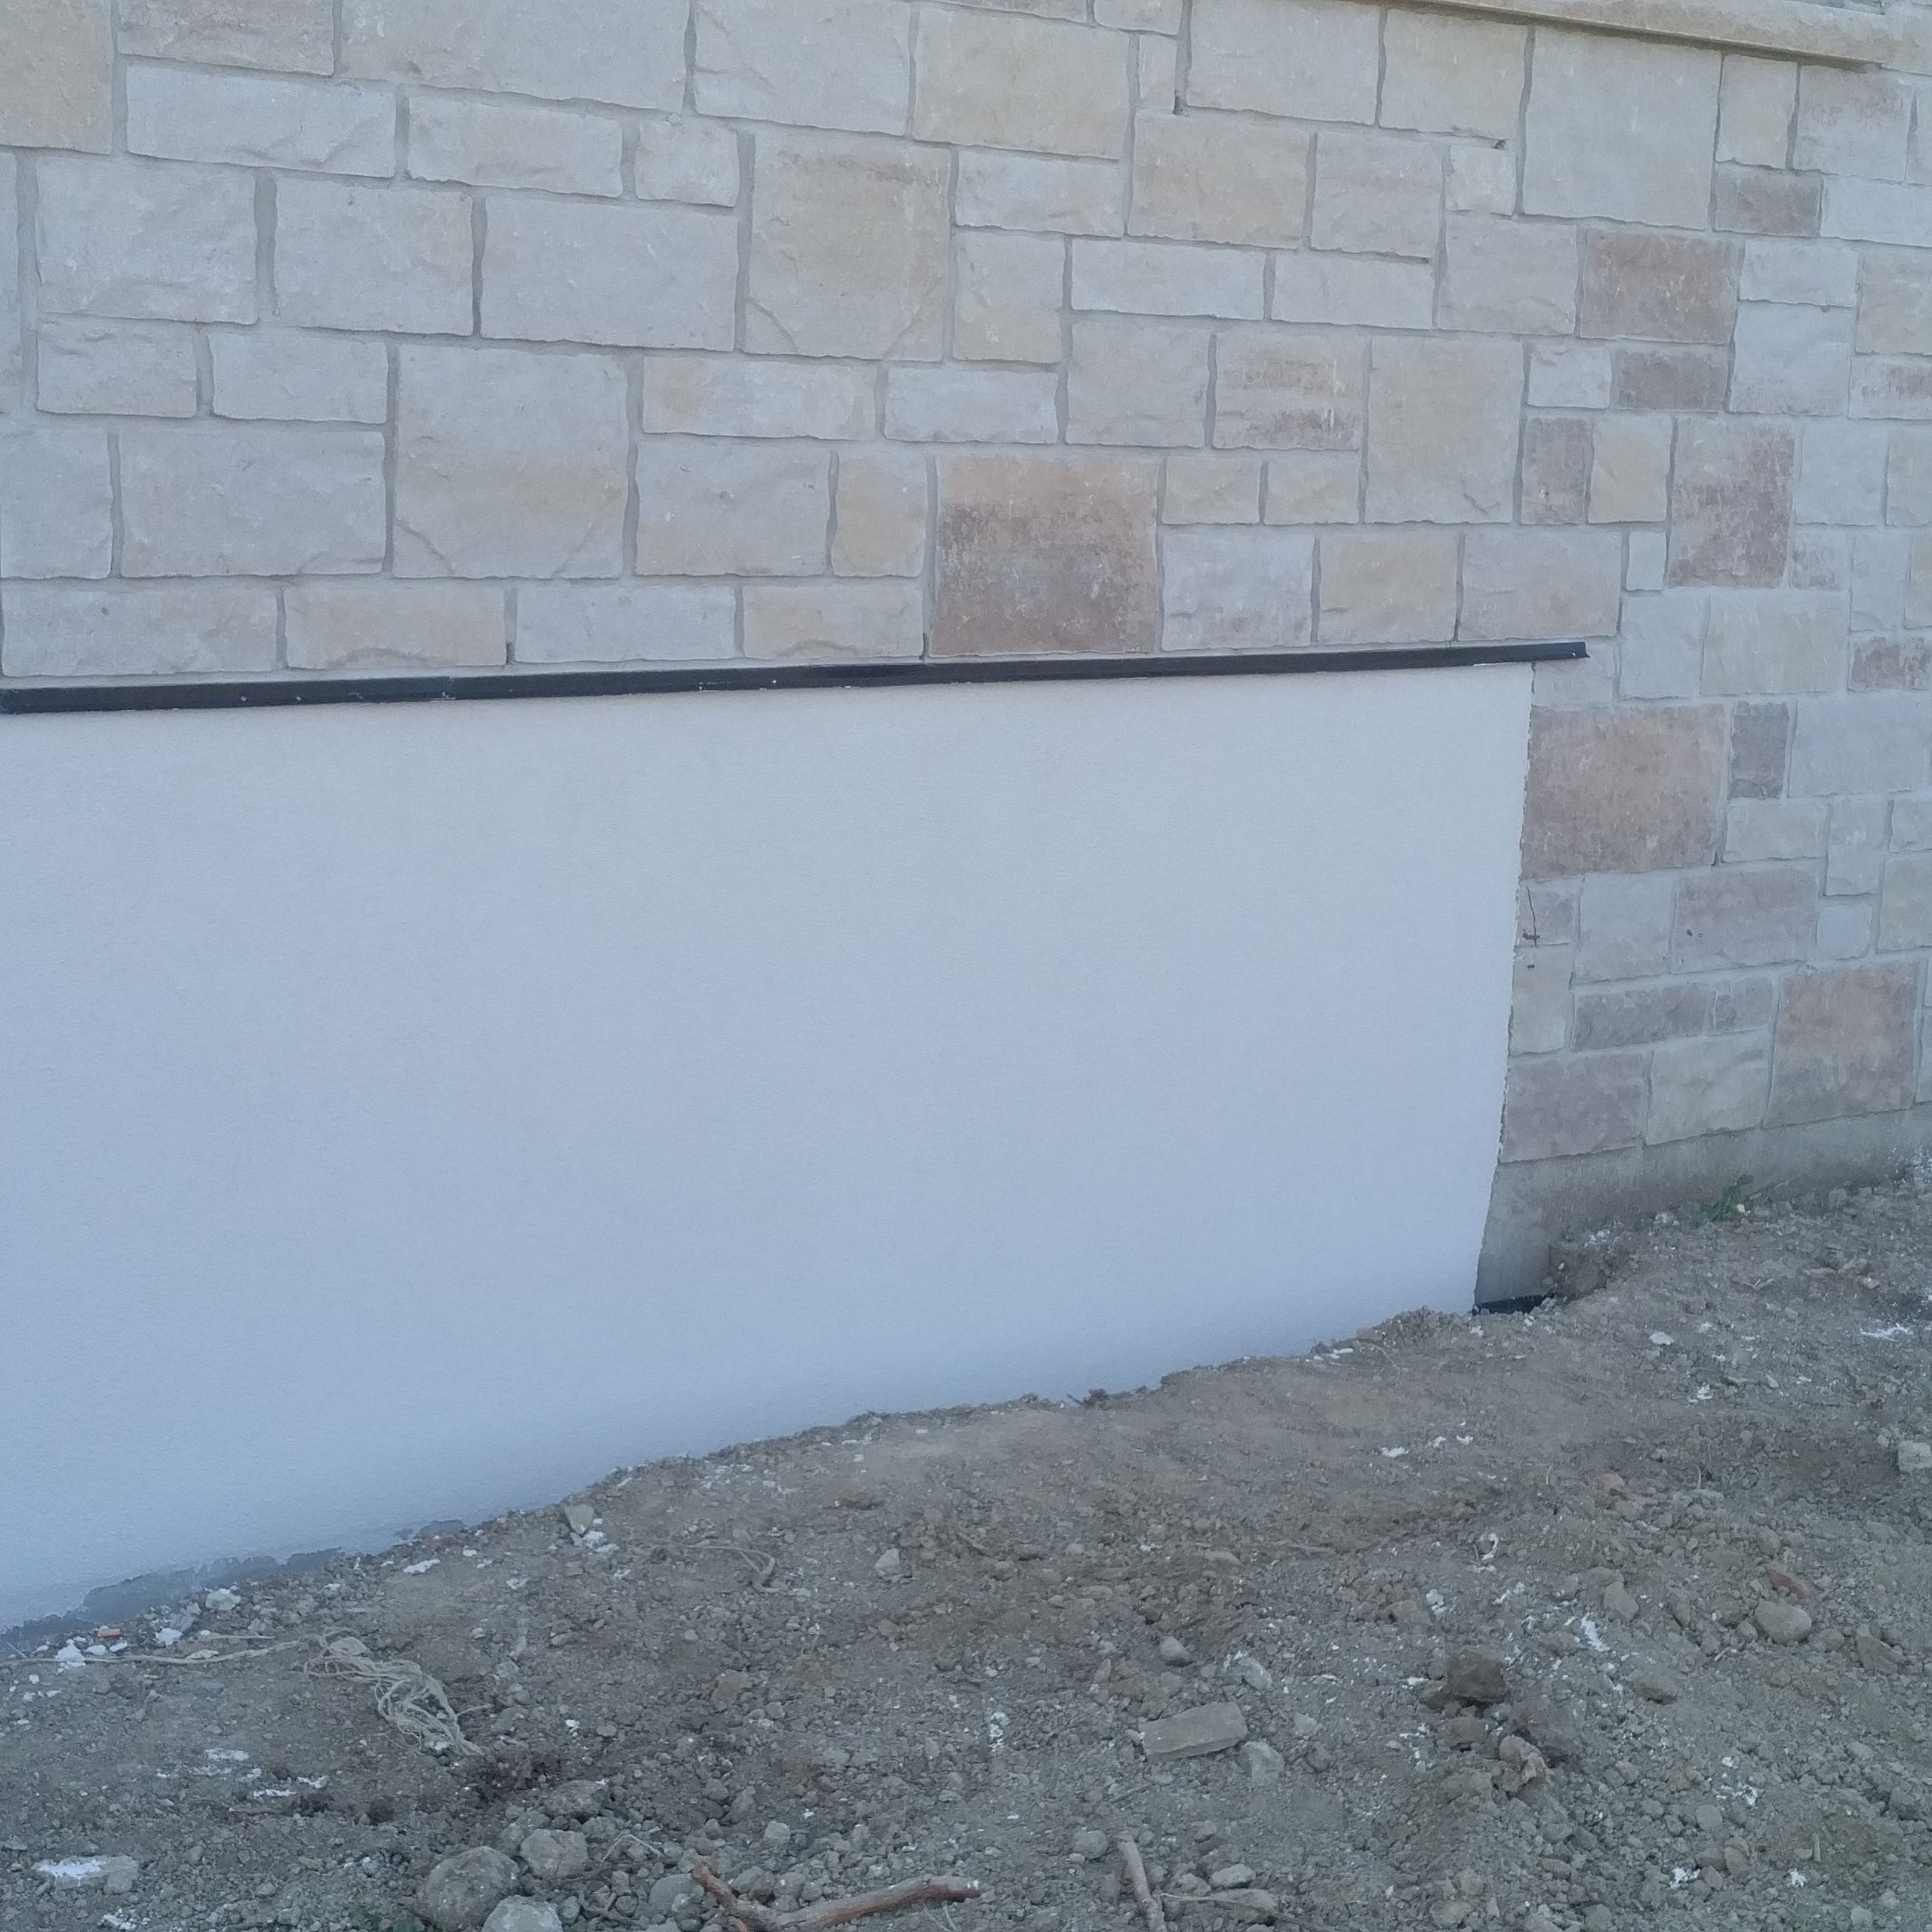
#3. Use a Waterproof Barrier: Sheathing

The strength of a Stucco lies in its thickness, that’s why the layering approach is more preferred than the painting or sealing method.
The primary material used for internal construction for most walls is wood, and this makes these walls highly prone to rot and decay. These walls then need to be sufficiently protected against moisture.
Another great way to add waterproofing to Stucco is to apply a waterproof barrier before the Stucco, overlapping the walls with layers of the barrier. By doing so you add a layer of waterproof protection.
This is how to use a waterproof barrier to moisture-proof Stucco.
- Clean the Wall
Wipe the wall surface with a towel to get rid of all dirt and debris.
- Roll out Barrier
You need to roll out the barrier because they come in small rolls with a plastic backing that protects the adhesive surface of the barrier. Work with a roll at a time.
Start with the first roll and unroll the barrier with the plastic facing upward. Remove the plastic cover from the back of the barrier so that the adhesive surface of the barrier is visible.
- Apply Barrier
Take up the barrier and cast the adhesive surface onto the wall and apply. Ensure to press and smooth the barrier against the wall so that it creates a firm adhesion.
Repeat this process until the entire wall has been covered with the waterproof barrier.
Step 4 -Add Stucco
Once you apply the barrier to the wall completely and firmly, you can apply your Stucco directly on top of the barrier.
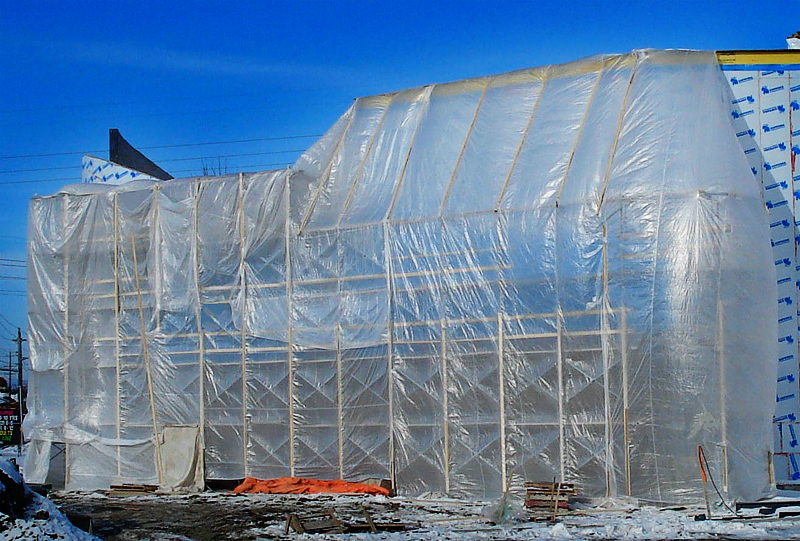
#4. A Drainage Matrix
To further strengthen the water-resistant barrier, It’s important to include a system that allows for water drainage. This will prevent moisture from being trapped in the Stucco to avoid spoilage.
Also known as an air gap, rainscreen gap,
drainage mat, the drainage matrix provides a channel for any water trapped in the structure to drain. It also has an air gap for evaporation. The air allows for moisture to dry up rather than spread between layers.
The drainage matrix together with the weather-resistant barrier serves as an effective design to waterproof Stucco.
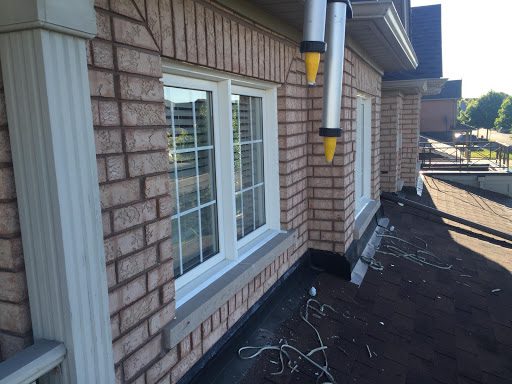
#5. Flashing
Flashing handles water that can enter through the openings in the Stucco wall and store up behind the Stucco. Also, openings around windows.
Metal flashing, therefore, is essential for hedging water from penetrating through these openings. You install flashing around all places where doors and windows meet the Stucco to make it watertight.
You should use layers of water-resistant barriers on the window sides and beneath the bottom window flanges. To prevent water intrusion into roof and Stucco intersections, kick-out flashing is perfect.
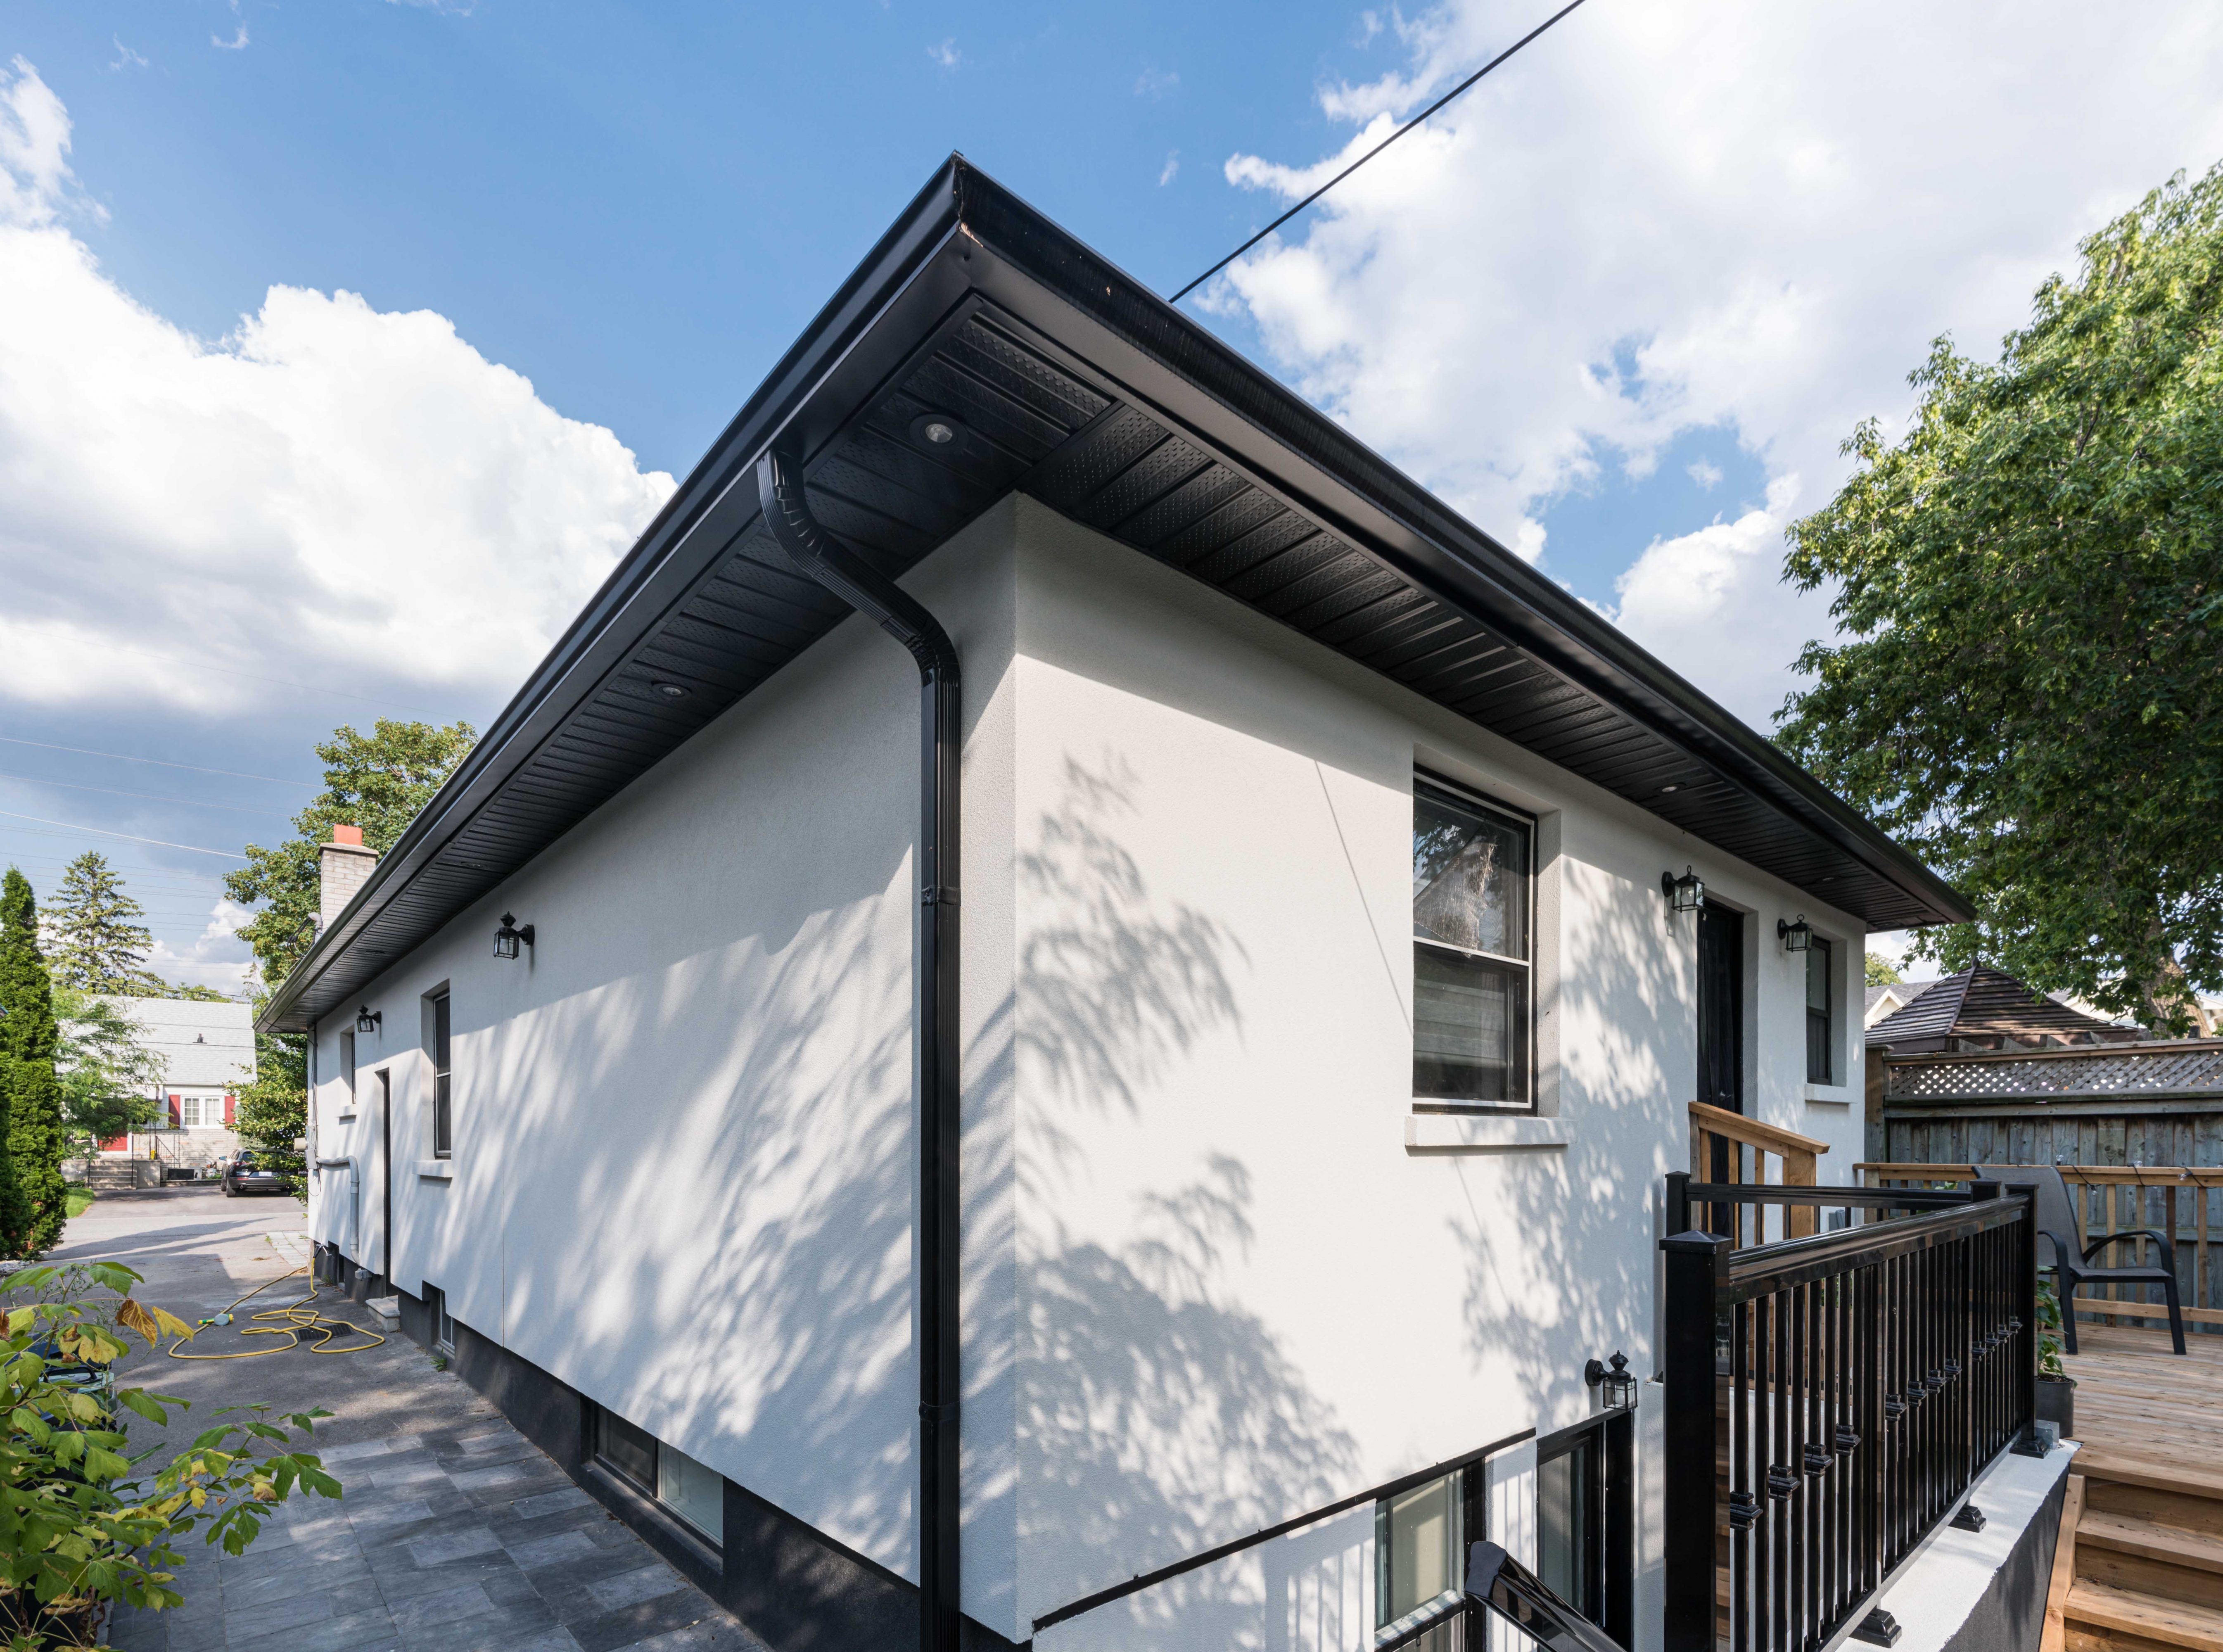
You should also use a water-resistant barrier at the top of the Stucco walls. In addition, rain gutters provide a level of protection.
Even though flashing is easy to install, if not done properly, it can cause more harm than good. It will cause water to be directed into the cracks instead of away from them. And this improper water channeling can weaken the adhesive that joins the flash to the wall.
The disadvantage of flashing is that it may be late before you realize that it was not properly done. You can only detect a flashing that was installed wrongly when the damages from the moisture become visible. But, with a moisture analysis, you can know if your Stucco has an opening that allows water penetration.
How to Check Moisture in Your Stucco Wall

There are different ways to check for moisture in Stucco walls, they include:
- Infrared Camera: With the use of an infrared camera you can know if moisture Is trapped in your Stucco wall. However, this method is not reliable because it shows where the Stucco is cooler, and that’s no solid proof of moisture In the wall.
- Video Scope: Here, you use a small camera to inspect the wall cavity for moisture. Yet, this method has its shortcomings.
Most walls are insulated so that you can barely see into them. Also, video scope testing will not detect areas of elevated moisture levels.
- Interior Probe Testing: This method is really limited when it comes to moisture content probing.
- Exterior Problem Testing: This method is preferred to the others and has been in use over the years.
You check for water in the wall by drilling small holes in the Stucco at specific points, then check using a moisture probe. This is not as complicated as other methods, but it gets the job done.
Generally, the best way to check moisture is through exterior probing. It offers a more thorough means of investigating moisture content and can access areas that are inaccessible with the interior probing.
Conclusion

Moisture can do great harm to Stucco walls, yet Stucco walls are susceptible to moisture. Hence the need for moisture-proof. However, different types of moisture-proof produce varying results.
But using a waterproof barrier, together with a drainage metric and proper metal flashing is sure to produce utmost resilience and durability.
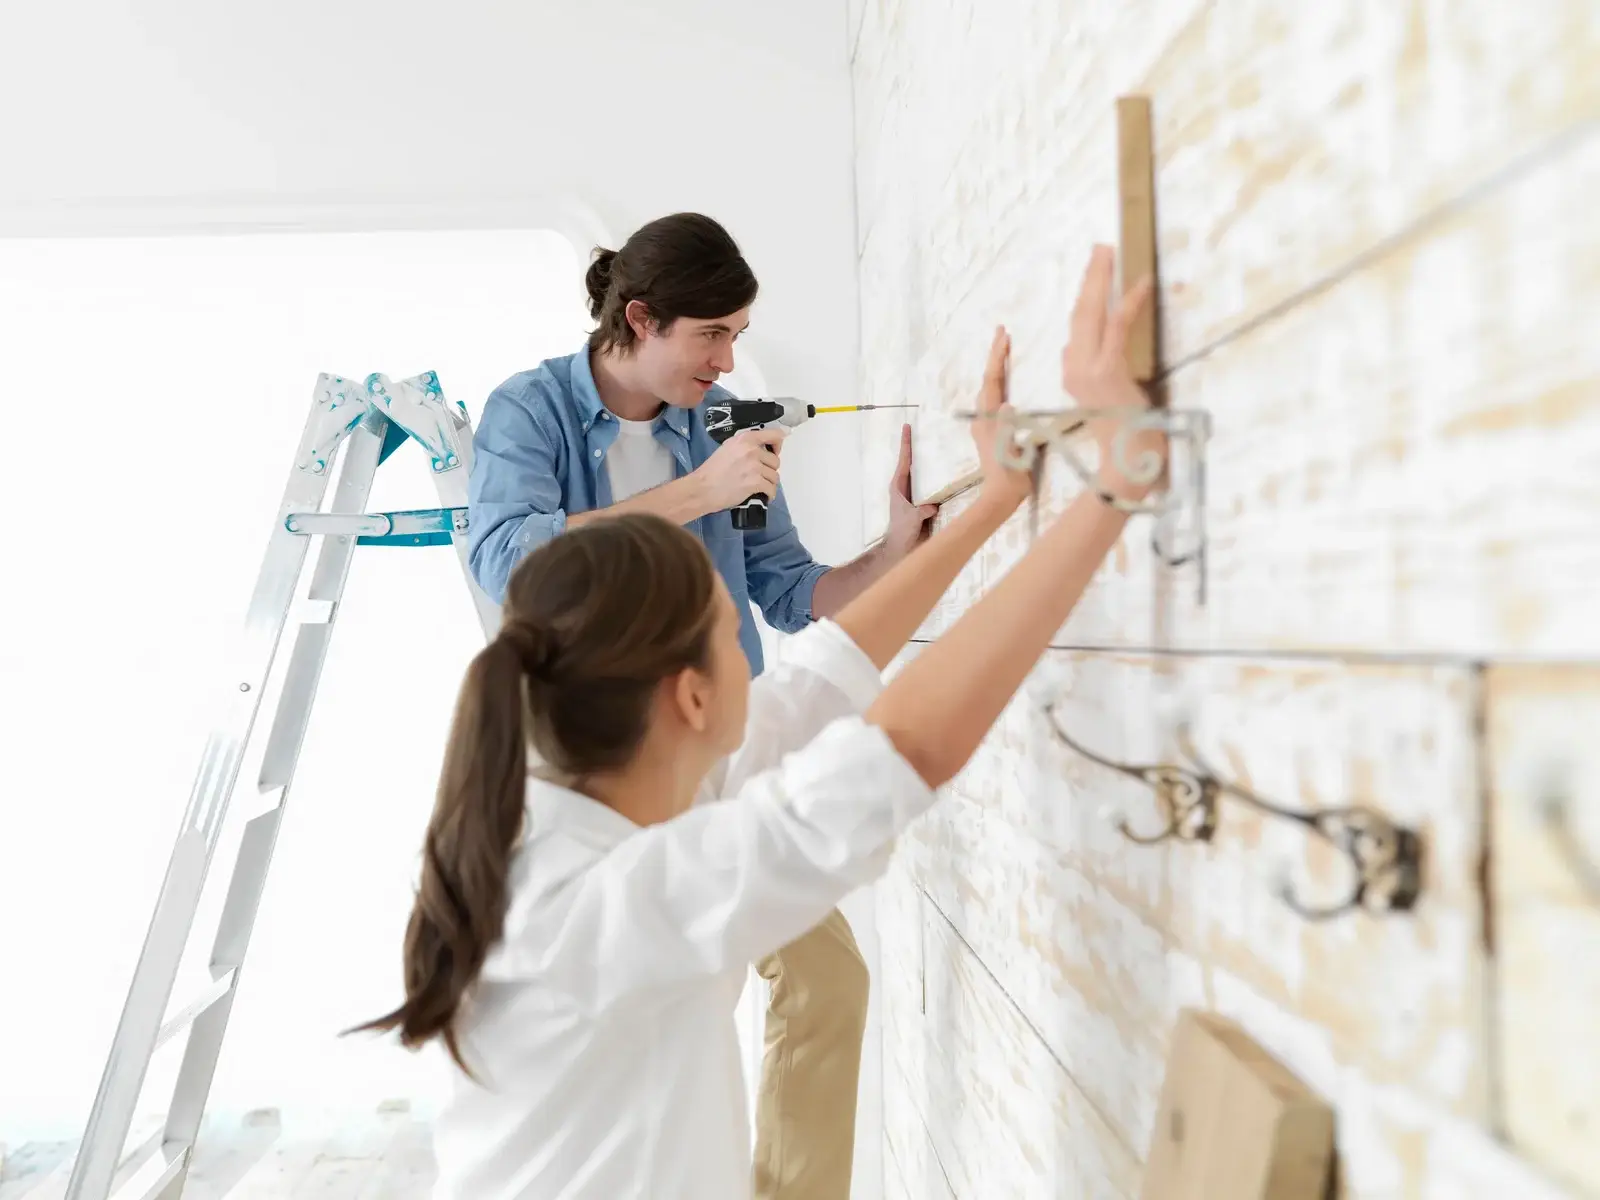
Also, it is recommended that you employ the services of a professional, rather than do it yourself. This is because of the complexity of the structure and the essence of waterproofing Stucco.