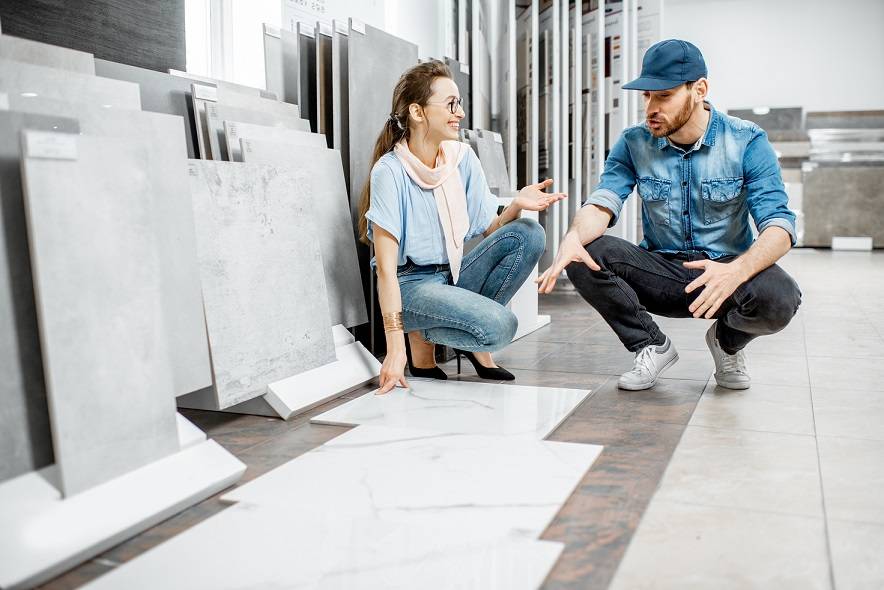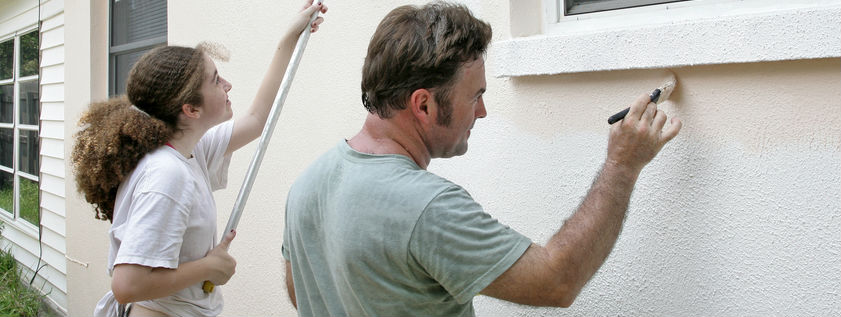
After you’ve installed your EPS insulation on your wall, you should level it. Or would you prefer a rough and uneven surface? Of course, it wouldn’t meet the eye.
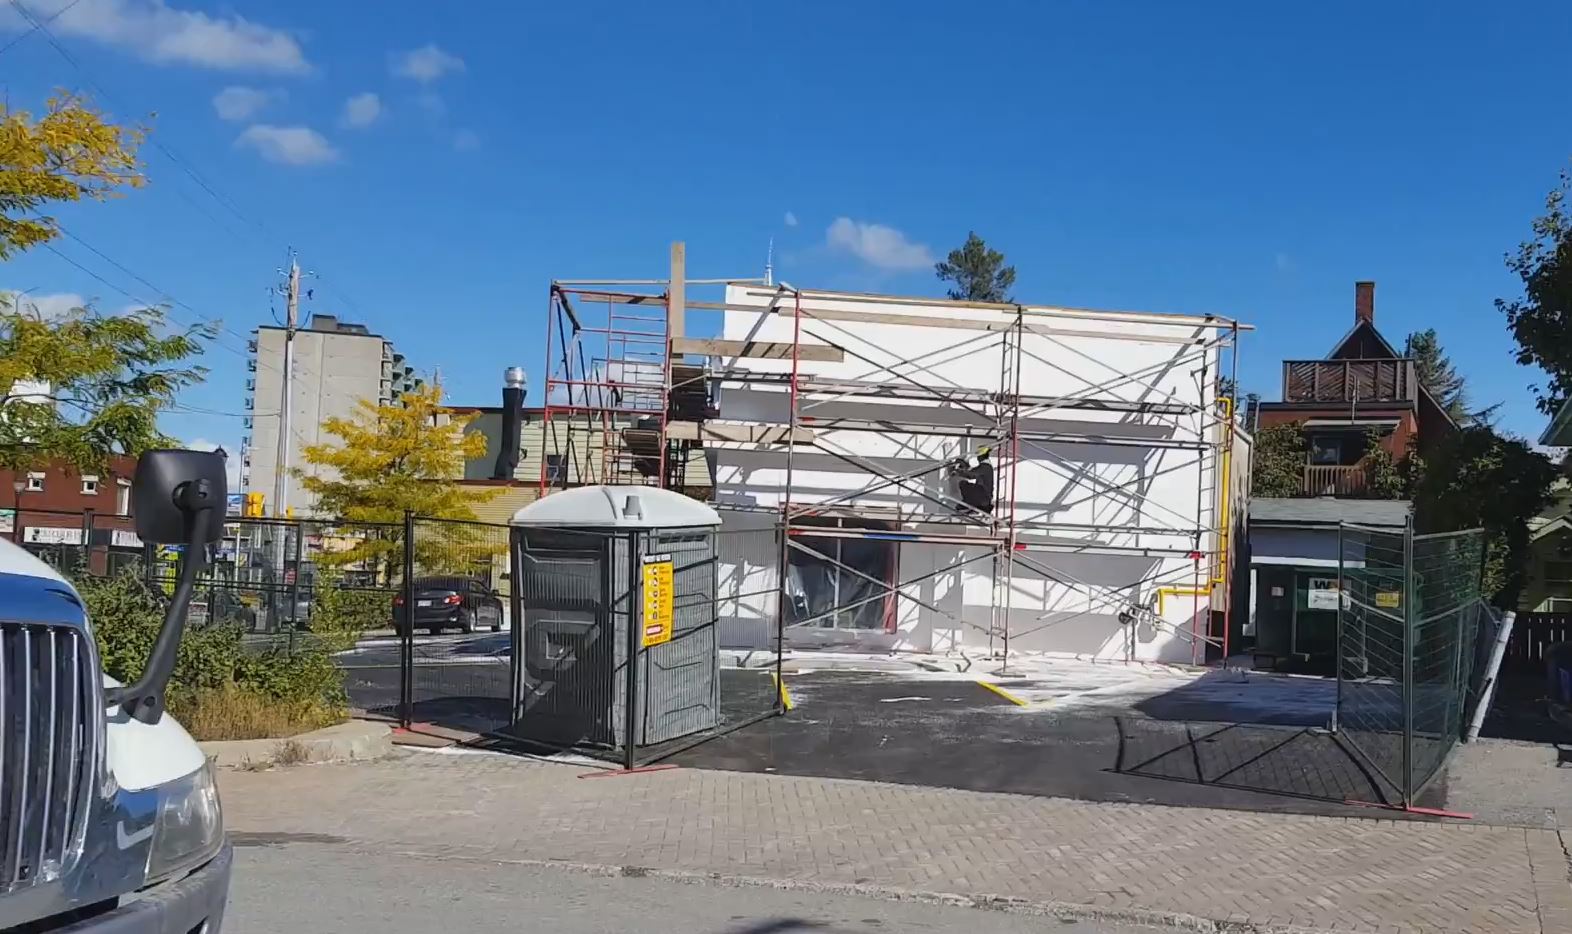
Leveling and Rasping the Styrofoam wall is the process nobody likes from the contractor side to Homeowner. As a matter of fact One of The reasons why is because it releases a huge amount of styrofoam flying around. As a matter of fact, if the area is not being covered with tarps or mesh.
Usually, Neighbors and homeowners will have to agree on this s part of the job as it can really get dusty and look like it’s winter. Have you ever been close to a house in the process of doing stucco? you know what I meant. Leveling insulation EPS helps achieve an even and smooth surface. And, this process is not rocket science, it’s just as easy if you know what to do.
Here, you will find out how to level your insulation EPS. We have broken the process down into actionable steps to help you get the best result. And You will then learn furthermore about the EPS.
What is Expanded Polystyrene (EPS)?
EPS foam is simply any form of expanded polystyrene. EPS is used in the building industry as an insulating material for walls, foundations, and roofing. They make the building resistant to degrading forces.
Expanded Polystyrene is produced in different densities (usually 20 – 200 mm) and with graphite for thermal enhancement to provide an insulation material.
EPS insulation is a lightweight, rigid, closed-cell insulation. This closed-cell structure provides minimal water absorption and low vapor permanence.
EPS production involves 2 major stages:
- Raw beads are expanded by applying steam to them to create pre-puff beads. These beads are then cured in large bags and afterward taken to the mold.
- Once its in the mold, the steaming process is repeated on the pre-puff beads to form a block that is around 37-1/2″ – 54″ x 49″ x 121-1/2″ – 220″. Then the blocks are placed on the storage floor to age for the appropriate length of time and further cut into various shapes and sizes.
Blocks are produced in several densities to meet specific project needs. Density is a measure of mass per volume. EPS is measured in pounds per cubic foot (lbs/pcf). The Insulation Company of America manufactures expanded polystyrene in the following minimum densities:
- 0.70 lbs/pcf
- 0.90 lbs/pcf
- 1.15 lbs/pcf
- 1.35 lbs/pcf
- 1.80 lbs/pcf
- 2.40 lbs/pcf
- 2.85 lbs/pcf
Benefits Of EPS Insulation
#1. Low cost
EPS is one of the low-cost rigid insulation options. And, even though it is very cost-effective, it does not compromise thermal performance.
In comparison to PIR, a 100 mm thick PIR will give a thermal resistance of 4.54 m2K/W. A PlusTherm EPS of 135 mm thick will achieve the same result while saving up to 50% on cost.
#2. Thermal Performance
Long story short, EPS provides an excellent thermal performance as a result of its structure. The quality of graphite used for Grey EPS makes it absorb radiant energy effectively, thereby enhancing its thermal conductivity to 0.030 W/mK.
#3. Compressive Strength
It’s remarcable The compression ability of EPS makes it an outstanding construction material for structural fills as well as flooring. EPS comes in various densities which are categorized according to BS EN 13163 standards to fulfill the minimum design strength for each project.
#4. Lightweight
EPS is made of roughly 98% air and only 2% plastic, and this is light. Lightweight construction materials have an edge over heavier materials in construction. They adapt more to the environment and you can easily move them around.
#5. Durability
EPS is a durable and permanent material for construction; it is hardly susceptible to insects, bacteria, and fungi. With that said It can last for up to 100 years when you prescribe and install it correctly. Expanded Polystyrene meanwhile is inert – when installed underground, it does not leach into the soil or groundwater.
#6. Safe to Use
EPS is not dangerous to health, unlike other insulation materials. It is non-toxic, non-irritant, chemically inert, and without odor, making for safe usage across all construction applications.
#7. Sustainability
Expanded polystyrene is very “Green”. EPS Insulation is composed of organic elements – carbon, hydrogen, and oxygen and does not contain chlorofluorocarbons (CFCs) or hydrochlorofluorocarbons (HCFCs).
Therefore, EPS has minimal Global Warming Potential and zero Ozone Depletion Potential. It is also 100% recyclable and can be used to create other products.
#8. Water-Resistant
The closed-cell pattern of EPS makes it resistant to water absorption. Its mechanical and thermal properties are not also influenced by humidity.
#9. Easy to Install
As a matter of fact EPS is lightweight and thus easy to Install. You do not necessarily need special equipment or skill for EPS insulation, you can always do it yourself.
Installing Insulation EPS
You can install EPS insulation onto your wall using any of these four ways:
- Full-surface adhesion
- Spot-edge adhesion
- Applying adhesive mortar to the EPS insulation board using a machine, or
- Applying adhesive mortar to the wall using a machine.
Full-Surface Bonding
This approach is only feasible for a smooth substrate.
- Apply bonding mortar to the full surface.
- Use a 15×15 mm toothed trowel for toothing without holding the trowel at too flat an angle.
- Trowel off the edges.
- Press and align the insulation boards.
- Use an emery board to fix the board.
You should thoroughly remove bonding mortar between boards’ joints immediately to prevent the formation of thermal bridges.
Spot-Edge Bonding
- Apply an all-around adhesive bid.
- Apply 6 adhesive fixing dabs to the board surface.
- Press the insulation board onto the wall and fix it using an emery board.
Never the less The bonded portion of the board must be at least 40% both on the substrate and the insulation board.
- Align the insulation boards.
Applying Adhesive Mortar to the EPS Insulation Board Using a Machine
- Apply an all-around adhesive bead with an enclosed W.
- Press the insulation board onto the wall and fix it using an emery board.
The bonded proportion of the board must be at least 40% both on the substrate and the insulation board.
- Align the insulation bonds.
Applying Adhesive Mortar to the Wall Using a Machine
Just like the first method, this method is only used for smooth substrates.
- Apply an adhesive board in sinus lines using a maximum spacing of 10 mm to the wall.
- Press the insulation board onto the wall and fix it using an emery board.
A matter of fact The bonded proportion of the board must be at least 40% both on the substrate and then the insulation board.
- Align the insulation boards.
You can achieve an adhesive mortar by mixing the dry bonding agent with water to the desired consistency.
EPS Insulation Guidelines
- The insulation boards must be about.
- Always install boards from bottom to top.
- The board joints must show a sufficient offset. Where necessary, provide a sufficient offset between the joint of the starter track and the joint of the insulation board of the first board row.
- At building corners, the insulation boards should be toothed.
- Make sure to align the insulation boards.
- Depending on the substrate, win loads, building heights, etc, you should do well with the insulation boards after attaching them.
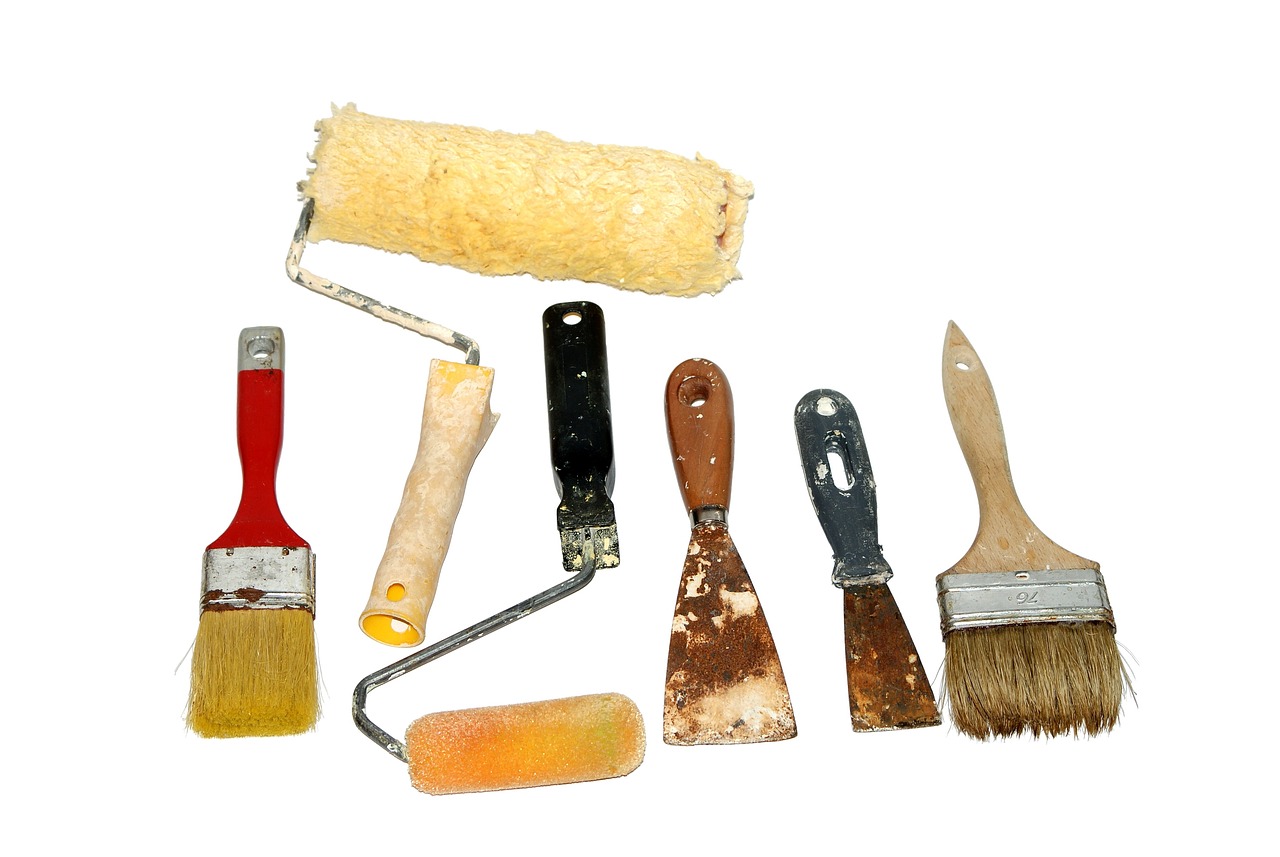
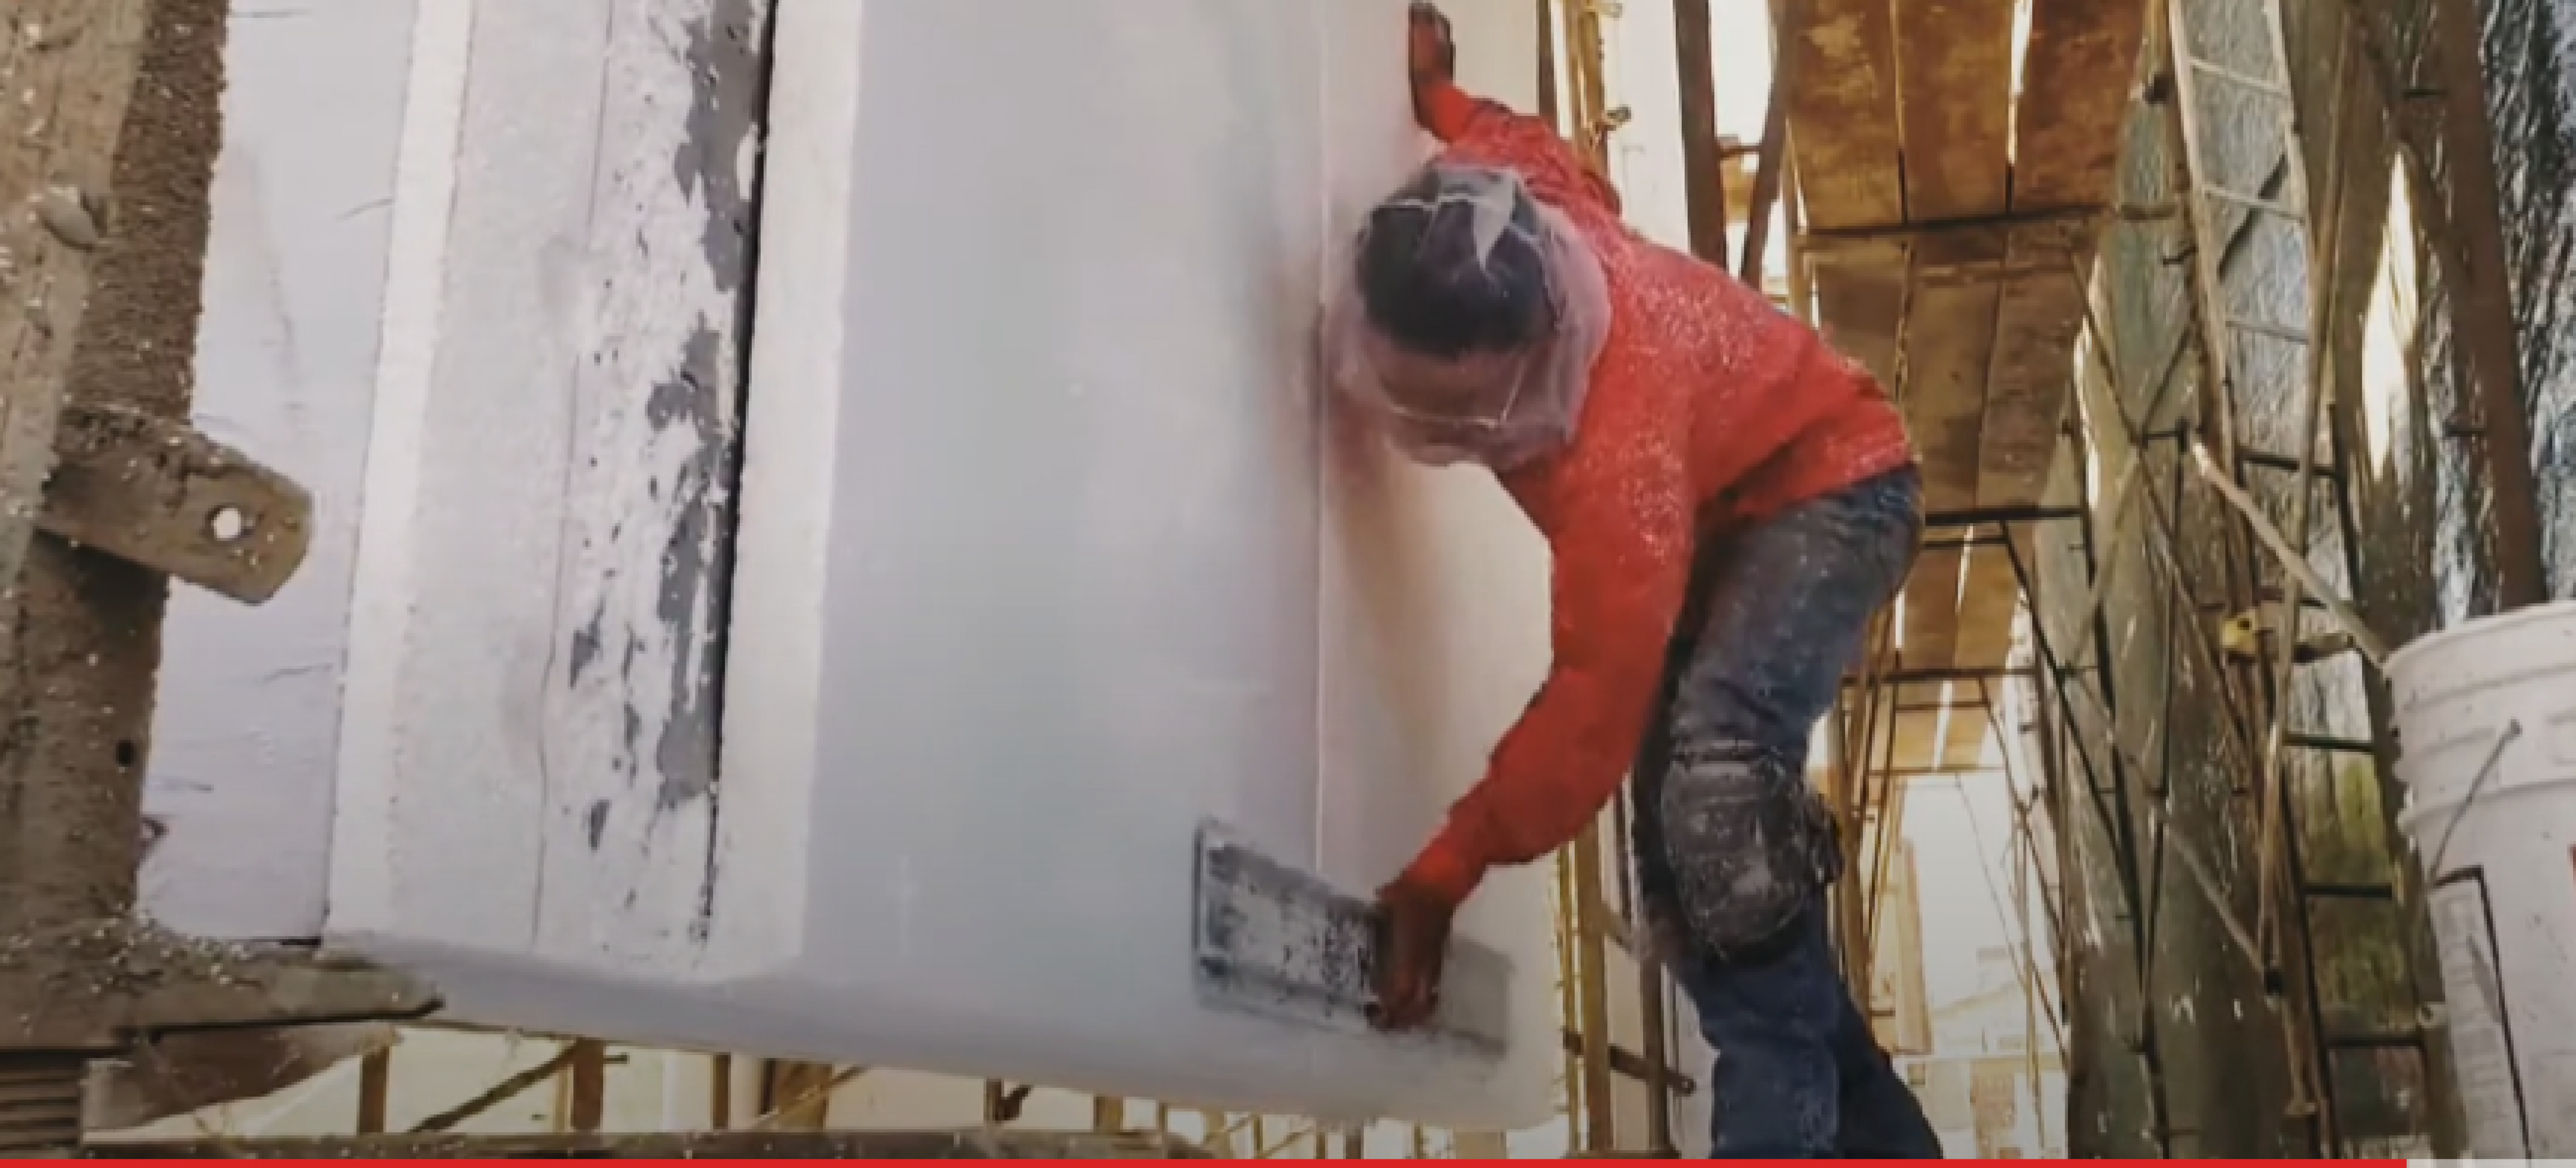
Leveling Insulation EPS
Leveling your insulation EPS, as a result, makes it smooth and fine, thus revealing the aesthetic properties. Here’s how to level your insulation EPS after you’ve installed it.
- Check for the uneven parts in your EPS insulation and shave them off
- Apply a base coat of stucco adhesive mixture to the EPS insulation using a trowel. And You may Start applying from down then move upwards to feather get a even finish.
- Apply fiberglass mesh
- And Apply another layer of adhesive that as a result will healp to cover the mesh
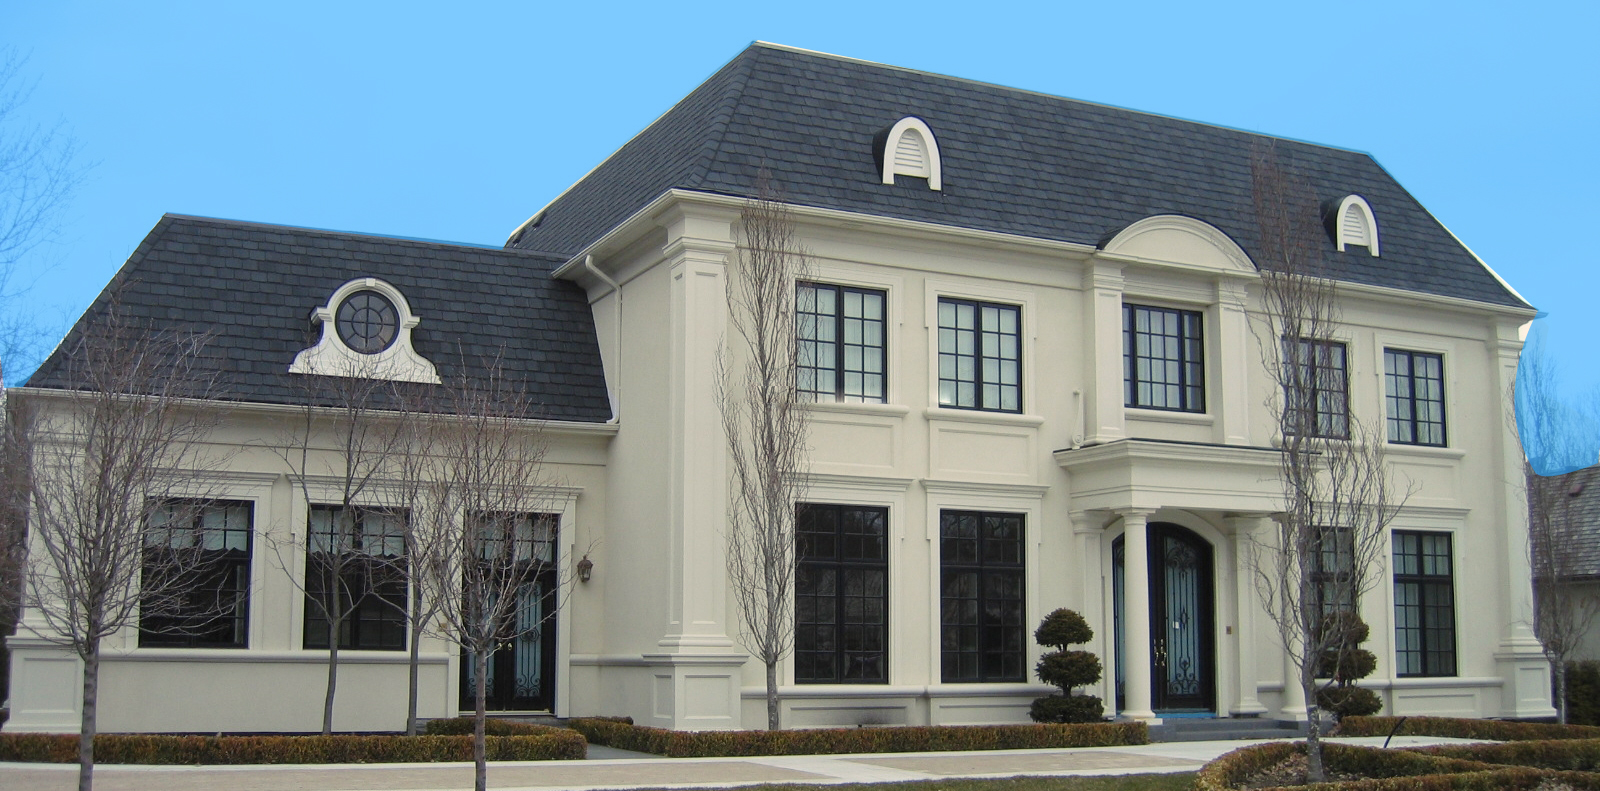
Now, you are ready to coat with paint or a stucco finish.
Conclusion
You could follow the above steps for leveling insulation EPS.