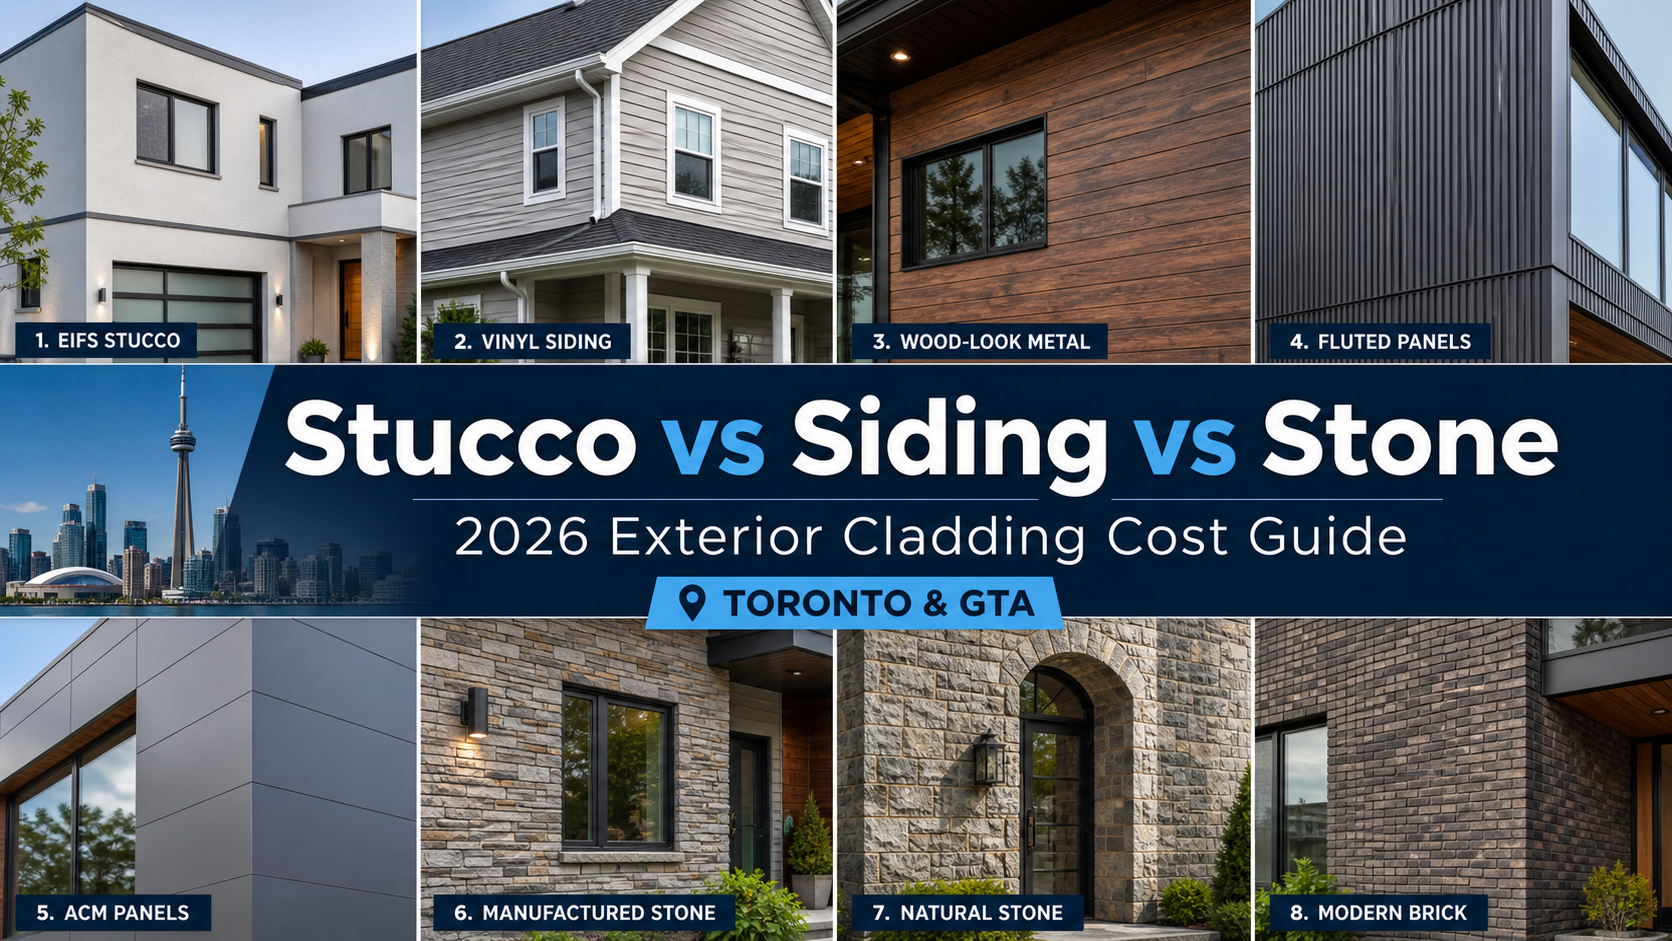

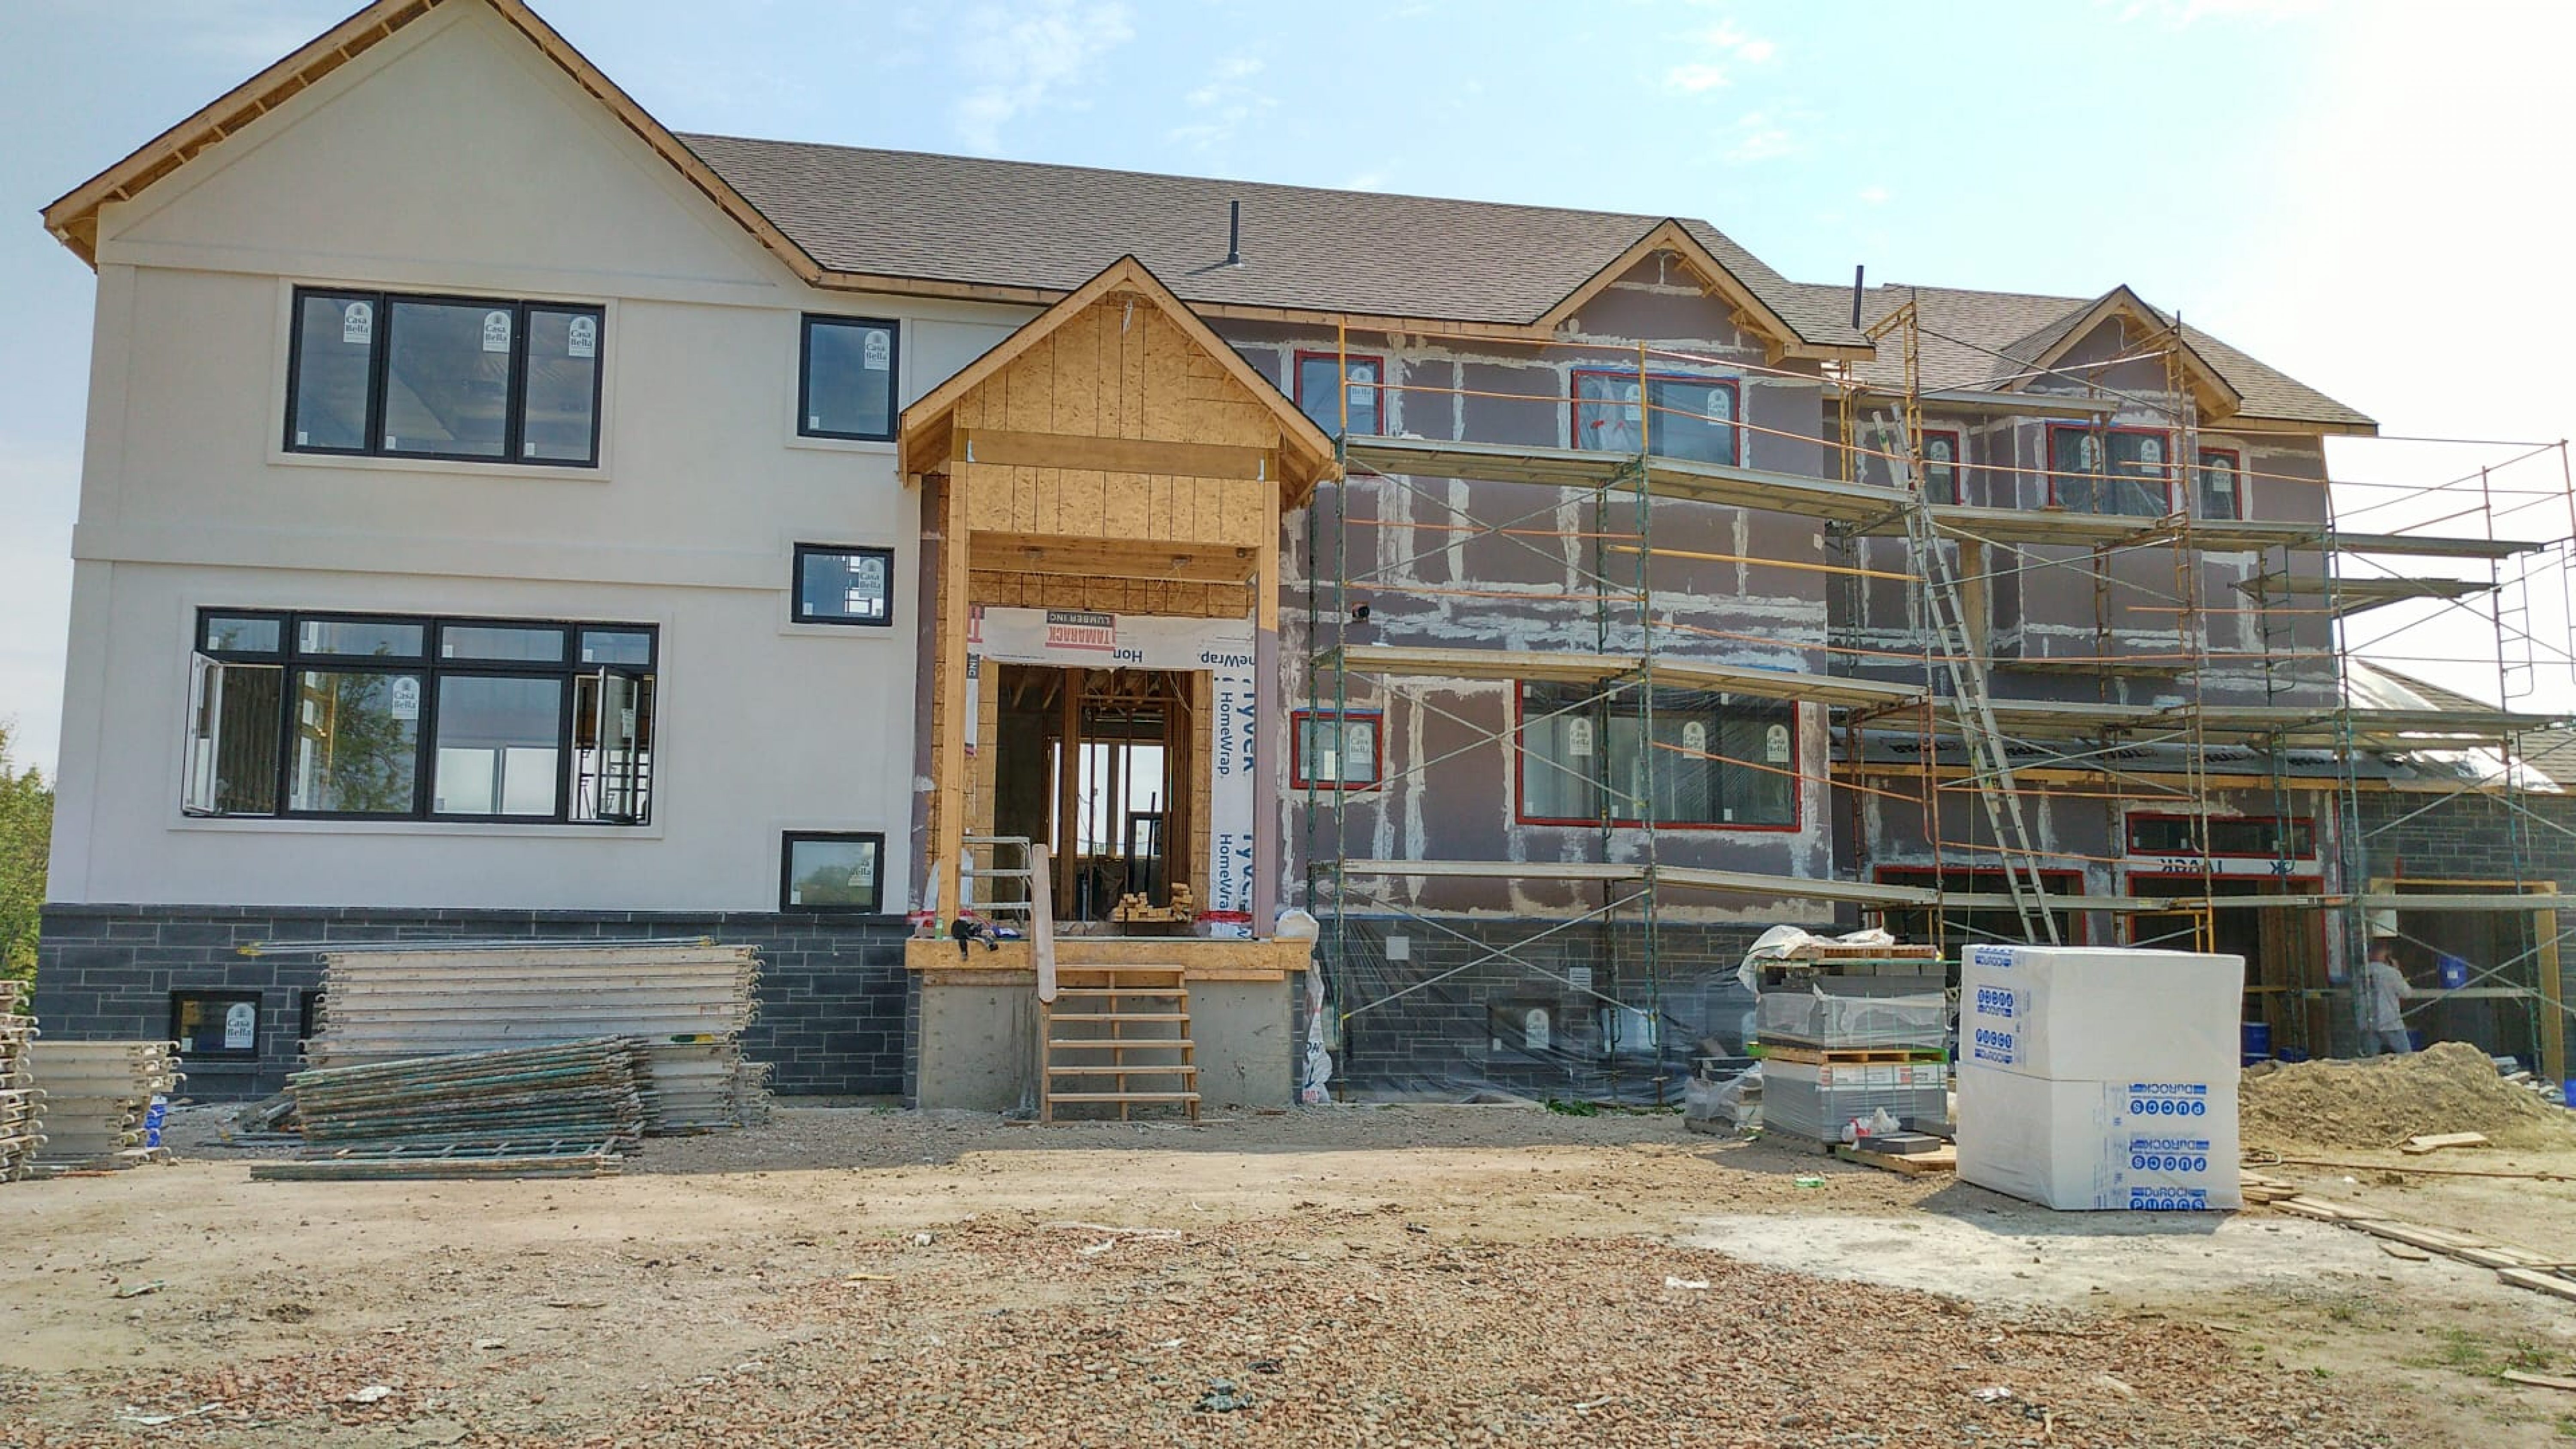
Every stage of the Exterior Insulation Finish System is important to actualizing the goal; durability and aesthetic quality.
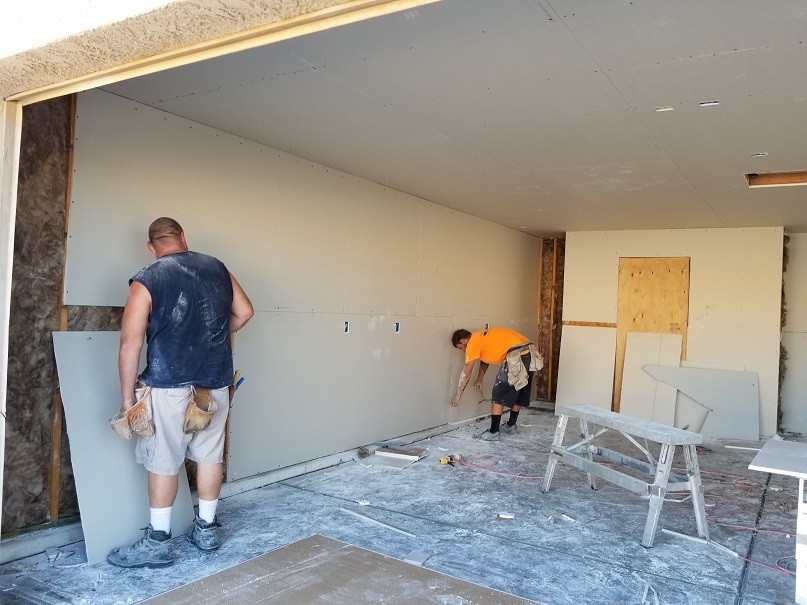
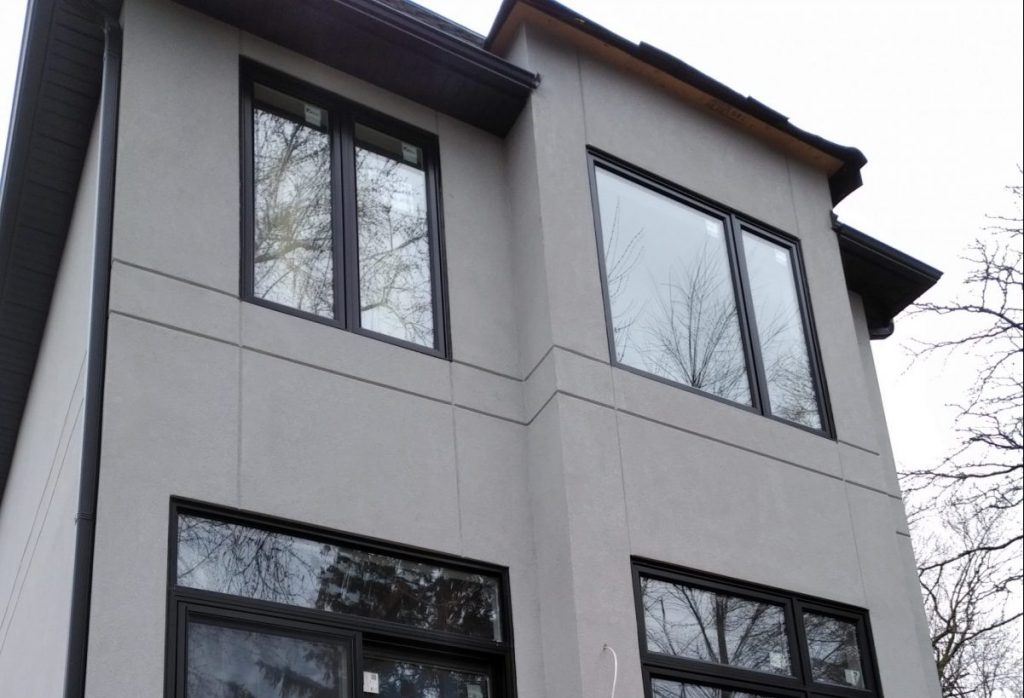
Exterior stucco home Primer and Plastering Stucco wall. Sanding a wall is a process that no one likes in anyways, very dusty however it removes the sand and imperfections to make the wall very smooth and flat.
Primer and plastering the finished wall is the last stage in this process before painting your exterior home.
Don’t Miss out on the process behind it
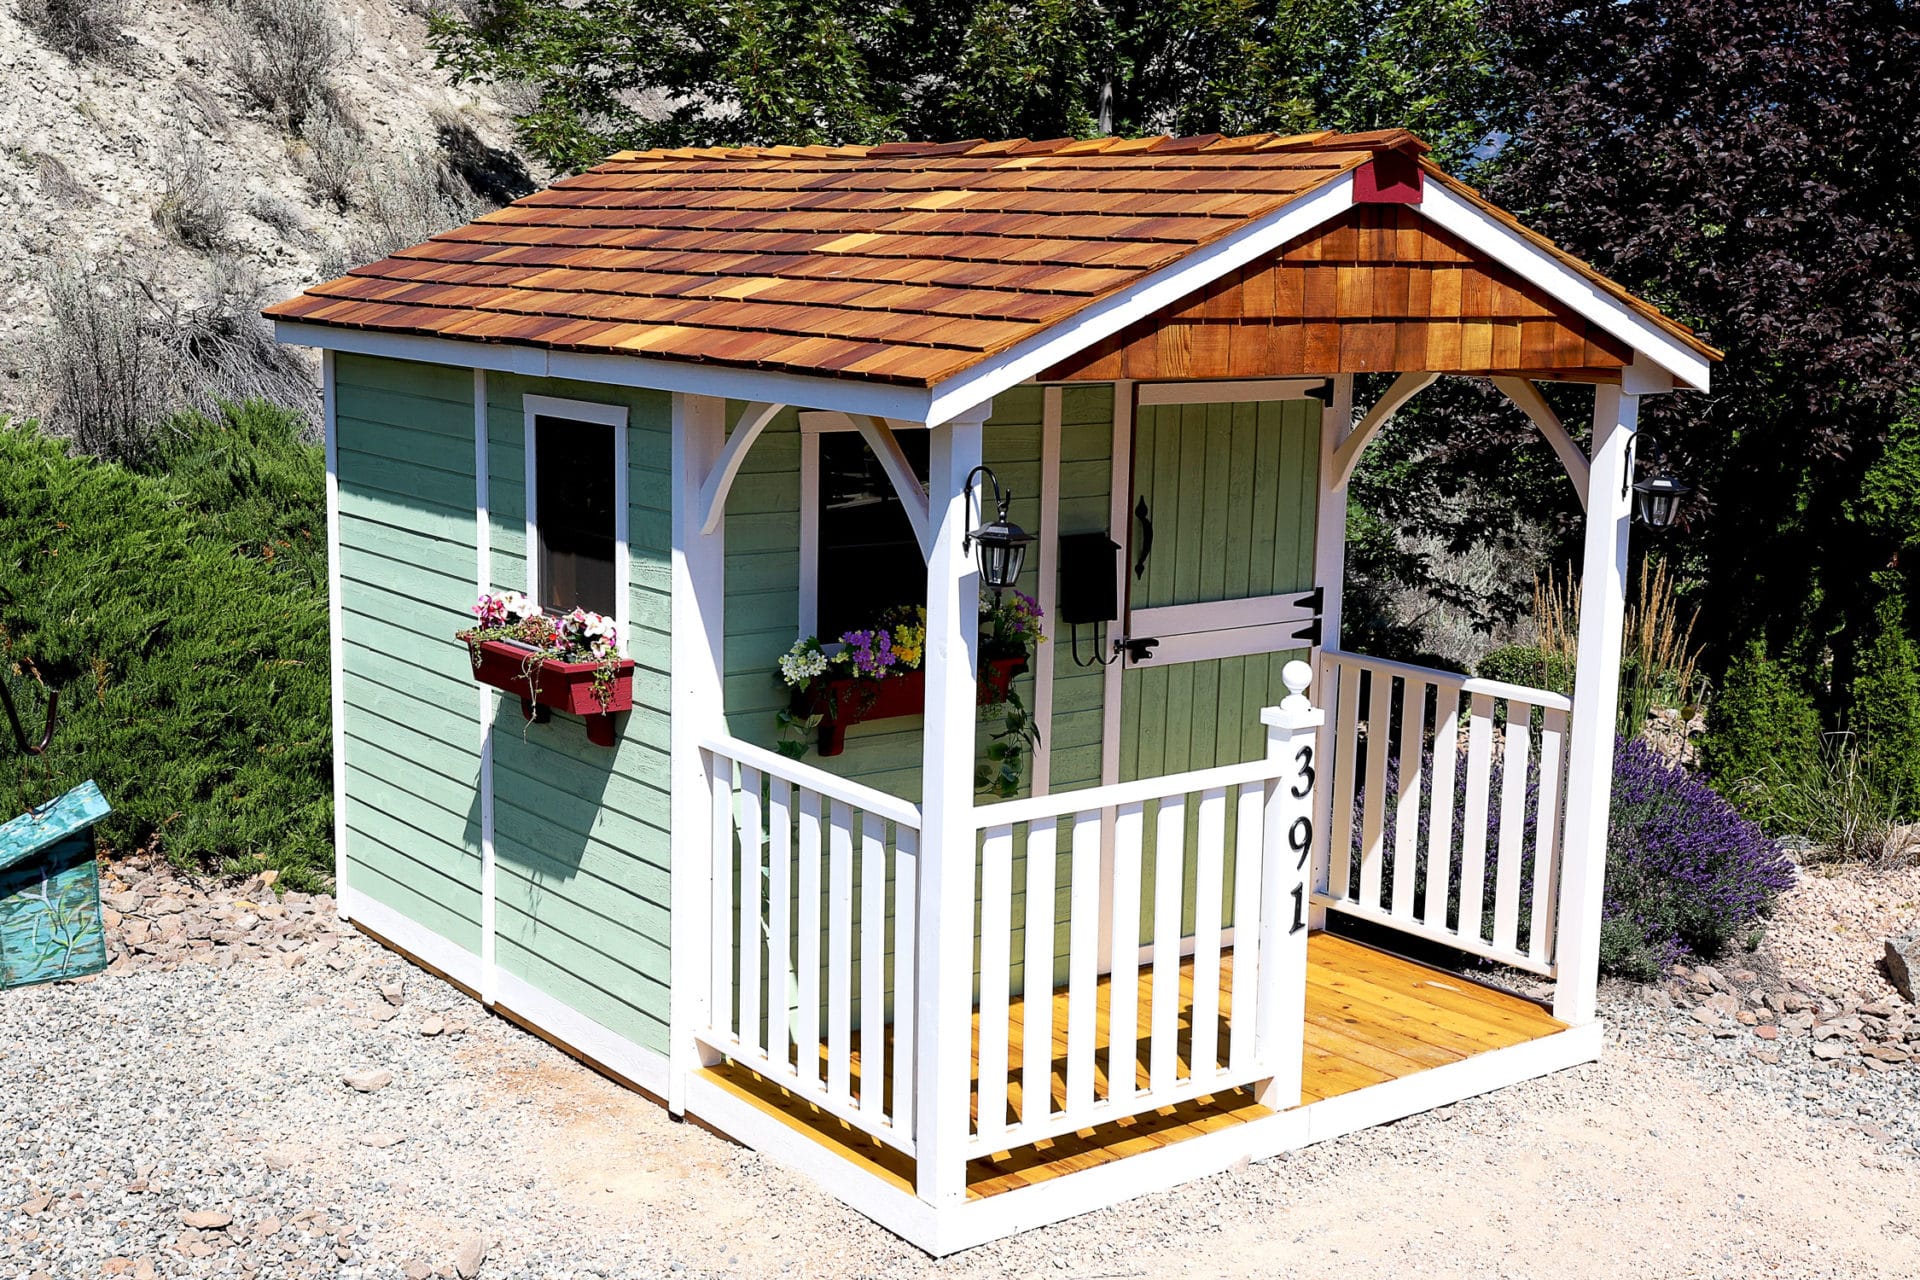
Unique Exterior Stucco Home From Scratch: Leveling the insulation
This fall
This stage aims to provide a smooth surface and sheen to your wall so that it doesn’t look dull, uneven, and unattractive after painting. So, it may be correct to say that this stage is designed to enhance the beauty of your Insulated exterior wall.
Sanding the Wall
Sanding a wall is a process that no one likes in anyways, very dusty however it removes the sand and imperfections to make the wall very smooth and flat. This process is quite a simple one, all you need to do is to take your sanding pad and move it around the wall. The sanding should be in an upward and downward direction.
If you do not have a sanding pad, you can use a sanding sponge, although this may take more time. The best way to get a neat outcome with a sanding sponge is the wet sanding method. Fully immerse the sponge in water and squeeze it to remove excess water.
Rub the coarse side of the sanding sponge against the wall in a circular motion, ensuring that you work it into the edges to smooth them. Continue this process until all areas soften and surface, even.
Skim Coating Your Wall
Skim coating is a texturing technique used to make a wall smooth. This technique is useful for hiding imperfections in constructions, to give the wall a plaster-like look. It is also beneficial for situations where a smooth surface is needed.
Exterior stucco home Primer and Plastering Stucco wall
Skim coating is used to achieve a level 5 drywall finish, which is the recommendation for several trade associations for areas of bright lighting. The Painting and Decorating Contractors of America highly recommend a level 5 drywall finish.
Materials You Need for Skim Coating
- Mixing paddle
- 18v cordless drill
- Soft brushes
- Plasterers hawk
- Finishing trowel (float)
- Internal cover trowel
- Bucket trowel
- Scraper
- Trug
- Water
Preparing the Coat
- Pour water into a bucket
- Add the plaster and mix with a mixing paddle. Keep adding the plaster in bits while continually stirring. Be mindful of the consistency, you might want to add a little water if too thick and then mix again.
Ensure to mix thoroughly till it is completely free of lumps.
- Wet all your equipment to prevent the plaster from sticking to them.
- Use the bucket trowel to scrape off all plaster from the sides of the bucket.
- Scoop some portion of the mixture into your plasterers’ hawk, use the trowel to take it from there, and apply to the wall. You should apply in a down to upward direction and from the edges of the wall to the center.
- Use the angle tool to work on the corners of the wall.
- Allow to sit for about 30-45 minutes, then apply the second coat in the manner as the first. The second coat should have a little running consistency than the first coat.
- Allow setting for another 60-90 minutes.
- Use a trowel to smoother the wall (remove lumps and bumps) and skim off excesses. Do not dig in the trowel into the wall, keep the throw at a slight angle.
- After some minutes, say 20-30 minutes, use your trowel to smoother the wall again.
- Polish the wall; dip a brush in water and carefully paint over the wall.
Note: You should use the mixture immediately to prevent it from drying out. The 1st coat should be 2mm thick, while the second coating 1mm thick. Also, remember to work on the corners of your wall using the angle tool.
One way to get a payday loan within a few minutes is to apply form online. If short-term borrowing in New Mexico is an interesting theme for you, just find on web pages offers with application forms.
Priming the Wall
Why Do You Need to Prime?
Here are the reasons why you should prime your wall:
- Excellent Adhesion
Priming ensures excellent adhesion of the paint to the surface.
- Priming, in most cases, is used to cover dark colors to make it easier for the finish coat to hide better. If you can add some tint to the prime, it may even co er the finish coat better.
- When you are working with a high gloss finish or very smooth surfaces, lightly sanding them and then priming will improve the adhesion of the painting.
- Priming patched areas on your wall are recommended, it allows the finish coat to dry to a uniform sheen. If you do not prime patched areas on a wall, the finish coat will look dull and unattractive over those patched spots.
- Priming is a perfect cover for stains on walls caused by water or smoke, it prevents these stains from bleeding through the finish coat. If you do not prime in such cases, you’ll need several layers of finish coat to cover up the stains. This might cost you much more.
In general, priming ensures your paint stays and looks good in years to come. It gives your exterior stucco process a professional result.
Materials You Need for Priming
- Paint roller
- Paint roller cover
- Extension rods
- Painters tape
- Primer
- Fine grit sandpaper
- Sanding sponges
- Paint thinner
- Paint mixer
- Flathead screwdriver
- Paint scraper
- Safety glasses
- Step ladder
- Paintbrush
- “2” angled paint brush
- Paint trays
Procedures for Priming
Before you Primer your Exterior stucco home wall ready for Plastering:
- Use painter’s tape to mask moldings, trim windows, and ceilings.
- Dampen your roller and brush so that the primer does not stick to them. If you are using latex primer dampen with water, but for oil-based primer, use paint thinner or mineral spirit to dampen your rollers and brush.
- Mix the primer thoroughly by stirring it. Your primer should be a lighter shade of the color you intend to use for the finish of painting your wall.
- Pour the primer into a paint tray. Begin priming by outlining the wall with a 2-3 inches board around the edges.
Use a “2” inch angle brush to apply primer on all corners or places where walks, moldings, and ceilings meet.
- Start with a single vertical stripe at the corners of the wall, then apply in 3×3 foot second, working from top to bottom. Do this in a series of “V” or “W” patterns until the wall is covered.
- Move the roller from one side of the wall to another and ensure it overlaps wet areas.
- If you need a second coat, allow the first coat to dry for a couple of minutes, then apply a second coat.
- Allow the second coat to dry properly, the slightly sand away bumps and ridges using fine-grit sandpaper. Wipe the wall surface clean with a damp towel.
- When your wall has dried completely, you can go ahead to paint.
Conclusion
Primer and plastering the finished wall is the final step to take before painting your insulated wall. This process is relevant to achieving a shining effect on the finished wall. It enhances its beauty and ensures it stays the same for a good number of years. If you’ve followed the process from scratch, you do not want to miss out on this stage.