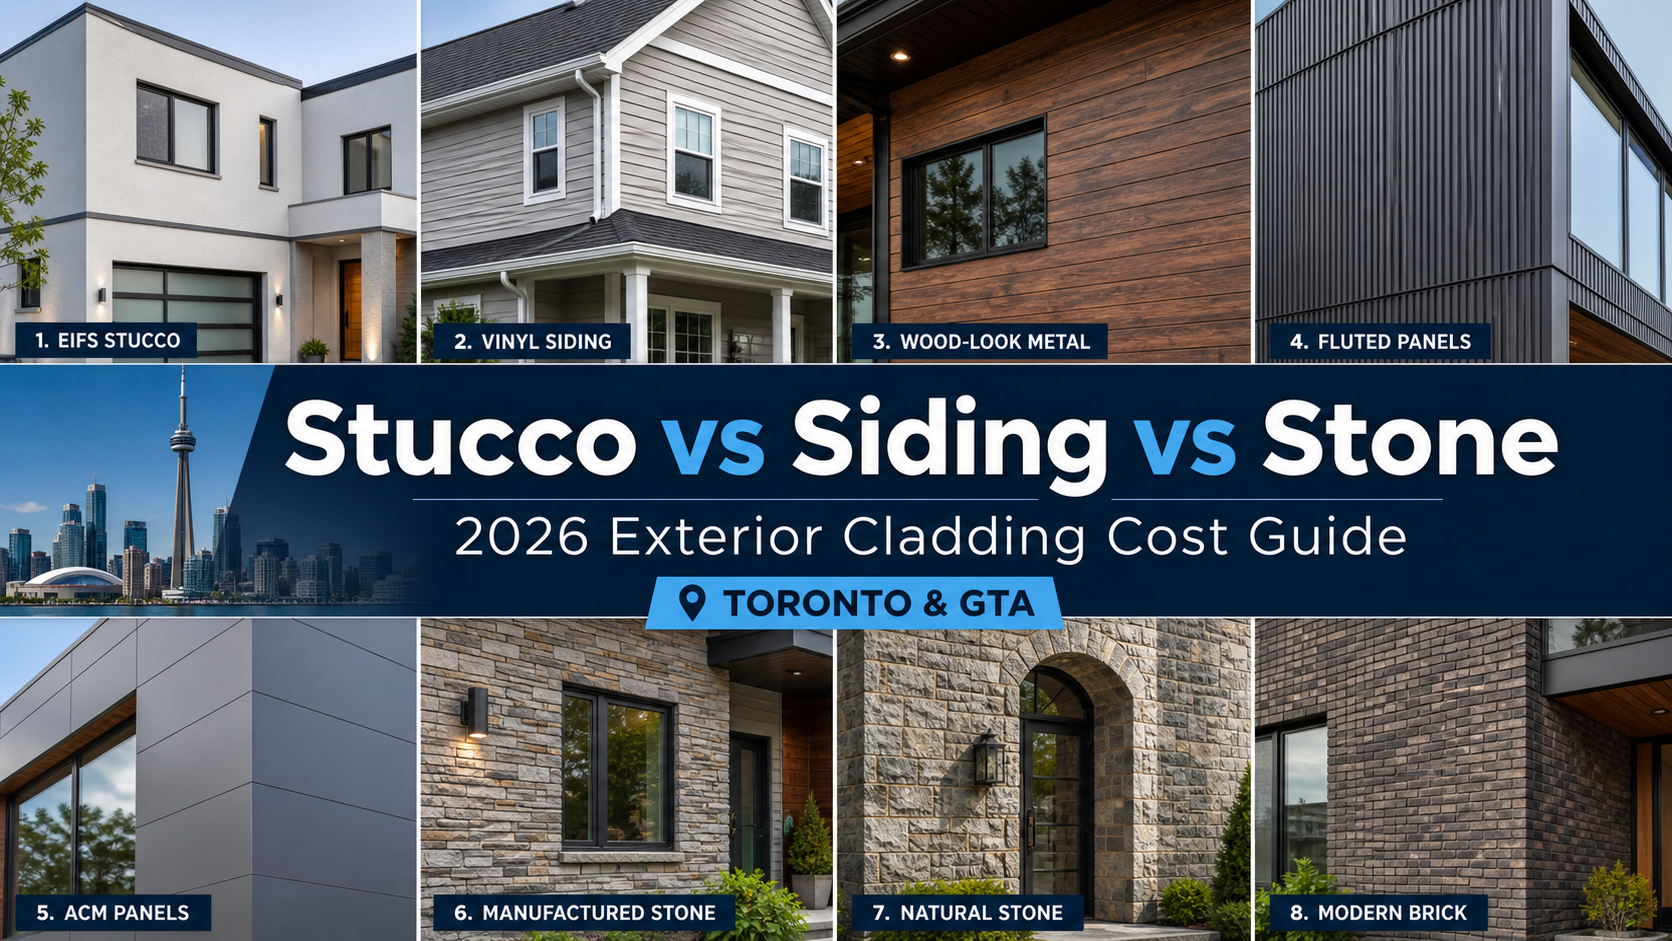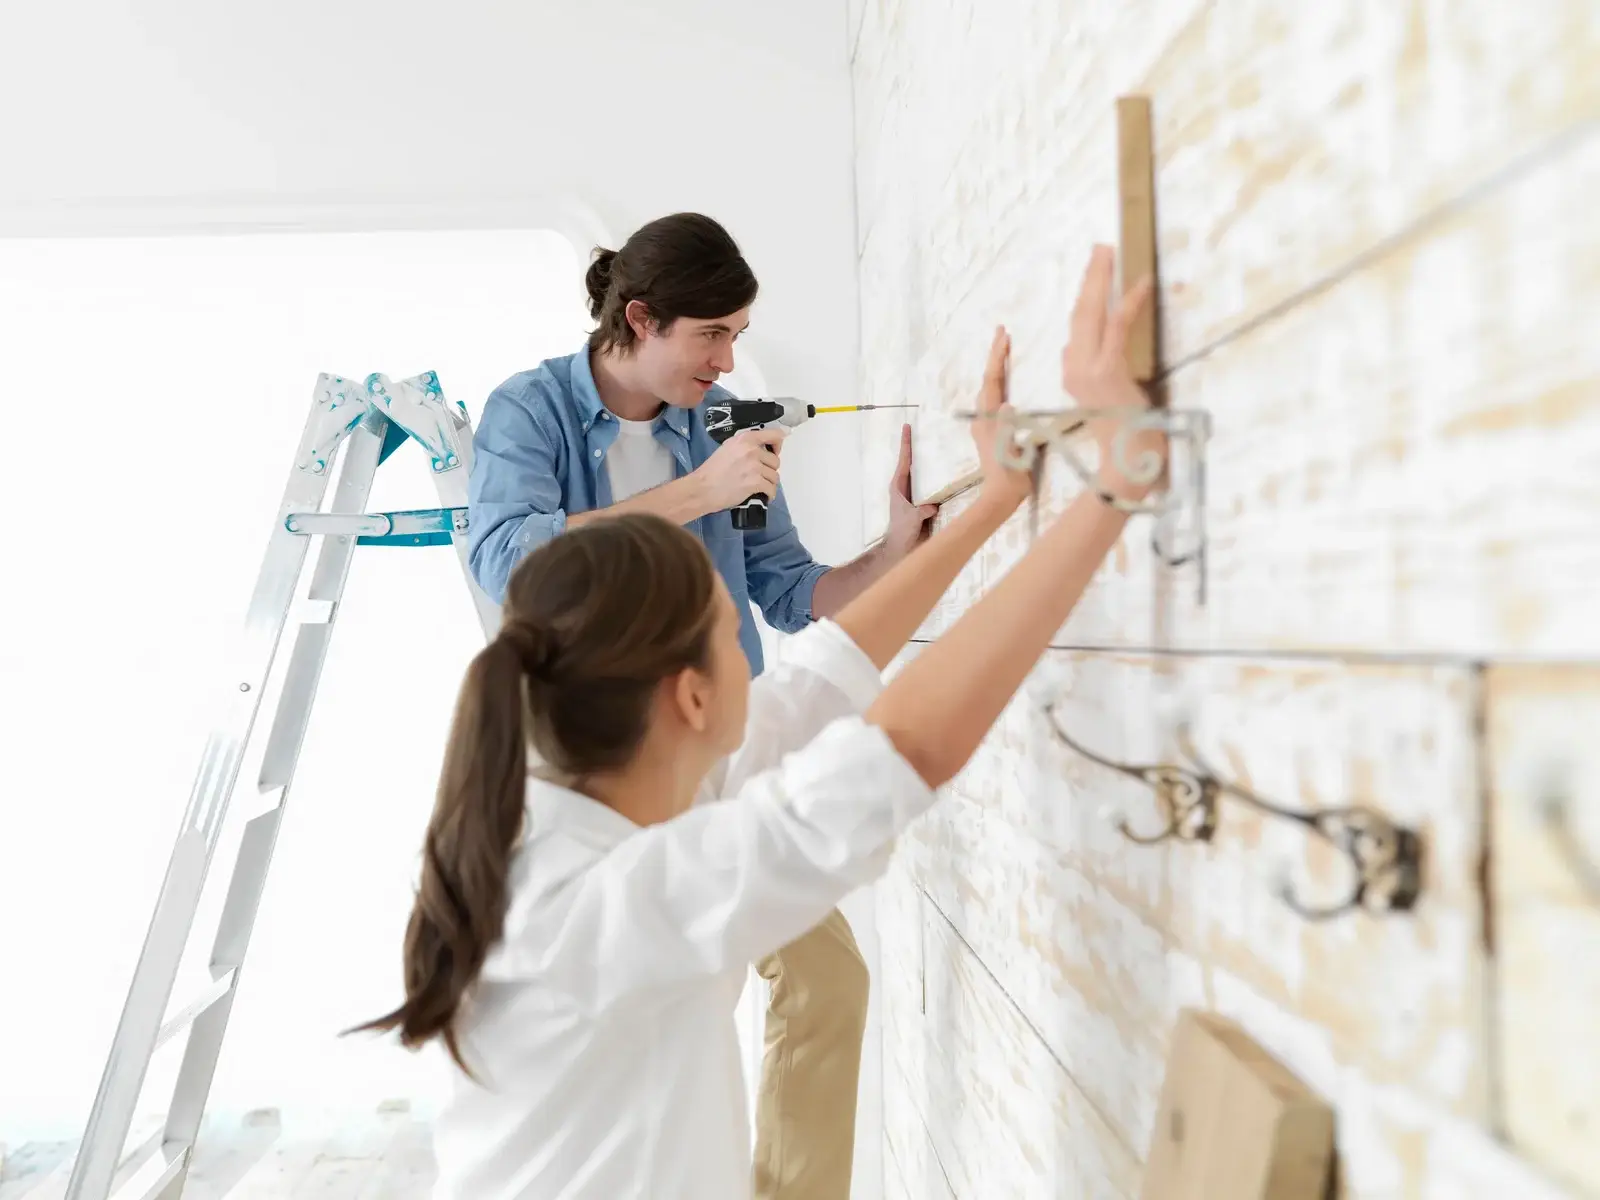
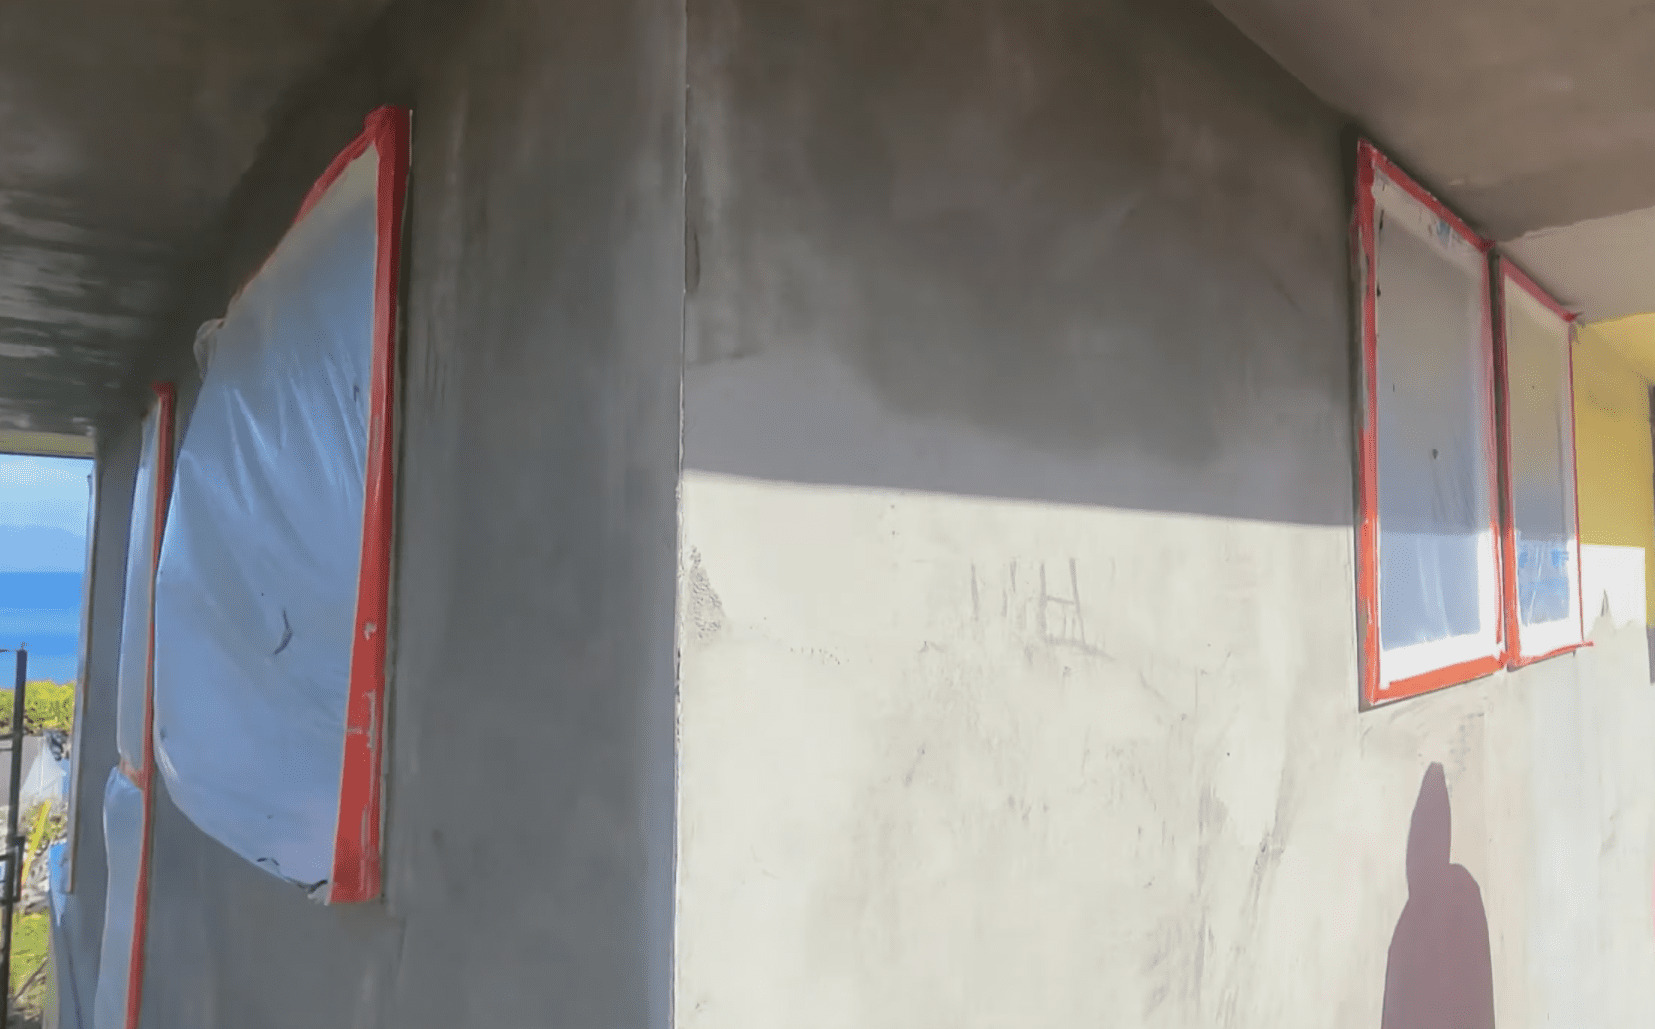
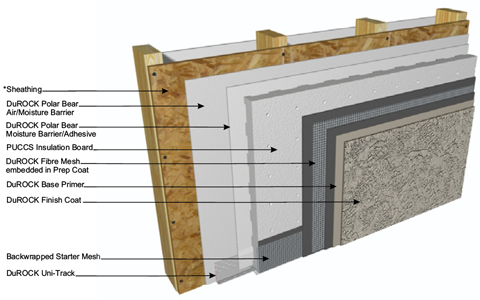
This is the Ultimate guide for 2022 Exterior Stucco Installation Canadian building Standard. The exterior insulation finishing system (EIFS) is one way to make your exterior wall beautiful, durable, and long-lasting. This system comprises different stages of which cementing the basecoat is the fourth stage.
Applying the basecoat cement to your exterior wall after your EPS installation adds to the primary aim of EIFS insulation. It strengthens the wall, reinforces it to make it enduring. This article contains a step-by-step guide for cementing your EPS insulated wall with a basecoat. It will all depend on how it’s being applied… Let’s leave some of this for later!
Primer and plastering the finished wall is the last stage in this process before painting your exterior home.

Primer and plastering the finished wall is the last stage in this process before painting your exterior home.
Don’t Miss out on the process behind it
Unique Exterior Stucco Home From Scratch: Leveling the insulation
This fall
What is Basecoat?

Basecoat is a grey cement-based adhesive produced from a mixture of Portland cement, mineral fillers, texturing aggregate, and hydrated lime.
DuRock B2000 is an acrylic-modified cementitious dry mix base coat designed for use over Expanded Polystyrene (EPS) Insulated Concrete Forms (ICF). B2000 forms a strong yet flexible, crack-resistant base coat that is intended for use on the exterior, above-grade portion of ICF foundation walls. B2000 has high flexural and bond strength, is water vapor permeable, and has excellent freeze/thaw stability with low water absorption and low shrinkage.
Basecoat serves as a bedding adhesive to attach EPS boards to a substrate. The cement-based basecoat is also used to embed in the fiberglass mesh on polystyrene (EPS) thermal insulation systems as an additional layer for reinforcement or endurance.
It contains polymer-modified binders to make for strong adhesion, increased flexibility, improved crack resistance, and durability. Therefore, the basecoat is highly durable, elastic, quick-drying, and possesses outstanding frost resistance properties.
When using a basecoat for reinforcement, the fiberglass mesh should be placed on top of the EPS thermal insulation system to form the reinforcement layer. Very importantly, the underlying insulation has to be leveled and without any gaps or external debris. Neglect of this may lead to a compromise on the quality of the reinforcement installation process.
Also, you have to store the basecoat correctly to ensure the product does not exhibit any form of inconsistency throughout the application process.
Cementing Basecoat for Endurance
When cementing basecoat for endurance or as part of the reinforcement layer, you should ensure that there are no uneven parts on the insulation boards. Check for uneven parts and level them before you proceed with the application of the basecoat.
You can level the EPS insulation by rasping the entire surface of the EPS-covered wall. Check out Exterior Stucco Home From Scratch: Leveling Insulation EPS detailed information on how to level your EPS insulation.
Also,o check for holes on the wall and cover them up. You can use the basecoat to fill the holes in the wall.
If you are working on a painted substrate, you must remove the paint using methods that ensure that no more than 10% of the remaining surface has been painted.
Mixing the Basecoat
The basecoat comes in the form of dry cement, you have to mix it with water just like the cement used for a building before applying it.
For mixing the basecoat, which is the first thing you should do, you may have to carefully follow a guideline. The reason is that there is a required consistency of the basecoat mixture that achieves the desired result.
If the consistency is not appropriate for cementing, the basecoat may end up dropping down from your wall or take more days to set. In general, you will not have the best experience working with it and this might result in total waste. You should follow these steps to mix the basecoat
- Use clean equipment for mixing and preparation.
- Thoroughly mix one 55 lb. (25 kg) EPS Basecoat pail with up to 1 gallon (3.8L) of water.
- Use a heavy-duty 1/2 inches (13mm) drill with a rust-free paddle at 400-500 rpm.
- Divide the mixture equally into two buckets.
- Pre-measure 55 lb. (25 kg) of portland cement. Add half of the portland cement, 27.5 lb (5.67 kg) to each bucket.
- Stir. While stirring the Basecoat, regularly add small amounts of cement in increments to obtain a final weight (ratio of 1:1)
- You may need to add a little amount of clean water (maximum 16 oz. (0.47 L) if need be to adjust workability.
Not that you should allow the mixture to stand for five minutes after the first mixing, then stir again (re-tempering). However, you should do the re-tempering only once as required for workability.
Also, endeavor to use the mixture immediately after tempering and ensure to keep the container closed when not in use. You may mix the basecoat in batches, probably two for convenience.
Applying the Basecoat to EPS Insulated Wall
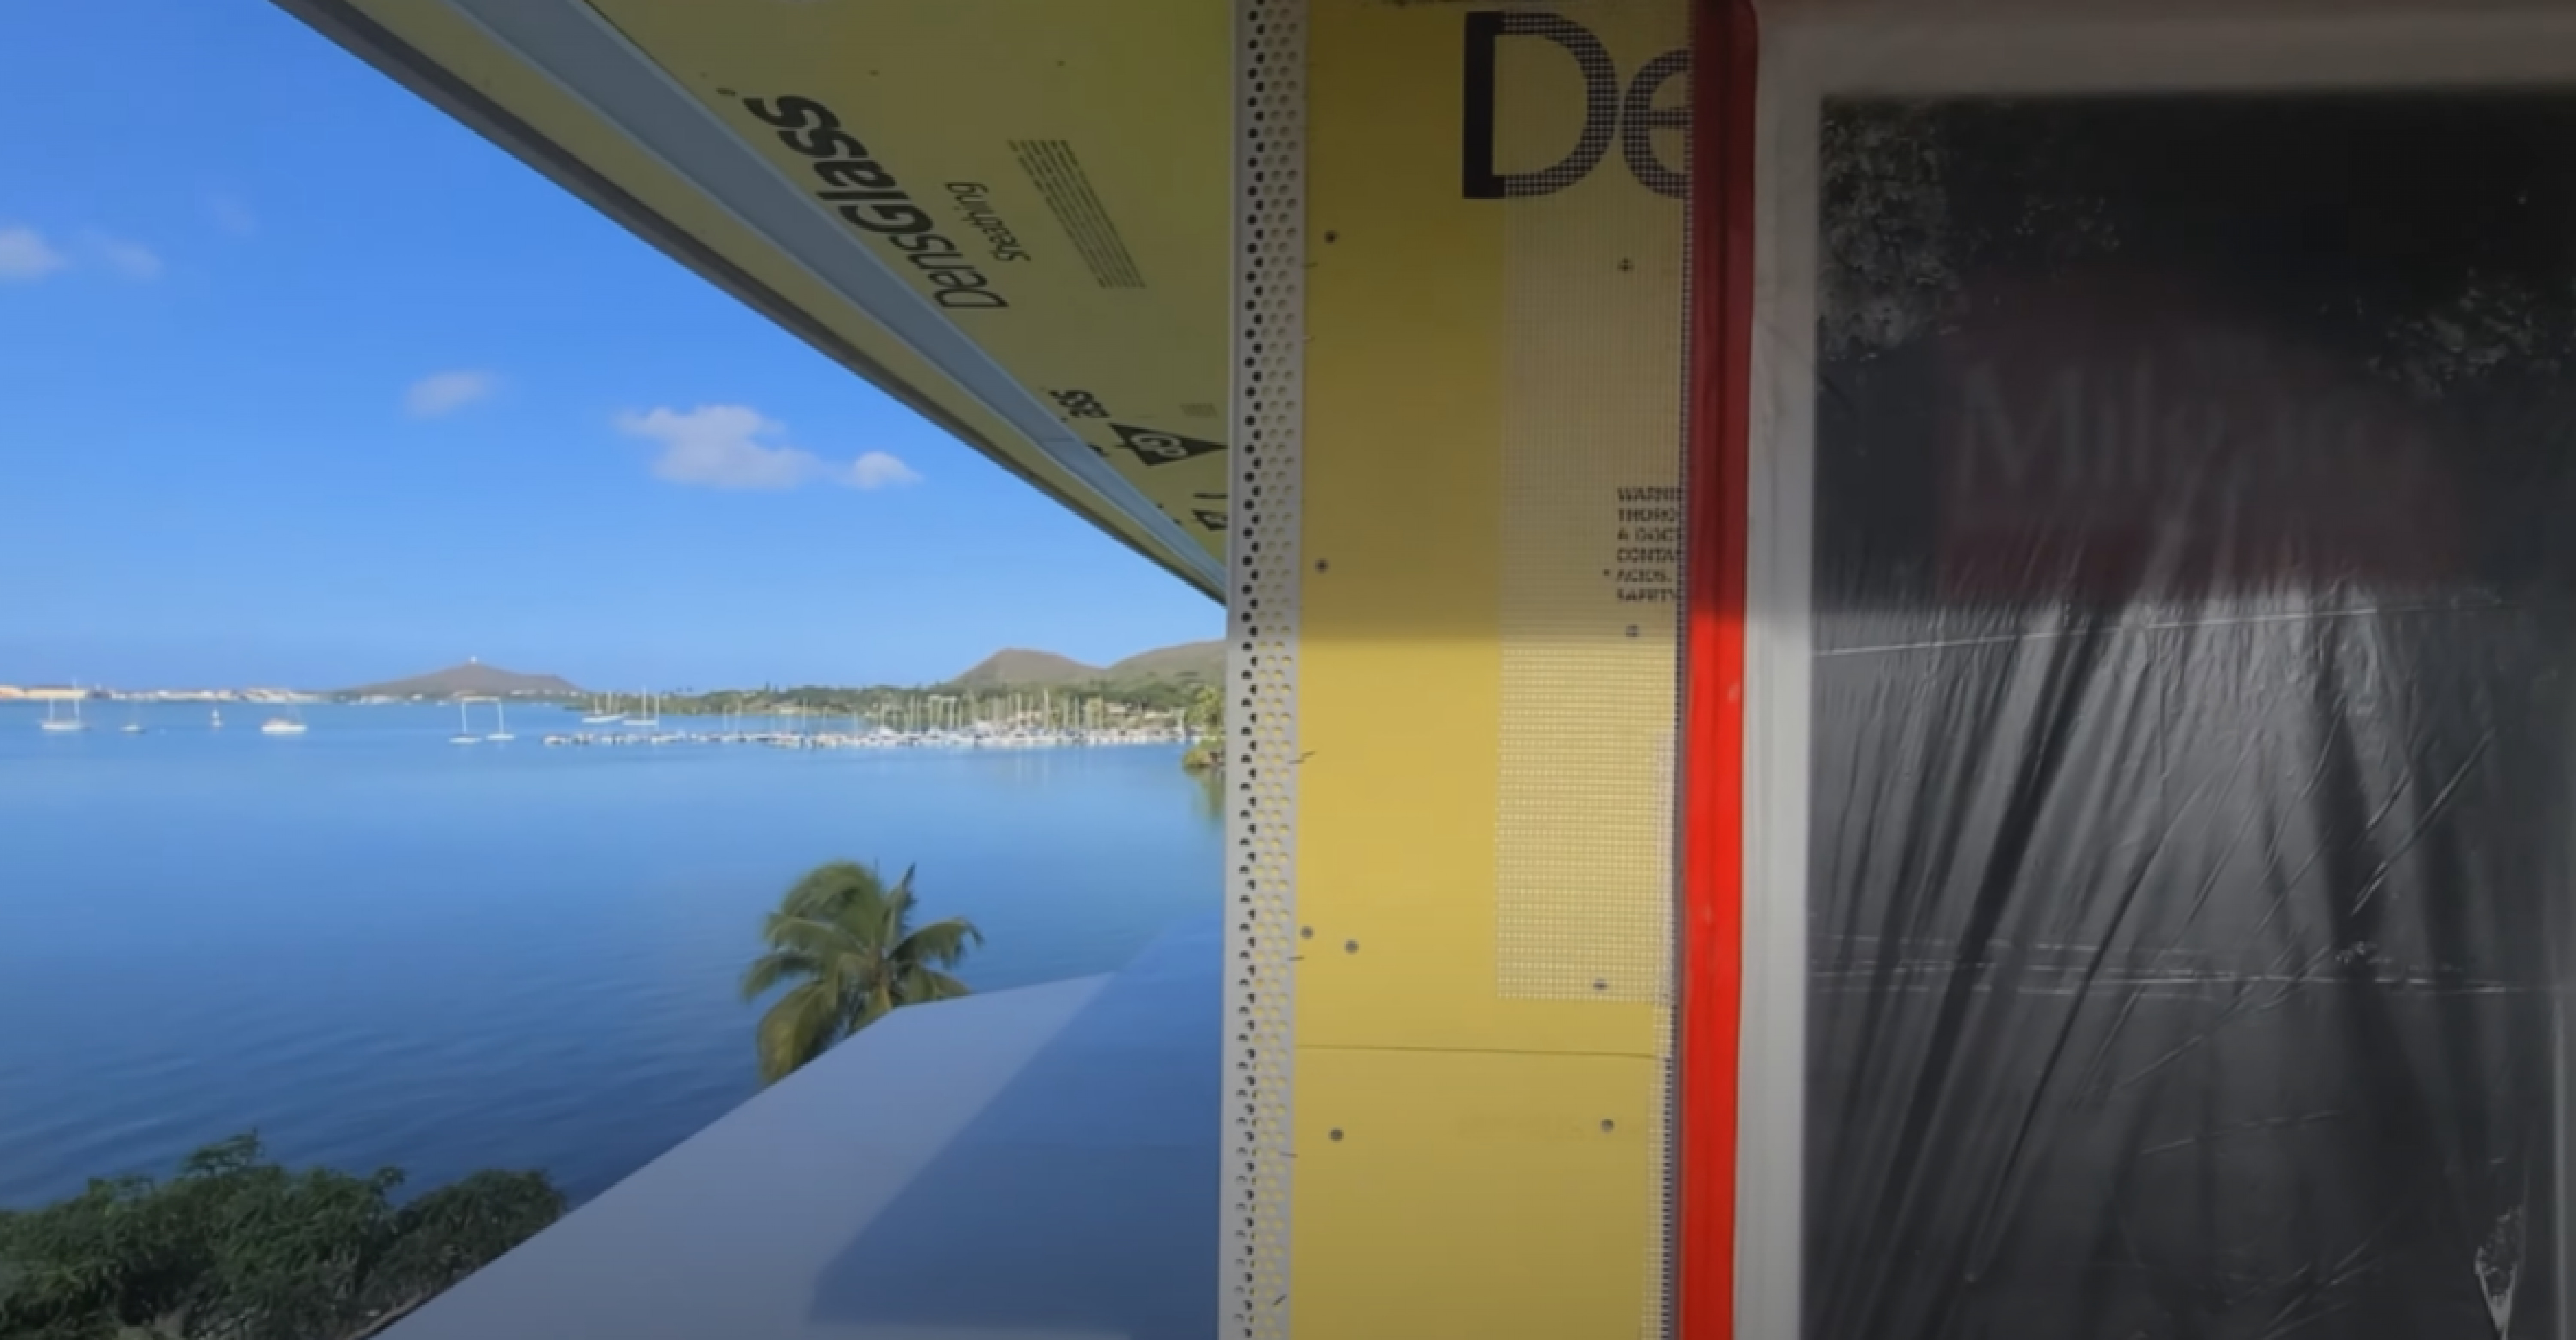
First off, you should measure out the fiberglass mesh you will be using. The fiberglass Mesh is made of neatly woven fiberglass thread. This mesh is used in most cases for plastering and rendering for wall reinforcement, external wall insulation, and roof waterproofing. Fiberglass mesh comes in various sizes, For the window screen, you will need an 18-by-16 mesh.
To cut the mesh, use a 6-inch taping knife to poke fiberglass tape into inside corners, then press down both sides firmly. For maximum joint strength, keep the mesh centered in the corner. Run this layer of tape over the pieces that you applied to the tapered seams.
In all, you should not cut the mesh in such a way that leaves it with a jagged edge. Cut through the little rows of squares to get a straight edge. After you’ve measured out your mesh, then:
- Pour a little portion of the already mixed basecoat into a flat board, hold on one hand.
- Take your notched trowel, on the other hand, use it to take the basecoat from the board in bits.
You should not just try to scoop it carelessly to avoid messing up the whole process, scoop and cut the basecoat off on the board.
- Apply the mixture in your trowel unto the wall in an upward movement direction (start from the bottom and swipe up).
- Apply the coat again, from top to bottom this time.
You should mix a sufficient amount of basecoat before you begin the application process. The application starts setting all.ost immediately you leave it and when you work it up again you might not have the best results.
Also, the basecoat should not be too thick nor too thin on the wall, the thickness of the basecoat on the wall should be ⅙ thickness. So, ensure to put the right amount of from the start because the general rule of thumb is, a minimal amount of movement.
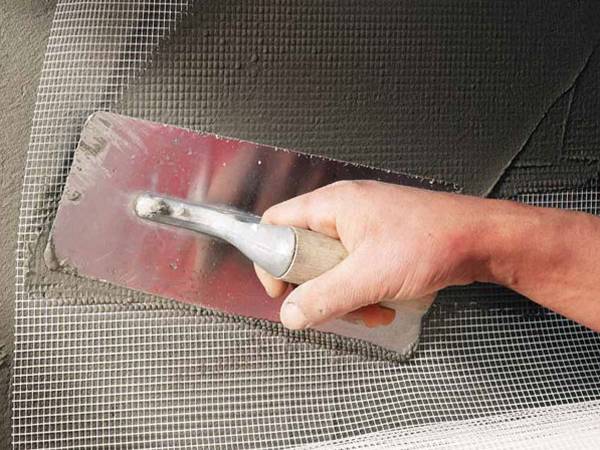
Applying the Fiberglass Mesh
- Place the edge of the mesh at the edge of your wall and roll gradually roll out the mesh
- In the process, use your trowel to embed the mesh (smoothen it out as you roll to avoid wrinkles).
You check again to ensure that the basecoat is not too thick or too thin after you’ve embedded the mesh. This is how to check: as you smoother the mesh over the coated wall, it should feel and sound smooth. If the trowel against the wall produces a rough sound or you can see the lines of the mesh, then the coating is too thin.
Points to Note in Cementing with Basecoat for Endurance
- The ambient, as well as surface temperature, must be or higher, preferably 40°F (4°C) during application and curing time.
- Make room for supplemental heat and protection from moisture.
- The surfaces of your wall must be leveled, dry, clean, unpainted, and free from any residue for utmost results.
- Don’t apply a basecoat in direct sunlight or hot weather.
- Do not use basecoat as a leveler for EPS, rasp EPS for leveling.
Conclusion
Cementing your EPS-covered wall is necessary for endurance (to increase the strength of the wall). You could follow the above procedure to achieve the best results.