Mobile Home Hang Drywall may appear complicated, but it does not have to be. If you follow these step-by-step directions, your installation will be a breeze.
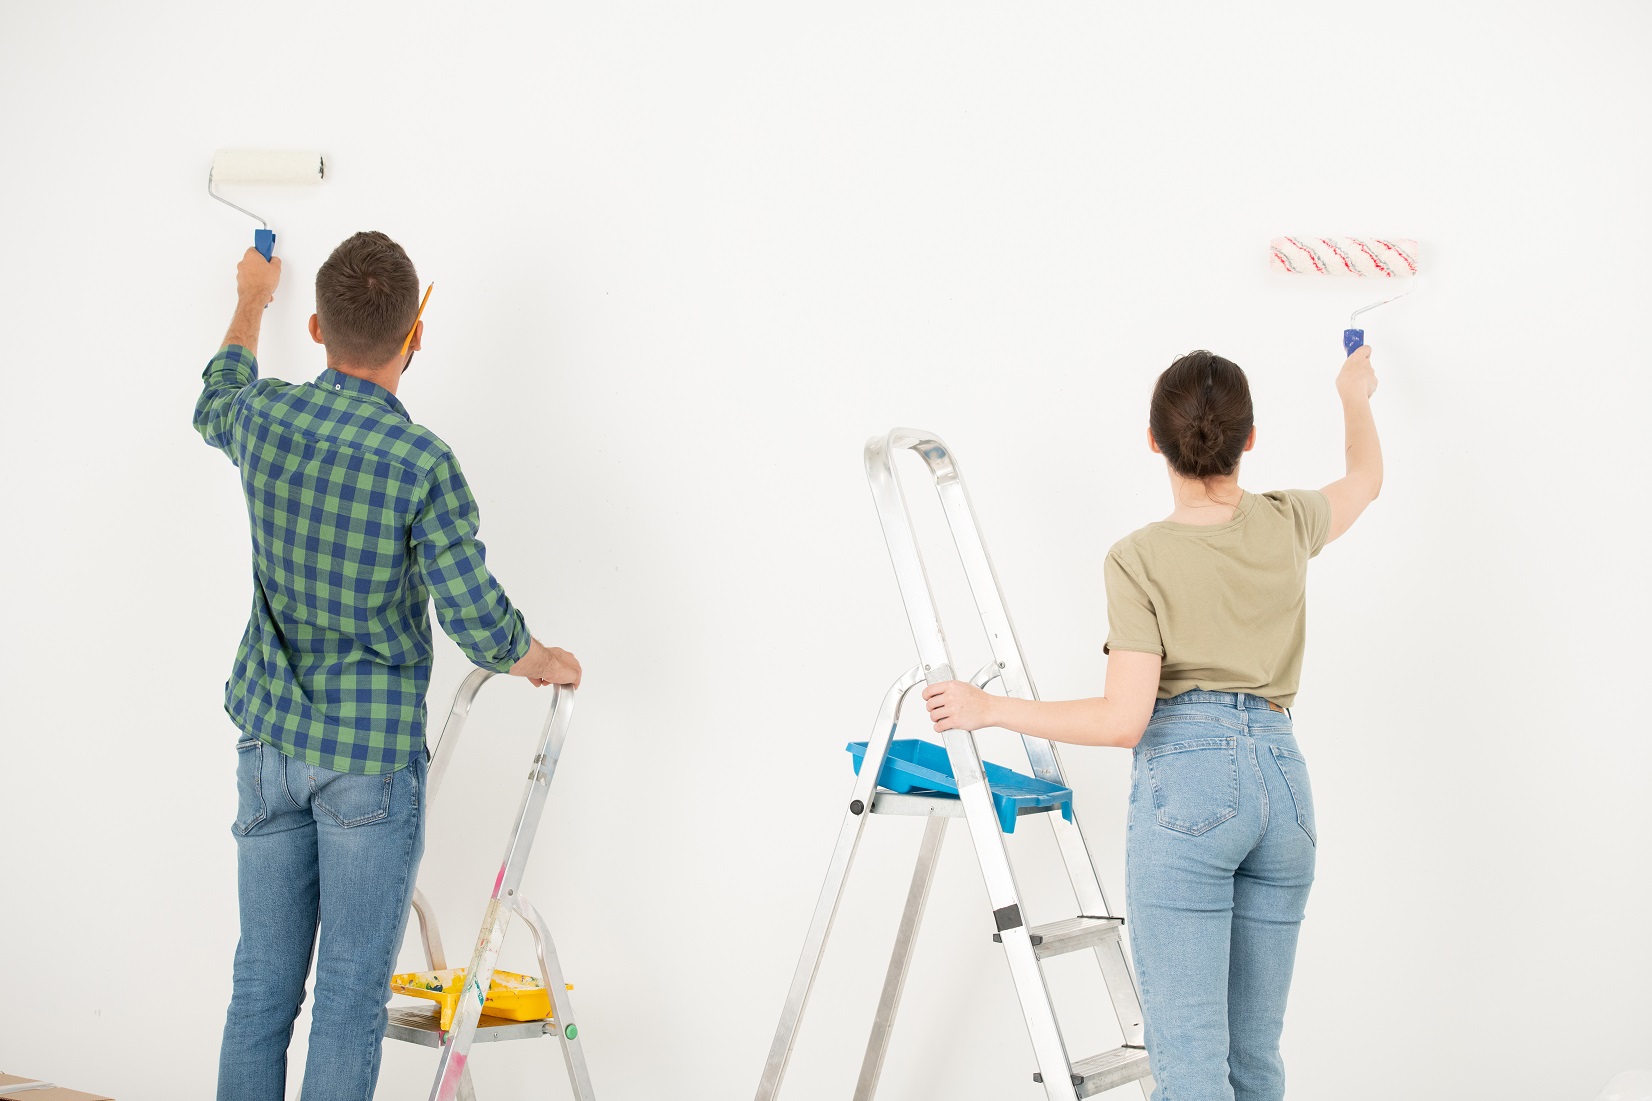
Drywall installation has a well-deserved reputation for being arduous. However, you can always obtain a professional-looking wallboard installation with patience and the correct drywalling tools.
Steps for Mobile Home Hang Drywall
Identify Stud Locations
Mark the positions of all studs on the ceiling and floor using a pencil or chalk line corresponding to the stud placements. Make your markings prominent and visible enough that the new drywall layer only partially hides them.
Create a Ledge
Measure 48″ down from the ceiling and mark two studs if you’re hanging your sheets horizontally. Insert one drywall screw deep into each stud to secure your wallboard. You’re creating a ledge for a huge wallboard to rest on.
Take Measurements
Determine where your wallboard should be cut. A 4×8 piece of wallboard is typical. Because the wall in the installation shown is only 6′ x 2.5″ broad, we must trim part off the end.
Remove the Mobile Home Hang Drywall
To remove drywall mark the position of your cut and score the front side of the wallboard with a sharp utility knife using a T-square or other straight edge. Make your score at least 1/8″ deep. Apply pressure on the drywall along the score line to snap it.
The wood behind the walls might help support it. Avoid ripping the wallboard’s back paper. Move your utility knife to the reverse side of the wallboard and cut the paper backing to finish the cut.
Apply Adhesive
When you’ve finished trimming your board and are ready to attach it, run a bead of glue down each stud. This reduces the number of screws required, adds sound deadening, and results in a more substantial, flatter wall.
Press Firmly Into the Position
Lift your wallboard and push it into position by resting the bottom edge on the ledge screws.
Feel the Limits
Mobile Home Hang Drywall screws should be “dimpled” into the wallboard appropriately, so they are not visible. For more significant projects, using a screw gun will save time and create a cleaner outcome.
We offer a drywall screw-setter for minor works, which will dimple your screw heads appropriately with a regular drill. Ensure no screw heads protrude. Run your hands over the wallboard without feeling the screw heads.
Each Stud Requires Three Screws
Install three courses of equally spaced screws in your freshly placed wallboard, one across each top and bottom edge and one in the middle.
Use your ceiling markings as guidance to ensure that every screw is secured to a stud. You should have three screws in each stud per piece of wallboard.
Make Holes for Outlet and Switch Positions
When working around outlet boxes, drill holes before hanging the drywall to ensure that the wallboard fits snuggly over all of your outlets and switches.
Always turn off the power to all electrical outlets and controls, and ensure that any unsecured wires are safely capped and placed into the rear of the box. When cutting outlets on a base sheet, measure the outlet box to the bottom edge.
Then, using lines on the outlet box’s left and right edges, mark the outlet box’s width. Take your measurements and transfer them to the new bottom piece of the wallboard. Make careful to precisely outline the outlet box’s top border on your new wallboard.
To cut the hole for the outlet box, use a router with a drywall bit attached or a keyhole saw. The drywall router is helpful for more significant tasks that require cutting several outlet holes, windows, and doors. Keyhole saws are ideal for remote jobs and hard-to-reach spots with little material to cut through.
Join Wallboards Together
Fasten your lower piece utilizing the same methods as previously, ensuring all your outlet and switch boxes are cut out and correctly placed. You may need to use shims to lift the lower drywall for a snug fit.
Create a Sharp Edge
When two parts of the wallboard meet at a hub, ensure they overlap to provide a sharp edge. This is necessary for the reinforcing corner bead, which must be installed throughout the whole length of the corner joint.
Prepare the Finishing Joint Compound
A bucket of pre-mixed is advised for filling joints. Fill a mud pan with enough joint mixture to cover the joint you’ll be working on in one complete application after stirring the bucket to a smooth consistency.
The method for completing horizontal and vertical seams is the same. It’s preferable, to begin with, the flat seams.
Finish the Drywall Seam
Fill the whole length of the drywall seam using your 4″ putty knife. Check that your finished object is level and has nicely feathered edges.
Applying thin, flat coatings is the trick to working with drywall compounds. Fill the gaps and create them as level with the wallboard as possible on both sides of the seams.
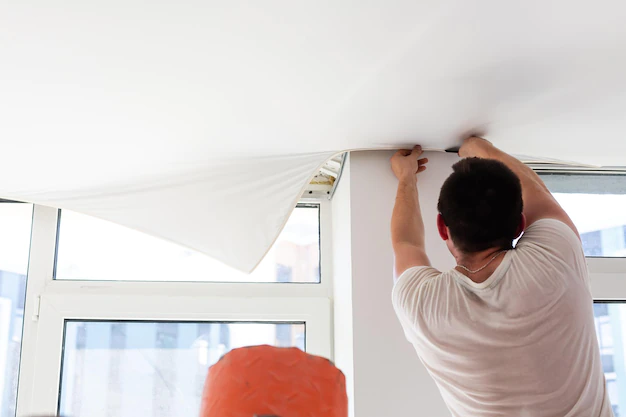
Apply Joint Tape
Insert the joint tape into the wet drywall compound and smooth it into the recently mudded joint. Wetting the tape slightly prevents it from binding and makes application easier. One piece of tape should be used for each seam.
Add Joint Compound
With your tape in place, apply a coat of joint compound over the video and surrounding area with your 6″ drywall knife. Make sure that the tape is thoroughly covered and that you continue putting smooth, thin coats that are level with the wall. The goal is to include the tape in the first layer of the joint compound before covering it with the second.
Insert Corner Beads
Instead of tape, use a pre-fabricated corner bead for the outside corners. These can be constructed of wood or metal. In case the intersection is in a low-traffic location.
Therefore we’re employing a fiberboard corner bead. Press it firmly into your first layer, then apply your second coat precisely as you did with the tape.
Make Screw Dimples
Allow the taped seams to dry for the time specified in the joint compound’s directions. Fill all screw dimples and other imperfections in the wallboard while the large joints are drying.
One smooth, even coat is required. Drive or gently hammer down any protruding screw heads from the wall, then cover them.
Preparing for the Next Coat
Allow at least 12 hours for all of the joints to dry. You’ll notice that all of the drywall compounds have turned entirely white. You are now ready to apply your next coat.
Apply the Finishing Coat
Apply a thin finishing coat to every seam and corner with an 8″ putty knife. This is also an excellent opportunity to put a second coat on every screw dimple.
Fill in Any Gaps
Make sure that all of your joints are level with your wallboard. You should be able to place the edge of a putty knife over any joints without seeing any light gaps underneath. Fill any low spots with another layer of drywall compound.
Sand the Joints
Wait another 12 hours for your finishing coat to dry completely. Once that’s done, you’re ready to sand your joints.
Use a circular sanding pad for larger jobs or a smaller hand-held sanding block for small areas. Sand gently until you cannot feel any joints, screws, or imperfections with your hands.
Ready for Primer and Paint
Your wallboards are ready for primer and paint once you’ve completed sanding and touching up.
Conclusion
Hanging Mobile Home Hang Drywall horizontally can reduce the necessary tape quantity while positioning the seam at a more convenient height. A longer wall may require more than one sheet of drywall. This process can be made more accessible by using a drywall lift.
Frequently Asked Questions
What is the function of Mobile Home Hang Drywall?
Drywall is a structured textile that is used to make walls and ceilings. It’s also utilized to make a variety of design elements, such as eaves, arches, and other architectural specialty. It’s quick and straightforward to install, highly robust, and only requires minor repairs to drywall when broken.
Why is drywall hung vertically?
Drywall is often more robust when hung in the long direction than in the short order, implying that it will droop less when affixed perpendicularly.
When should drywall be hung vertically?
Drywall should be put vertically in commercial buildings as a general rule. In contrast, horizontal drywall in residential buildings is best to increase structural shear strength.